 Garden

Affiliate Disclosure
Some links on this page are affiliate links. As an Amazon Associate, we earn from qualifying purchases — at no extra cost to you. We do not buy, test, or physically handle the products we cover; our rankings come from aggregated owner reviews, ratings and expert consensus. Commissions never change our verdicts. How we rank · full disclosure.
Light surface rust comes off in five minutes with a green abrasive pad and a little oil. Moderate rust needs a soak — 8 to 24 hours in white vinegar, or 4 to 12 hours in citric acid at 2 to 3 tablespoons per gallon of hot water — then a scrub, a rinse, a baking soda neutralizing bath, and immediate drying and oiling. Heavy scale on thick steel comes off fastest with a wire wheel in a drill. Whatever the method, the metal must be oiled the same day or it flash-rusts within hours.
A shed full of rusty tools is usually worth saving. Rust removal plus a fresh edge frequently produces a spade that outperforms a new budget one, because the old steel underneath is better than what a discount store sells today.
First, Work Out What You Have
Surface rust — an orange or brown film that rubs off on a finger. Cosmetic. Five minutes of mechanical work.
Moderate rust — flaking scale, rough to the touch, but the tool shape is intact. This is what soaking is for.
Pitting — small craters left where rust ate into the metal. Removable rust comes out, but the pits stay; the steel is permanently textured, which means soil will stick more and a keen edge is harder to achieve. Usable, just never pristine again.
Structural rust — a tine you can flex and hear crack, a blade gone thin and papery at the edge, a socket rusted through where the handle meets the head. Stop. This tool is a hazard, and a fork tine that fails under a boot is a real injury.
Also check the handle. Wooden handles on rusty tools have usually had the same neglect, and a gray, splintering handle needs sanding and oiling regardless of what you do to the steel.
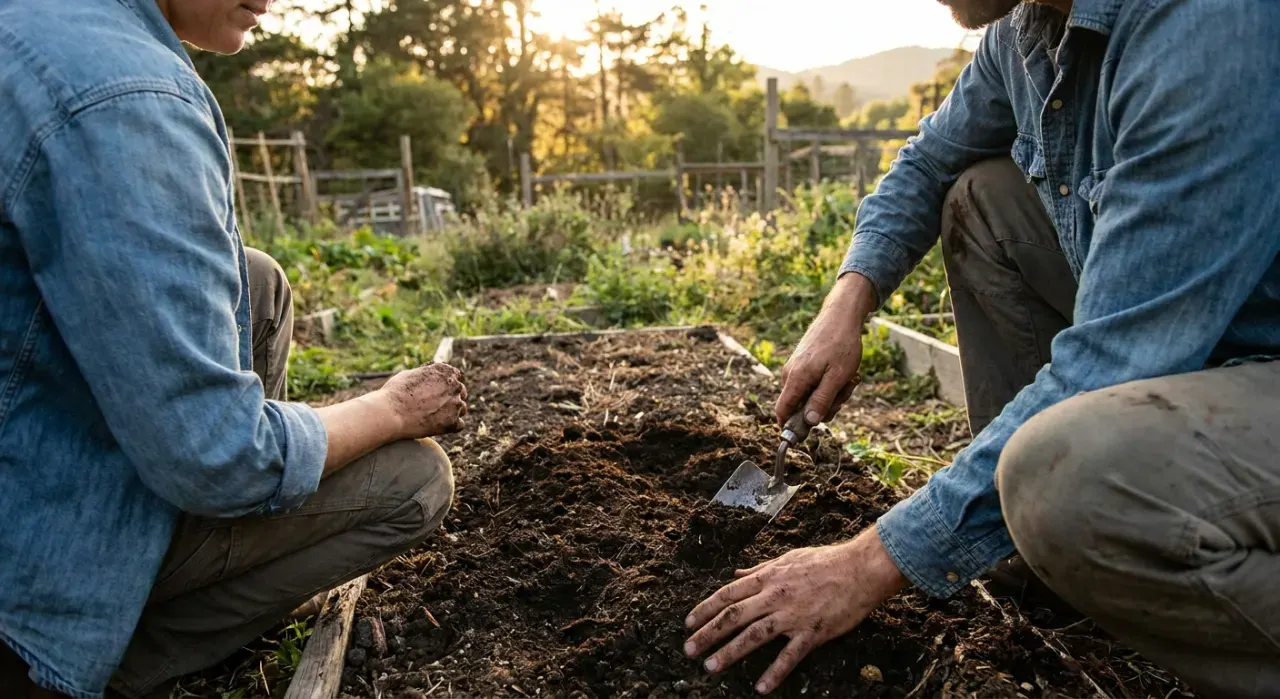
Method 1: Mechanical — Light and Moderate Rust
Fastest for anything that is not deeply scaled, and there is nothing to dispose of afterward.
- Green abrasive pad or 0000 steel wool with oil. Put a little mineral oil or WD-40 on the metal and scrub. The oil floats the rust particles and lubricates the cut. This handles most seasonal film in a few minutes.
- Brass or steel hand brush for textured surfaces and around rivets.
- Sandpaper, 80 then 120 then 220 grit where you want the surface genuinely smooth again — worth it on a trowel blade, since a polished face sheds wet clay far better than a rough one.
- Wire cup brush in a drill for heavy scale on spades, forks and mattocks. Clamp the tool, wear eye protection and gloves, and keep the drill at a moderate speed. Wire wheels shed bristles and they embed in skin at speed. Avoid this on pruners, shears and any thin hardened blade.
Method 2: The Acid Soak — Moderate to Heavy Rust
The right choice for tools with detail, rivets or pitting where a brush cannot reach.
- Remove or protect wooden handles. Do not soak wood — it swells, loosens the joint and eventually rots. If the head does not come off, stand the tool with only the head submerged, or wrap an acid-soaked rag around the head and cover it in plastic wrap.
- Choose your acid. White vinegar at full strength (5 percent acetic acid), or citric acid powder at 2 to 3 tablespoons per gallon of hot water. Citric works faster and smells better; vinegar is already in the cupboard.
- Submerge completely. A partly submerged tool develops a distinct waterline mark.
- Wait — and check. Vinegar: 8 to 12 hours for light rust, 12 to 24 for heavy. Citric: 4 to 12 hours. Check every few hours. Both acids attack the bare steel once the rust is gone, etching and blackening it, so this is not a set-and-forget process.
- Scrub. Lift the tool out and work it over with a green pad or brush. Softened rust comes away as a black sludge. If patches remain, return it to the bath for a few more hours.
- Rinse and neutralize. Rinse under running water, then dunk in a solution of about a tablespoon of baking soda per quart of water for a minute to stop the acid reaction.
- Dry immediately and completely. Towel dry, then force-dry — a hair dryer, ten minutes in the sun, or a low oven around 200°F for detachable heads. Flash rust appears within minutes on wet stripped steel.
- Oil within the hour. Mineral oil, camellia oil or paste wax. This step is not optional.
Method 3: Electrolysis — Heavily Pitted Tools
Worth the setup for a valuable or badly rusted tool, because it lifts rust out of pits without removing sound metal.
Fill a plastic tub with water and about a tablespoon of washing soda (sodium carbonate) per gallon. Suspend a sacrificial piece of scrap steel as the anode, connected to the positive lead of a battery charger, and hang the tool as the cathode on the negative lead. The two must not touch. Run at 2 to 6 amps for 4 to 12 hours; the solution goes brown and the tool comes out covered in loose black residue that brushes off.
Safety matters here. The process releases hydrogen, so work outdoors or in a well-ventilated space and keep flames away. Never use stainless steel as the sacrificial anode — it releases hexavalent chromium into the solution, which is genuinely toxic and a disposal problem. Plain mild steel scrap only.
Method 4: Chelating Rust Removers
The commercial pH-neutral products sold for this job work by chelation rather than acid, which means they dissolve rust and stop when they reach sound metal — the tool cannot be over-soaked. That makes them the low-risk option for tools you care about, and the solution is reusable until it is spent. They cost considerably more than a jug of vinegar, and they are slower on heavy scale, but for a good pair of pruners or an inherited spade they are worth it. Follow the label times, then rinse, dry and oil exactly as above.
Which Method to Use
| Method | Time | Best for | Watch out for |
|---|---|---|---|
| Abrasive pad + oil | 5–15 min | Surface film, routine cleanup | Will not reach pits |
| Sandpaper 80→220 | 15–30 min | Trowel and spade faces you want smooth | Slow over large areas |
| Wire wheel in a drill | 10–20 min | Heavy scale on thick steel | Shed bristles; never on thin blades |
| White vinegar soak | 8–24 hrs | Moderate rust, detailed shapes | Etches bare steel if left too long |
| Citric acid soak | 4–12 hrs | Same, faster and less odor | Same — check regularly |
| Electrolysis | 4–12 hrs | Deep pitting, valuable tools | Hydrogen gas; never a stainless anode |
| Chelating remover | 1–12 hrs | Tools you cannot risk | Cost; slower on heavy scale |
What Not to Do
Do not soak wooden handles. Water swells the wood, loosens the head and starts rot. Remove the head or soak only the metal.
Do not soak pruners assembled. Acid gets into the pivot and the spring and stays there, and a rusted spring is far more annoying than a rusty blade. Take them apart, photograph the washer order first, and treat the parts separately.
Do not use muriatic or other strong acids. They work, and they also attack the base metal fast, produce dangerous fumes and are a disposal problem. There is no reason to reach past vinegar.
Do not use a bench grinder for rust removal on blades. The heat draws the temper on hardened steel, and once the edge discolors to straw or blue it will never hold an edge again.
Do not leave a stripped tool overnight unprotected. This is the most common way people repeat the whole job a week later.
Protecting the Metal Afterward
Dry steel plus a barrier is the whole answer. Options, roughly in order of durability:
- Paste wax — a car or furniture paste wax buffed onto a clean tool head lasts a full season and does not transfer to your hands.
- Camellia oil — the traditional choice for tools and blades, non-rancid and odorless.
- Mineral oil — cheap, effective, food-safe and available in any pharmacy.
- Boiled linseed oil — for wooden handles, in thin coats with the excess wiped off. Safety note: rags soaked in linseed oil generate heat as they cure and genuinely can self-ignite. Spread them flat outdoors to dry or submerge them in water before disposal.
- WD-40 and similar sprays — excellent water displacers for immediately after a rinse, but they are thin and evaporate, so follow with a real oil or wax for storage.
After rust removal, most tools also want sharpening, because the abrasive work will have rounded the edge — the angles and step lists are in how to sharpen garden tools.
Not Doing This Again
Rust needs moisture and oxygen, and the practical control is moisture. Three habits handle almost all of it: knock the soil off before a tool is put away, because dried soil holds damp against steel; dry the metal after any wet job; and hang tools rather than standing them on a concrete floor, which wicks moisture and condenses in spring. Rust accelerates above roughly 60 percent relative humidity and effectively stops below 50, which is why a ventilated shed with a desiccant tub in it stays clean and a sealed plastic tote full of damp tools does not. The full routine, including the sand-and-oil bucket, is in how to store garden tools.
Material choice matters too. Stainless resists rust well enough that a stainless trowel left in a bed overnight forgives you, while carbon steel does not — though carbon takes and holds a better cutting edge. The honest trade-off is in stainless vs carbon steel, and if a tool turns out to be beyond saving, our ranked garden tool sets and garden trowels cover the replacements owner reviews back.
Where to Go Next
Restore, sharpen, protect, store — in that order. More context in our garden hand tools hub, and our rankings come from aggregated owner reviews rather than first-hand handling; the method is on how we rank.