 Garden
Affiliate Disclosure
Some links on this page are affiliate links. As an Amazon Associate, we earn from qualifying purchases — at no extra cost to you. We do not buy, test, or physically handle the products we cover; our rankings come from aggregated owner reviews, ratings and expert consensus. Commissions never change our verdicts. How we rank · full disclosure.
Short version: a greenhouse buys you weeks at each end of the season and a place to work when the weather is foul — but only if it is the right size, sited in real sun, anchored properly and vented aggressively. Most disappointment with backyard greenhouses comes from those four decisions, not from the structure itself.
We do not buy, test or physically handle any of the products we rank. Every recommendation comes from aggregated owner reviews, star ratings, review volume and horticultural consensus. Our method is set out on how we rank.
What a Greenhouse Actually Does
It is worth being precise, because expectations are where people go wrong. A greenhouse traps solar radiation and blocks wind. That gives you three real gains: warmer daytime air, dry foliage regardless of rain, and shelter from the wind that desiccates young plants. What it does not give you, without added heat, is a warm night — an unheated structure typically holds only a few degrees above outside air once the sun goes down, because glass and plastic are poor insulators.
Understood that way, the value is obvious. You can start seedlings four to six weeks earlier, harden them off without hauling trays in and out, ripen heat-loving crops like peppers and melons in cool climates, overwinter tender potted plants, and keep hardy greens producing through the darkest months. That is a genuinely different garden, and it is achievable in a modest structure. Our ranked best backyard greenhouses covers the kits owners rate highest across both hard-sided and hoop-house designs.
Sizing: Buy Bigger Than You Think
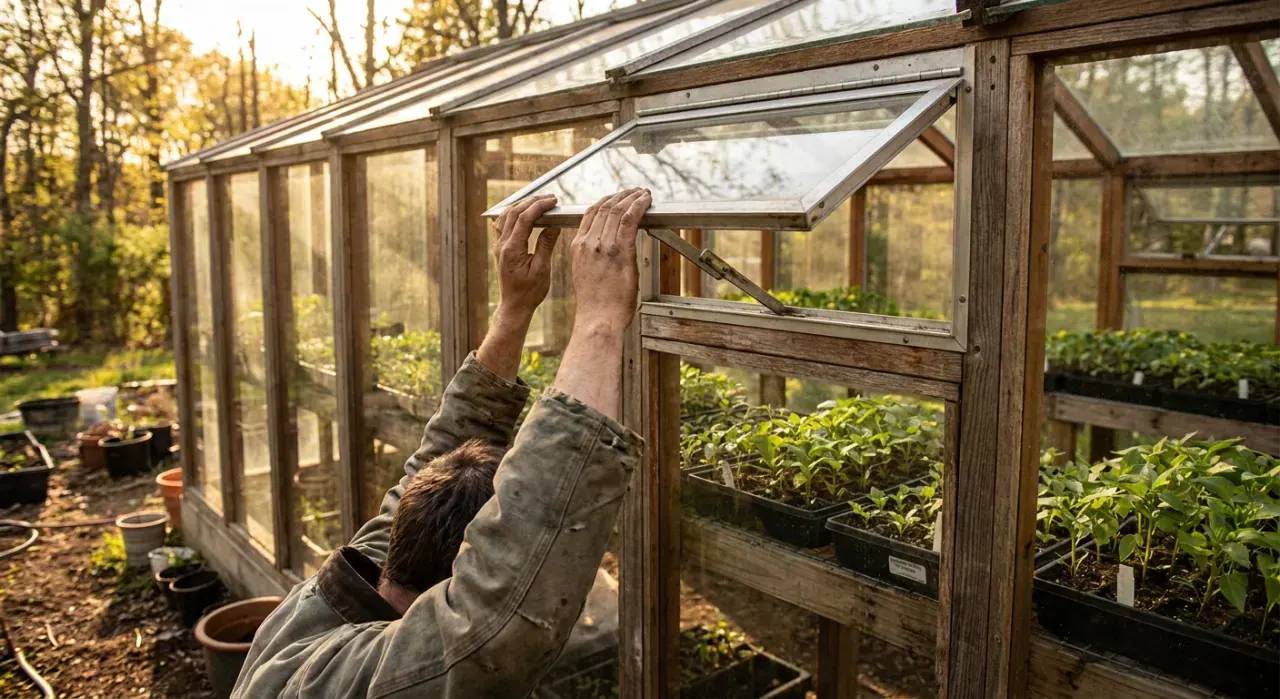
The most consistent regret in owner reviews across this entire category is size. A greenhouse fills up remarkably fast — benches take a third of the floor, pots take another third, and you still need room to turn around with a watering can. As a rough rule, a 6 ft × 8 ft hard-sided model is the smallest that works as a walk-in workspace, 8 ft × 10 ft is comfortable, and anything under 6 ft deep is really a large cold frame with a door.
The second sizing consideration is height. Low eaves mean stooping, no room for hanging baskets, and a much smaller air volume — and small air volume is precisely what makes a greenhouse spike to dangerous temperatures in minutes. Taller structures are more forgiving of a missed vent. Full guidance, including bench layouts and clearance, is in greenhouse sizing and siting.
Glazing: Polycarbonate, Glass or Film
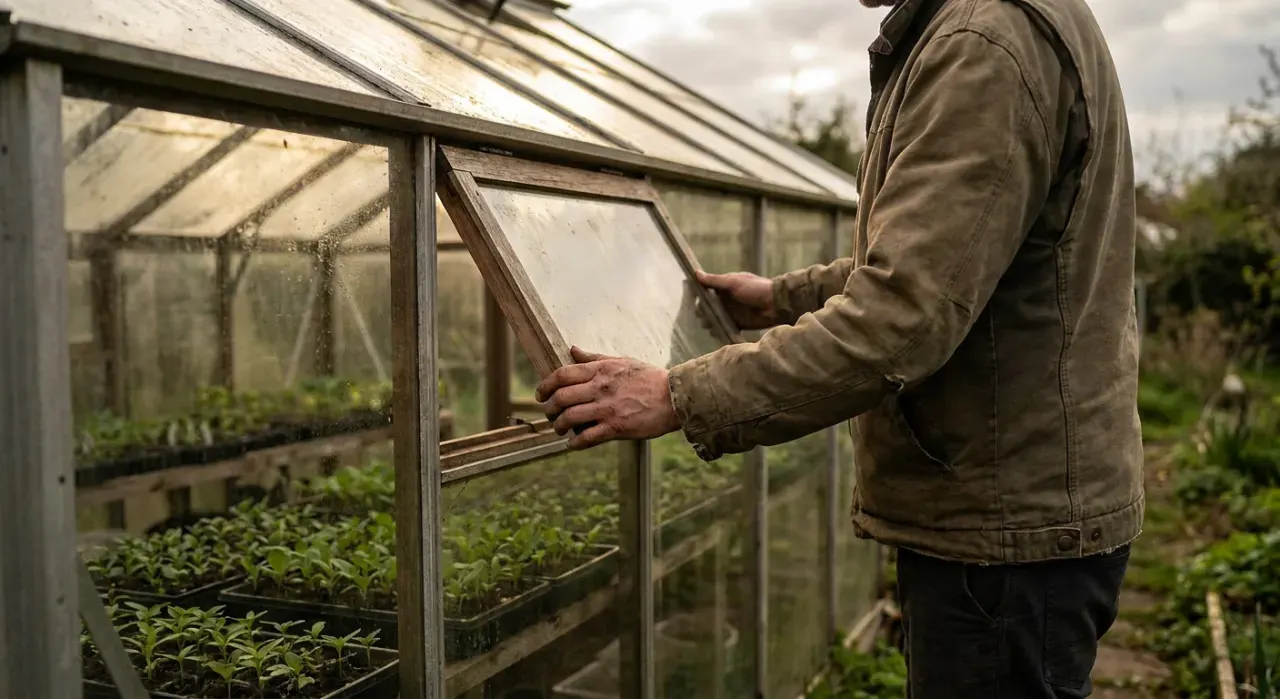
Twin-wall polycarbonate is the default for a reason. The air gap between the walls roughly doubles the insulation of single glazing, the material diffuses light so plants receive even coverage instead of hot stripes, it shrugs off hail, and a decent panel lasts a decade or more. It is what nearly every quality hard-sided kit uses.
Glass transmits slightly more light and looks better, which matters if the greenhouse is a visible garden feature. It is also heavier, more expensive, needs a rigid level base, and breaks. Toughened glass mitigates the risk but not the cost.
Plastic film over a steel hoop frame is a completely different value proposition: you can cover four times the growing area for a fraction of the price. The trade-offs are honest ones — covers degrade in UV and typically need replacing every one to three seasons, the structures are far more vulnerable to wind, and insulation is minimal. For a large, cheap growing tunnel it is unbeatable. The full comparison sits in polycarbonate vs glass vs film.
Siting and Anchoring
Pick the sunniest, most level, best-drained ground you have, run the long axis east to west so the broad face catches low winter sun, and stay well clear of deciduous trees. Then take anchoring seriously, because it is the single most common cause of a destroyed greenhouse. Owner reviews across every brand in the category contain the same story: a kit assembled on bare soil with the supplied pegs, and a spring storm that folded or flipped it.
Hard-sided kits want a proper level base — a timber frame, paver perimeter or the manufacturer's galvanized base kit — bolted down. Hoop houses want ground anchors driven deep, ratchet straps thrown over the frame, and the door closed in wind, since an open door turns the whole thing into a sail. The methods are in anchoring a greenhouse against wind.
Venting First, Heating Second
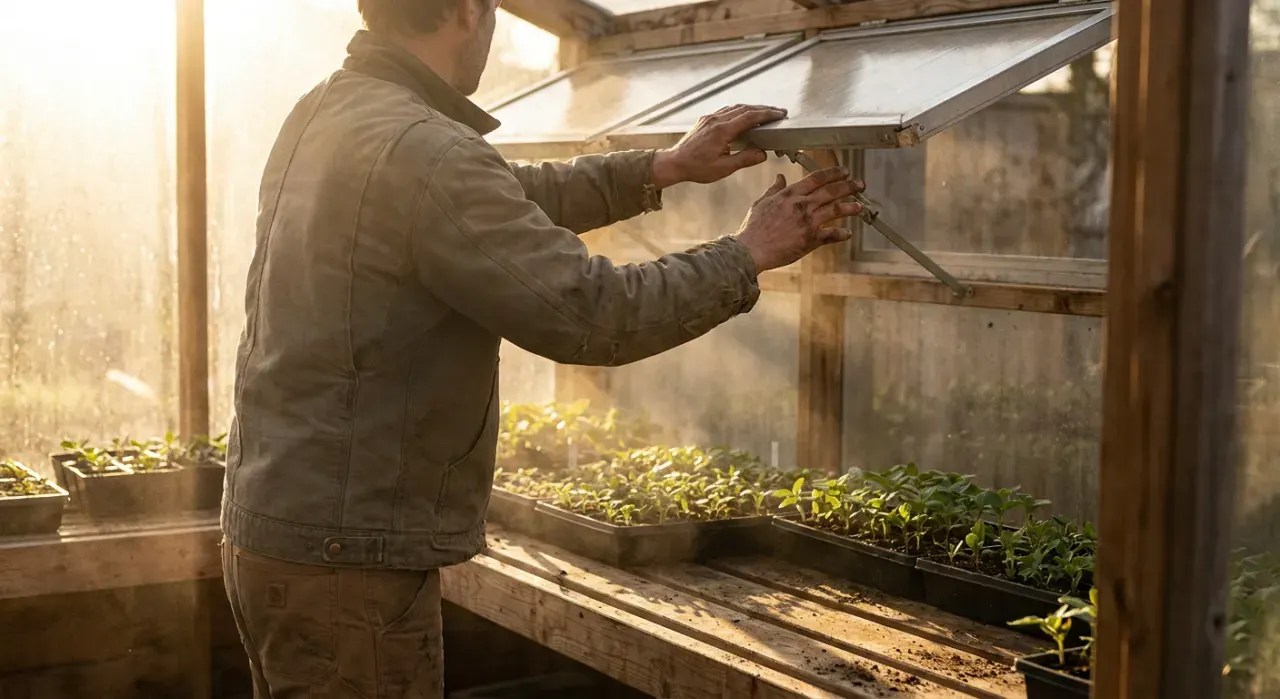
New owners worry about cold and get burned by heat. A sealed greenhouse on a clear 60°F March day can pass 100°F inside within an hour, and cooked seedlings are a far more common loss than frozen ones. Plan ventilation before you plan heating: roof vents to let hot air out at the top, low side vents or a screen door to draw cool air in, and — for anyone not home during the day — an automatic wax-piston vent opener, which needs no electricity and is the best value accessory in this category. The full picture, including how much vent area you need per square foot of floor, is in greenhouse ventilation and overheating.
Heating is a running-cost decision, not a gear decision. Free and cheap measures come first: thermal mass such as water barrels along the north wall, bubble-wrap insulation on the inside of the glazing, and a smaller insulated zone within the greenhouse for the plants that actually need protection. Only then does an electric heater with a thermostat make sense, and it should be sized to hold a modest frost-free minimum rather than summer warmth. How to heat a greenhouse in winter puts numbers to each option.
You May Not Need a Greenhouse at All
Season extension is a spectrum, and the greenhouse sits at the expensive end. A cold frame — essentially a glazed box over a bed — costs a fraction as much, needs no anchoring, and reliably buys four to six weeks at each end of the season for greens and hardy crops. Row cover and frost cloth is cheaper still: lightweight fabric floated over hoops protects to a few degrees below freezing, doubles as insect netting in summer, and stores in a bag. Many gardeners get most of the benefit from those two and never build anything.
We rank both separately in best cold frames and best row covers and frost cloth, and the trade-offs against a full structure are laid out in greenhouse vs hoop house vs cold frame.
What It Actually Costs to Run
The purchase price is the part people budget for and the smaller part of the story. Three ongoing costs decide whether a greenhouse stays useful or becomes an expensive shed full of dead pots.
Heat is the big one, and it scales brutally. Holding a small greenhouse just above freezing through a northern winter is affordable; holding it at 60°F so tomatoes keep ripening is not, because you are heating a poorly insulated box against the outdoors. Most owners who run a heater set it to a frost-free minimum, insulate the glazing with bubble wrap from the inside, and shrink the heated zone with an internal partition or a fleece tent around the plants that actually need protection.
Cover replacement applies to every film structure. Reviews across the category are consistent: PE and PVC covers cloud, stiffen and split after one to three summers, faster in high-UV states. Replacement covers are relatively cheap, but a film greenhouse bought at $130 with a $60 cover every second year has a very different ten-year cost than a polycarbonate kit bought once.
Water rises too, because a greenhouse is a rain shadow. Everything inside depends entirely on you, and on a hot day pots inside can need water twice. Many owners eventually add a simple drip line on a timer, which costs little and removes the failure mode of a single forgotten afternoon.
Against those costs, weigh what you gain: four to six extra weeks at each end of the season, crops that would not ripen outdoors in your climate, seedlings you no longer have to shuffle in and out of the house, and a dry place to work in spring. For most gardeners the value is real — it is just worth doing the arithmetic before buying a structure you will heat.
Where to Start
Work in this order: decide what you actually want the structure to do, check your site with sizing and siting, then choose glazing. If you are ready to buy, our ranked backyard greenhouses covers the field from cheap walk-in hoop houses to permanent polycarbonate kits. If you mostly want a few extra weeks of greens, start with a cold frame instead and save several hundred dollars. The topical map below links every part of it.