 Garden

Affiliate Disclosure
Some links on this page are affiliate links. As an Amazon Associate, we earn from qualifying purchases — at no extra cost to you. We do not buy, test, or physically handle the products we cover; our rankings come from aggregated owner reviews, ratings and expert consensus. Commissions never change our verdicts. How we rank · full disclosure.
Short answer: bolt the greenhouse frame to a rigid, level perimeter base — pressure-treated timber, pavers or a manufacturer's galvanized base — and hold that base down with 24-inch to 30-inch rebar stakes or screw-in auger anchors every 3 to 4 feet. The pegs in the box are assembly aids, not storm anchors. A 60 mph gust puts roughly 1,000 pounds of uplift on an 8 ft × 10 ft roof; the kit weighs a fraction of that.
Anchoring is the single most under-specified step in backyard greenhouse instructions and the most common cause of total loss in owner reviews. It is also cheap. An afternoon and about $60 of hardware is the difference between a structure that lasts a decade and one that folds in a spring squall.
What You Are Actually Resisting
People picture wind pushing a greenhouse sideways. The bigger threat is uplift. Air flowing over a curved or pitched roof accelerates and drops in pressure, so the roof is sucked upward while the windward wall is pushed in — the same effect that lifts an aircraft wing. That is why greenhouses are so often found flipped rather than pushed over.
The pressure is easy to estimate. Wind pressure in pounds per square foot is approximately 0.00256 × velocity², with velocity in mph.
| Gust speed | Pressure | Force on ~110 sq ft of roof (8 ft × 10 ft house) | Typical experience |
|---|---|---|---|
| 40 mph | ~4.1 psf | ~450 lb | Ordinary spring storm |
| 50 mph | ~6.4 psf | ~700 lb | Branches down, trash cans over |
| 60 mph | ~9.2 psf | ~1,010 lb | Severe thunderstorm gust front |
| 70 mph | ~12.5 psf | ~1,380 lb | Damaging straight-line winds |
| 80 mph | ~16.4 psf | ~1,800 lb | Category 1 hurricane / severe derecho |
Those figures are simplified — real loads vary with shape, exposure and how the structure sits relative to obstructions — but the order of magnitude is the point. A polycarbonate kit weighs perhaps 100 to 200 pounds. Its own mass contributes almost nothing to holding it down. Everything depends on the connection to the ground.
Second point, and it is the one that trips people up: the greenhouse is only as anchored as its weakest link. Anchors driven into soft ground, a base that is not fastened to the frame, or panel clips that release before the frame does will each defeat the whole chain. Owners routinely report the frame surviving intact while every polycarbonate panel departed, because the panels were only held by friction clips.
The Perimeter Base: Start Here
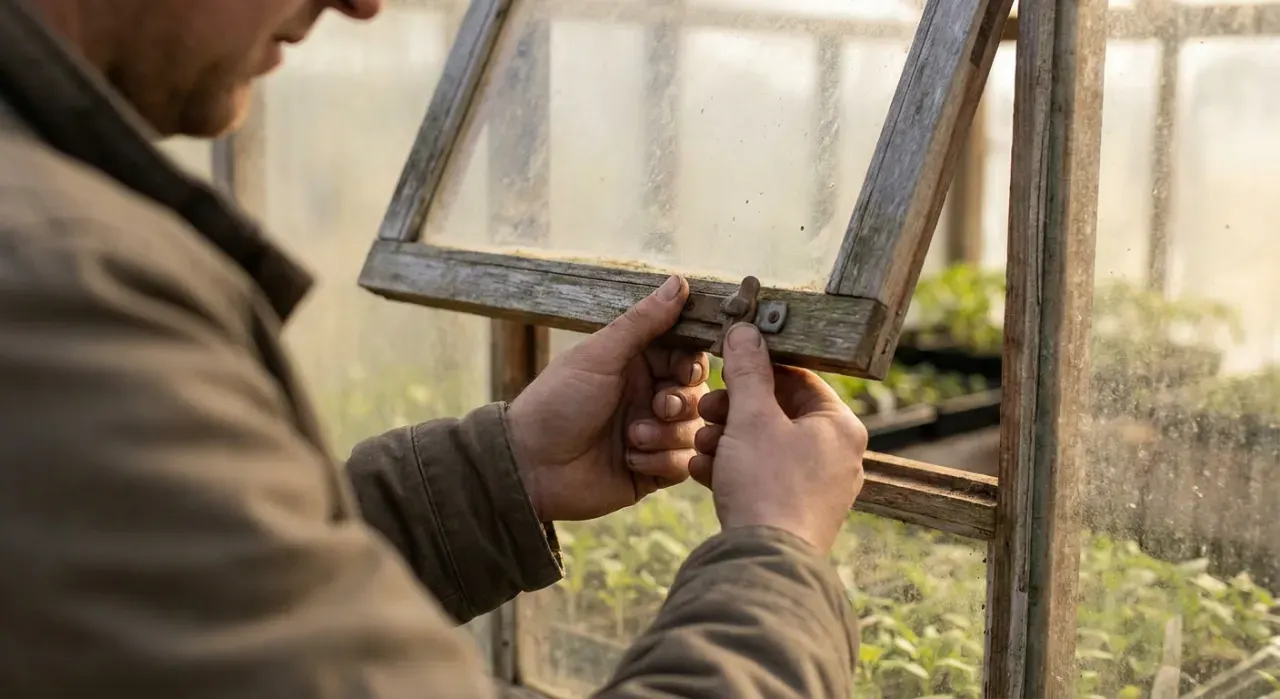
An anchored greenhouse needs something rigid running all the way around its footprint. A base does three jobs at once: it keeps the frame square so doors and panels stay seated, it spreads load, and it gives the anchors a solid thing to pull against.
- Pressure-treated timber frame on compacted gravel. The default answer for most home greenhouses. Level 4 inches of 3/4-inch crushed stone, tamp it, then build a rectangle of 4x4 or 4x6 pressure-treated lumber, check the diagonals match, and stake it. Cheap, drains freely, and easy to shim level.
- Manufacturer's galvanized base kit. Correctly sized for the frame and quick to bolt on, but it is a base, not an anchor — it still needs a level bed under it and ground anchors through it.
- Paver or concrete-block perimeter. Tidy and durable. Blocks must be bedded properly or they rock, and you will want masonry anchors or long stakes through the joints.
- Concrete piers or a poured curb. The right answer on exposed coastal or ridge-top sites, or in loose sand. Set anchor bolts or J-bolts in the wet concrete positioned to line up with the frame's base rail.
- Bare soil with the supplied pegs. Not a base. This is the configuration behind almost every destroyed-greenhouse story in the review record.
Whichever you choose, the base must be level and square. Out of level by more than about half an inch across an 8 ft × 10 ft footprint and the diagonals stop matching, which racks the frame, binds the door and pops glazing clips — and glazing that has already worked loose is what a storm takes first. Getting this right is part of the same job as siting, covered in greenhouse sizing and siting.
Ground Anchors: What Holds and What Does Not
| Anchor type | Typical hold in firm soil | Notes |
|---|---|---|
| Supplied wire or plastic peg, 8–10 in. | Tens of pounds | Assembly aid only. Pulls out of wet soil by hand. |
| Rebar stake, 24–30 in., #4 (1/2 in.) | A few hundred pounds each | Cheap and effective through a timber base. Bend a hook or use a rebar bracket. |
| Screw-in auger/corkscrew anchor, 15–18 in. | Several hundred pounds each | Excellent in loam and clay; poor in dry sand. The usual choice for hoop houses. |
| Duckbill/arrowhead driven anchor | Several hundred to over a thousand pounds | Drives in, then toggles sideways when tensioned. Very strong, hard to remove. |
| Concrete deadman or set J-bolt | Effectively the strength of the fastener | Permanent. The standard for exposed sites. |
Space anchors every 3 to 4 feet around the perimeter and put one within about 12 inches of every corner, because corners carry the highest local uplift. Soil type changes everything: firm loam and clay hold well, saturated soil holds far less, and dry sand holds very little regardless of anchor type — in sand, go to concrete or a much longer anchor.
Finally, connect the frame to the base properly. Use the greenhouse manufacturer's base-rail bolt holes if they exist; if not, galvanized L-brackets or corner braces screwed into the timber every few feet do the job. Stainless or hot-dip galvanized fasteners only — ordinary steel screws in pressure-treated lumber corrode fast.
Hoop Houses and Film Structures
Film-covered tunnels need a different approach, and they need it more urgently, because they are lighter and present a bigger uninterrupted surface.
- Anchor every leg. Auger anchors at each hoop foot, or drive 24-inch ground sleeves and drop the legs into them. Every leg, not every second one.
- Strap over the top. Run ratchet straps or heavy rope across the tunnel from an anchor on one side to an anchor on the other, at intervals of 4 to 6 feet. This is what resists the whole structure lifting as a unit, and it is the step most owners skip.
- Seal the skirt. Bury the film edge in a 6-inch trench, or clamp it to a timber baseboard, or weight it with sandbags along the full length. Wind that gets underneath the cover inflates the tunnel like a balloon.
- Tension the cover. A loose cover flogs in wind, which abrades the film against the frame and destroys it in a season. Re-tension after the first warm week, when the film has relaxed.
- Close the doors. An open door at one end and a closed one at the other pressurizes the tunnel from inside. In owner reports this is the most frequent single cause of hoop house failure.
- Consider taking the cover off. In the windiest months, or ahead of a named storm, removing the film leaves a bare frame that wind passes through. It takes twenty minutes and saves the structure.
The trade-offs between film tunnels and rigid structures — including this one — are laid out in greenhouse vs hoop house vs cold frame.
Reduce the Load Before You Resist It
Anchoring resists force. Siting reduces it, and it is free.
Put the greenhouse in the lee of a permeable windbreak — a hedge, a slatted fence, a line of shrubs — at a distance of roughly two to five times the windbreak's height. A permeable barrier slows wind over a long distance; a solid wall right beside the structure creates turbulence and localized pressure spikes that can be worse than open exposure. Never site a greenhouse in the gap between two buildings, which funnels and accelerates wind, and avoid the top of an open rise.
Orientation helps too. Presenting a gable end rather than a long broad side to the prevailing wind reduces the loaded area substantially. That sometimes conflicts with the ideal solar orientation, in which case take the sun and build the windbreak.
The Seasonal Check That Takes Ten Minutes
- Walk the perimeter and try to lift the base by hand at each anchor. Anything that moves gets re-driven or replaced.
- Check every glazing clip. Missing and sprung clips are how panels leave. Spare clips cost pennies; keep a bag of them.
- Check the door latch and hinges — a door that blows open in a gust is an inflation event.
- Tighten the frame bolts. Aluminum frames loosen through a year of thermal cycling.
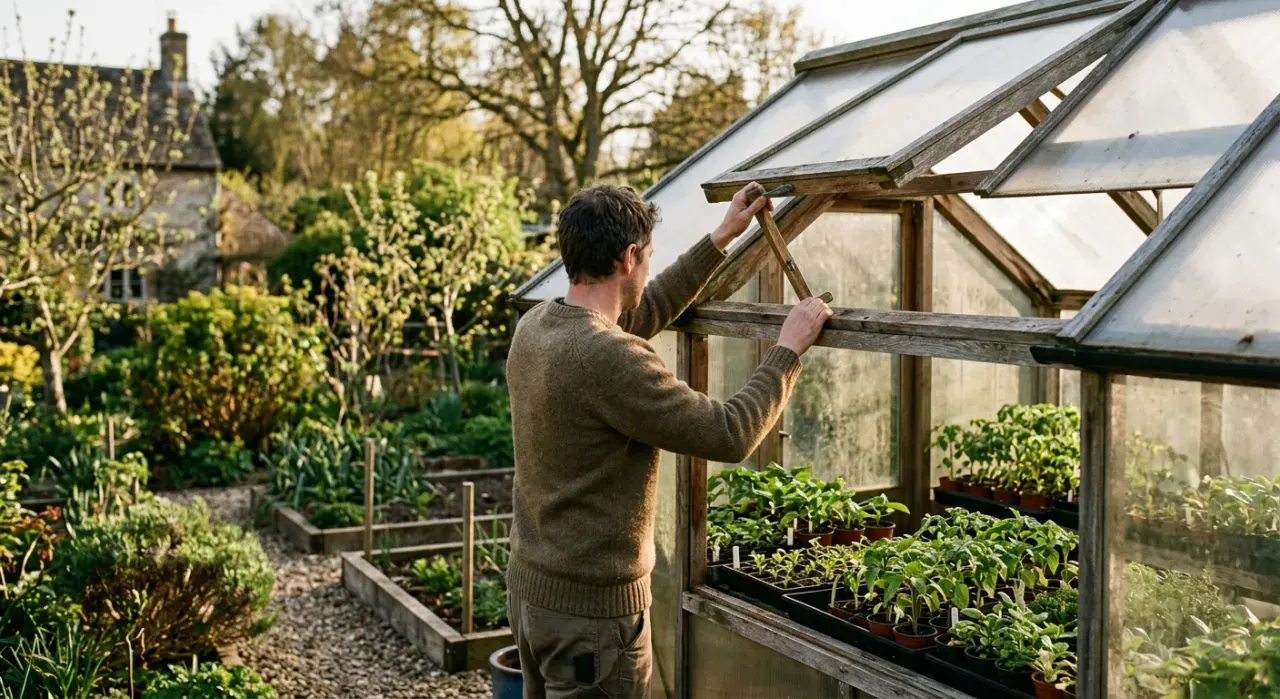
- Check the vent stays and the automatic opener arm. A vent left standing open in a storm is a lever on the roof.
- Before a forecast storm: close and latch everything, remove or lower shade cloth, and if the structure is film, consider dropping the cover.
Do it twice a year — early spring before the squall season and late fall before the winter gales — and the failure modes that dominate owner reviews largely stop applying to you.
Where This Fits
Anchoring is one of four decisions that determine whether a backyard greenhouse works: size and site, glazing, ventilation, and how it is fixed down. If you are still buying, our ranked backyard greenhouses notes which kits ship with a usable base and which need one built. If it is already up and unanchored, do the base and anchors before you do anything else, then read greenhouse ventilation and overheating, because that is the failure that arrives sooner. And if the wind exposure on your site is genuinely severe, a set of ground-hugging cold frames may simply be the better structure for the location. More at greenhouses and season extension; our research method is on how we rank.