 Garden

Affiliate Disclosure
Some links on this page are affiliate links. As an Amazon Associate, we earn from qualifying purchases — at no extra cost to you. We do not buy, test, or physically handle the products we cover; our rankings come from aggregated owner reviews, ratings and expert consensus. Commissions never change our verdicts. How we rank · full disclosure.
Short answer: a greenhouse needs total vent area of roughly 20% of its floor area — about half at the ridge and half low on the walls — or, if you go powered, an exhaust fan moving 8 to 12 CFM per square foot of floor. Aim to hold daytime air between 65°F and 85°F. Damage begins around 90°F, and a sealed greenhouse on a clear 60°F March day will pass 100°F within an hour.
Overheating kills far more greenhouse plants than cold does, and it does it in spring rather than winter. Below is what that peak actually costs you, how much opening you need, and the order in which to spend money on fixing it.
Why a Mild Day Becomes 110°F
Glazing lets in short-wave solar radiation and blocks the long-wave heat that surfaces inside re-radiate. With no air exchange, that energy has nowhere to go, so the air temperature climbs until it finds an equilibrium far above outside. The smaller the structure, the faster this happens, because there is less air mass to absorb the gain — which is why a 4 ft × 6 ft greenhouse is more dangerous than an 8 ft × 10 ft one, not less.
The numbers surprise people because they associate greenhouse heat with summer. In reality, mid-March in USDA zone 6 delivers strong direct sun onto a cold, dry, cloudless sky, and the structure is still sealed up for winter. That is precisely the combination that cooks a bench of seedlings.
| Outside air | Conditions | Typical sealed interior | What is at risk |
|---|---|---|---|
| 45°F | Clear, calm, February | 75–85°F | Nothing — this is the useful gain |
| 60°F | Clear, calm, March | 100–110°F | Seedlings, cuttings, tender transplants |
| 75°F | Clear, light breeze, May | 110–120°F | Everything; fruit set fails, leaves scorch |
| 90°F | Clear, July | 120°F+ | Plant loss within hours without shade and airflow |
Those interior figures assume no ventilation and no shading. They fall dramatically with a roof vent open, which is the entire point.
Target Temperatures Worth Knowing
- 65°F to 85°F — the productive daytime band for nearly all greenhouse crops.
- Above 90°F — photosynthesis slows and tomato, pepper and eggplant pollen begins to fail, so flowers drop without setting fruit. This is invisible until you notice no fruit.
- Above 95°F — leaf scorch and wilting on anything with a small root ball; germination rates fall off sharply.
- Above 100°F — seedlings and unrooted cuttings can be lost in an afternoon.
- Night: 55°F to 65°F — for warm-season crops. A 10°F to 15°F day-night difference produces stockier plants than constant warmth.
Buy a min/max thermometer and put it at bench height in the middle of the greenhouse, out of direct sun. It costs very little and it converts guesswork into information — most people are genuinely shocked by the first week of readings.
The Vent Math: 20% of Floor Area
Passive ventilation works by the stack effect. Hot air rises and exits high; cooler air is drawn in low to replace it. That requires two openings at different heights, and it needs enough total area to move real volume.
The horticultural standard is total vent area equal to about one-fifth of the floor area, divided roughly evenly between ridge or roof vents and low sidewall intakes. Here is what that means in practice.
| Greenhouse | Floor area | Total vent area needed | Roof vent | Low intake |
|---|---|---|---|---|
| 6 ft × 6 ft | 36 sq ft | ~7 sq ft | ~3.5 sq ft | ~3.5 sq ft |
| 6 ft × 8 ft | 48 sq ft | ~10 sq ft | ~5 sq ft | ~5 sq ft |
| 8 ft × 10 ft | 80 sq ft | ~16 sq ft | ~8 sq ft | ~8 sq ft |
| 10 ft × 12 ft | 120 sq ft | ~24 sq ft | ~12 sq ft | ~12 sq ft |
Now compare that with what kits ship. A typical hard-sided 8 ft × 10 ft greenhouse comes with a single hinged roof vent of about 2 to 3 square feet and a door. That is roughly a quarter of the roof-vent area the structure needs, and the door counts for very little because it is an intake and an exhaust at the same time. Owners consistently report that adding a second roof vent, or a set of low louvered intakes, was the modification that made the structure usable in spring. Plan and budget for it as part of the purchase rather than as a rescue.
Two practical notes. Roof vents work far better than gable-end vents because they sit at the top of the heat column. And a louvered low intake on the shaded side of the greenhouse pulls in the coolest available air, which matters more than it sounds.
Powered Ventilation: Sizing in CFM
Once passive venting is maxed out, or if the greenhouse is sheltered from any breeze, an exhaust fan does the work. The design target for summer is roughly one complete air change per minute.
Calculate it directly: multiply length × width × average height to get the interior volume in cubic feet, and buy a fan rated at least that many CFM. An 8 ft × 10 ft greenhouse with an average height of about 7 feet holds roughly 560 cubic feet, so a 550 to 700 CFM exhaust fan is right. The simpler shortcut that gets you to the same place is 8 to 12 CFM per square foot of floor — use the higher end in the South and Southwest, the lower end in the Pacific Northwest and the northern tier.
| Greenhouse | Approx. volume | Summer fan (1 air change/min) | Winter circulation |
|---|---|---|---|
| 6 ft × 8 ft | ~330 cu ft | 350–450 CFM | Small 6 in. circulation fan, run continuously |
| 8 ft × 10 ft | ~560 cu ft | 550–700 CFM | One 8 in. circulation fan |
| 10 ft × 12 ft | ~840 cu ft | 850–1,000 CFM | One or two 8 in. circulation fans |
Set the fan on a thermostat so it starts around 80°F, and give it a properly sized intake — a fan with nothing to draw from simply strains. Rule of thumb: intake shutter area should be at least 1.25 times the fan's own opening.
Winter needs a different job from the same category of equipment. In cold months you are not dumping heat, you are stopping stagnant, saturated air from settling on foliage and breeding botrytis and mildew. A single small circulation fan running continuously, plus cracking a vent for a few minutes on mild days, handles it. Aim for gentle air movement rather than air exchange, since every cubic foot you exhaust in January is heat you paid for — see how to heat a greenhouse in winter.
Shading: The Cheapest Big Win
Ventilation removes heat that has already arrived. Shading stops it arriving, which is a fundamentally better trade in June, July and August.
Shade cloth comes rated by the percentage of light it blocks. For general vegetable growing and mixed benches, 30% to 40% is the standard choice; propagation areas, ferns and shade-tolerant foliage do well at 50%; anything above 50% starts costing yield. Fit it on the outside of the glazing, spaced slightly off the surface if you can, so the heat is intercepted before it enters. Cloth hung inside is far less effective — the energy is already in the building.
Shade paint — a whitewash-style coating applied in late spring and washed off in fall — is a traditional and genuinely effective option for glass. It is cheap, does not flap in wind, and has the downside that you cannot remove it for a cloudy week.
Damping down is free. Wetting the floor and benches on a hot morning drops air temperature several degrees through evaporation and raises humidity, which helps plants cope. In dry western climates the effect is large; in the humid Southeast it is modest and can worsen disease pressure, so use it sparingly there.
A Working Routine Through the Year
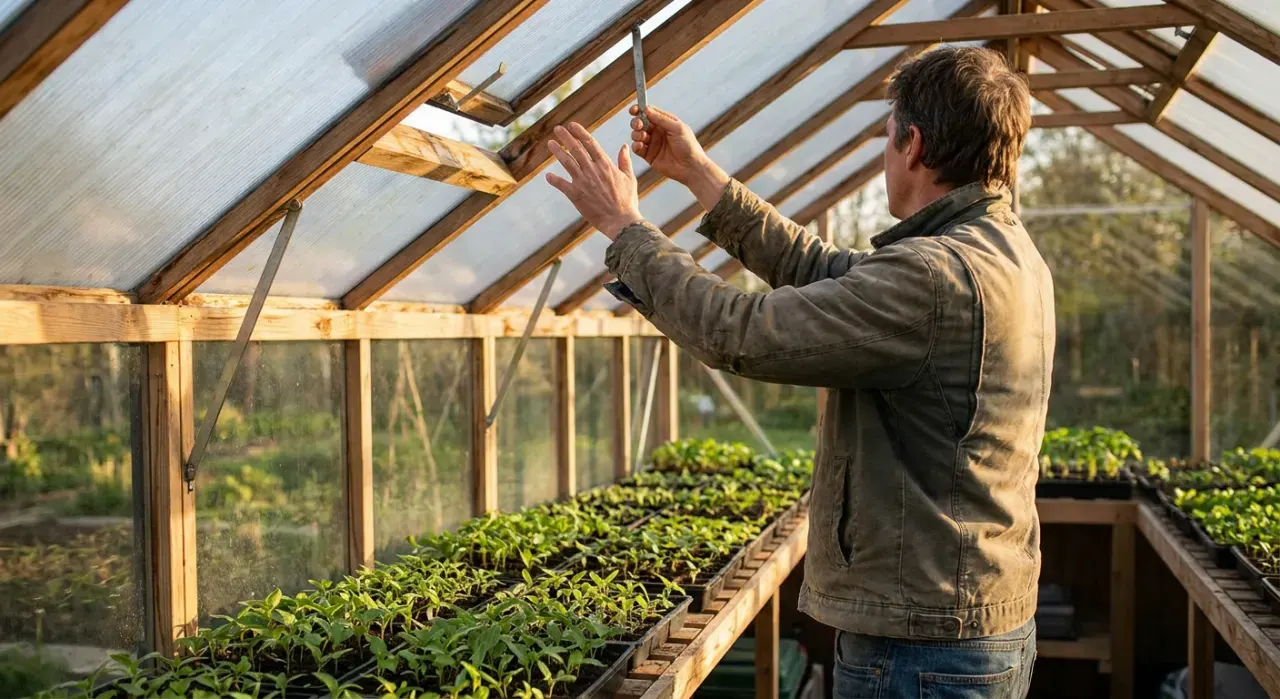
- Late winter (Feb–Mar): the danger months. Open the roof vent on any clear morning once outside air passes about 45°F, and close it by mid-afternoon to bank warmth for the night. Fit the automatic opener now, not in May.
- Spring (Apr–May): vents open by default on clear days; door open on warm afternoons. Watch for the first 90°F reading on the min/max thermometer — that is your cue to fit shade cloth.
- Summer (Jun–Aug): shade cloth on, vents open permanently, fan on a thermostat if you have one, damp down the floor on hot mornings. Water twice on the hottest days.
- Fall (Sep–Oct): shade cloth off as soon as peaks drop below the 90s — light is getting scarce and you want all of it. Vents still open on mild days to control humidity.
- Winter (Nov–Jan): vents closed, but crack one for 10 to 20 minutes on any mild, dry, still day to exchange stale air. Keep a small circulation fan moving air across the foliage.
If You Only Do Three Things
First, fit a wax-piston automatic vent opener to at least one roof vent. It needs no power, typically begins to lift around 68°F to 75°F and is fully open near 85°F, and it works on the exact days you are at work. It prevents the most common failure in this entire category.
Second, add a low intake — a louver, a sliding panel, or in a hoop house simply rolling up the side film. Hot air cannot leave the roof if nothing can enter down low.
Third, get a min/max thermometer so you are managing measurements rather than impressions.
Beyond that, the structure itself matters: taller greenhouses buffer heat better, and glazing choice changes both light and heat behavior — diffusing twin-wall polycarbonate spreads light more evenly and avoids the hot stripes you get under clear glass. That comparison is in polycarbonate vs glass vs film, and sizing and height are covered in greenhouse sizing and siting. If you are still choosing a structure, our ranked backyard greenhouses flags which kits ship with adequate venting and which need immediate modification. Cold frames overheat by exactly the same mechanism, only faster — the same discipline applies to the models in best cold frames. More at greenhouses and season extension, and our research method is on how we rank.