 Garden

Affiliate Disclosure
Some links on this page are affiliate links. As an Amazon Associate, we earn from qualifying purchases — at no extra cost to you. We do not buy, test, or physically handle the products we cover; our rankings come from aggregated owner reviews, ratings and expert consensus. Commissions never change our verdicts. How we rank · full disclosure.
Short answer: size the heater with BTU/hr = glazing area × U-value × temperature difference. For a typical 8 ft × 10 ft twin-wall polycarbonate greenhouse held frost-free at 40°F when it is 0°F outside, that is about 7,500 BTU/hr, or 2,200 watts — roughly $1.80 a night to run. But do the free things first: bubble wrap, thermal mass and shrinking the heated zone routinely cut that requirement by a third or more.
Heating is a running-cost decision rather than a gear decision, so the sensible order is insulate, add mass, zone the space, and only then buy a heater sized to a modest target.
Step One: Decide How Warm, Honestly
The temperature you choose drives everything downstream, and most people pick a number far higher than their plants require.
| Target minimum | What it keeps alive | Relative running cost |
|---|---|---|
| Unheated | Hardy winter greens, dormant hardy perennials, garlic, overwintered alliums | Zero |
| 35–40°F (frost-free) | Dormant tender bulbs and tubers, potted figs, bay, overwintering herbs | Baseline |
| 45–50°F (cool house) | Pelargoniums, fuchsias, citrus, tender succulents, cuttings held over | Roughly 1.5× to 2× baseline |
| 60°F+ (warm house) | Actively growing tender crops, winter tomatoes, tropical foliage | 3× to 4× baseline or more |
The gap between frost-free and warm house is the difference between a manageable winter bill and an alarming one, because you are heating a thinly glazed box against the outdoors. Nearly all experienced owners run frost-free and grow things that suit it — which is a much longer list than beginners expect, as unheated greenhouse winter crops sets out.
Step Two: Size the Heater
The heat a greenhouse loses is governed by three things: how much glazing it has, how well that glazing insulates, and how big a temperature gap you are trying to hold.
Heat loss (BTU/hr) = glazing surface area in sq ft × U-value × ΔT in °F
Glazing area is not floor area — it is the total of walls, gable ends and roof. Measure yours, or use these approximations: a 6 ft × 8 ft greenhouse has roughly 210 sq ft of glazing, an 8 ft × 10 ft about 290 sq ft, and a 10 ft × 12 ft about 370 sq ft. U-values differ sharply by material: single-layer polyethylene film is about 1.2, single glass about 1.13, 4 mm twin-wall polycarbonate about 0.70, 6 mm twin-wall about 0.65, and 8 mm triple-wall about 0.50. ΔT is your target minimum minus your design low temperature — the coldest night you actually want to cover, not the record low.
| Greenhouse | Glazing | Hold 40°F at 20°F outside (ΔT 20) | Hold 40°F at 0°F outside (ΔT 40) |
|---|---|---|---|
| 6 ft × 8 ft | 6 mm twin-wall polycarbonate | ~2,730 BTU/hr · 800 W | ~5,460 BTU/hr · 1,600 W |
| 6 ft × 8 ft | Single-layer film | ~5,040 BTU/hr · 1,480 W | ~10,080 BTU/hr · 2,950 W |
| 8 ft × 10 ft | 6 mm twin-wall polycarbonate | ~3,770 BTU/hr · 1,100 W | ~7,540 BTU/hr · 2,210 W |
| 8 ft × 10 ft | Single glass | ~6,550 BTU/hr · 1,920 W | ~13,110 BTU/hr · 3,840 W |
| 10 ft × 12 ft | 6 mm twin-wall polycarbonate | ~4,810 BTU/hr · 1,410 W | ~9,620 BTU/hr · 2,820 W |
Two things fall out of that table immediately. Glazing choice roughly doubles or halves the heater you need, which is a strong argument for twin-wall polycarbonate if you intend to heat at all — see polycarbonate vs glass vs film. And a single 1,500 W electric greenhouse heater, which delivers about 5,100 BTU/hr, covers a small polycarbonate house down to about 0°F but is not enough for a film structure of the same size.
Useful conversions: watts = BTU/hr ÷ 3.412. One gallon of propane holds about 91,500 BTU. Add 10% to 20% to your calculated figure if the site is windy or exposed, because wind strips heat off glazing far faster than still air.
Step Three: The Free and Cheap Measures (Do These First)
Every one of these reduces the heater you need, and they compound.
Bubble insulation
Horticultural bubble film — larger bubbles than packing wrap, UV stabilized — clipped to the inside of the frame adds a trapped air layer and typically cuts heat loss by 30% to 40%. Clip it to the glazing bars rather than taping it to the panels, leave a small air gap, and cover the north and west faces first if you only do part of the structure. The cost is light: expect to lose 10% to 20% of transmission, which is an easy trade in December and a bad one by mid-March, so take it down when the days lengthen.
Thermal mass
Water is the cheapest heat battery available. It holds roughly 8.34 BTU per gallon per degree Fahrenheit, so a 55-gallon drum stores about 460 BTU for every degree it cools — meaning a drum that gains 15°F during a sunny day gives back nearly 7,000 BTU overnight. Paint drums matte black, stack them along the north wall where they will not shade plants, and expect them to flatten the daily temperature swing more than they raise the minimum. Three or four drums make a real difference in a 8 ft × 10 ft house; two milk jugs do not.
Seal the leaks
Air infiltration is invisible and expensive. Check the door seal, the vent when closed, the ridge, the panel edges and the base rail. Foam weatherstrip on the door and clear silicone or aluminum tape at panel gaps costs a few dollars and reduces losses measurably. Do not seal so thoroughly that you never exchange air — see the winter humidity note below.
Zone the space
This is the biggest saving most people never make. You almost never need the whole greenhouse warm. Partition off a third of it with a curtain of bubble film or clear poly, put the plants that genuinely need protection inside that zone, and heat only that. Halving the heated volume roughly halves the bill. At the smallest scale, a fleece tent or a heated propagator over a single bench keeps cuttings alive for a fraction of the cost of heating 560 cubic feet of air.
Insulate the north wall
The north-facing wall contributes very little light in winter and loses heat continuously. Lining it with foil-faced insulation board reflects light back into the space and cuts loss through that face substantially.
Step Four: Choosing a Heater
| Type | Strengths | Drawbacks | Best for |
|---|---|---|---|
| Electric fan heater with thermostat | Clean, dry heat; precise thermostat; moves air, which prevents mildew | Needs a properly rated GFCI outdoor circuit; running cost | Most home greenhouses up to about 120 sq ft |
| Electric tube heater | Cheap to buy, gentle background warmth, no fan noise | Low output; no air movement; works only in a small or well-insulated space | Frost-free protection in a small greenhouse |
| Propane heater | No electric supply needed; high output | Produces water vapor and carbon monoxide; needs ventilation and a CO alarm; fuel handling | Larger structures without power |
| Paraffin/kerosene heater | Inexpensive, portable, no power | Significant humidity, soot on glazing, refueling, fire risk | Emergency frost protection only |
| Soil-warming cable or heat mat | Very efficient — heats the root zone, not the air | Warms only what sits on it | Propagation benches and seed starting |
Whatever you buy, put it on a thermostat rather than a timer. A thermostat runs the heater only when the temperature actually falls, which on a mild week may be barely at all; a timer runs it on schedule regardless. And place the heater so it blows along the length of the greenhouse rather than directly at foliage — hot dry air pointed at leaves scorches them.
Safety. Any electric heater in a greenhouse needs an outdoor-rated GFCI circuit, and the cord must be kept off wet floors and away from the water can. Combustion heaters need permanent ventilation, a carbon monoxide alarm, and clearance from anything flammable. This is not the place for an indoor space heater and an extension cord run through a window.
The Winter Problem Nobody Warns You About
A sealed, heated greenhouse in January is a humidity trap. Warm air holds more moisture; when it hits cold glazing overnight it condenses and drips, and saturated still air on dormant foliage is exactly the condition botrytis and downy mildew want. More overwintered plants are lost to gray mold than to cold.
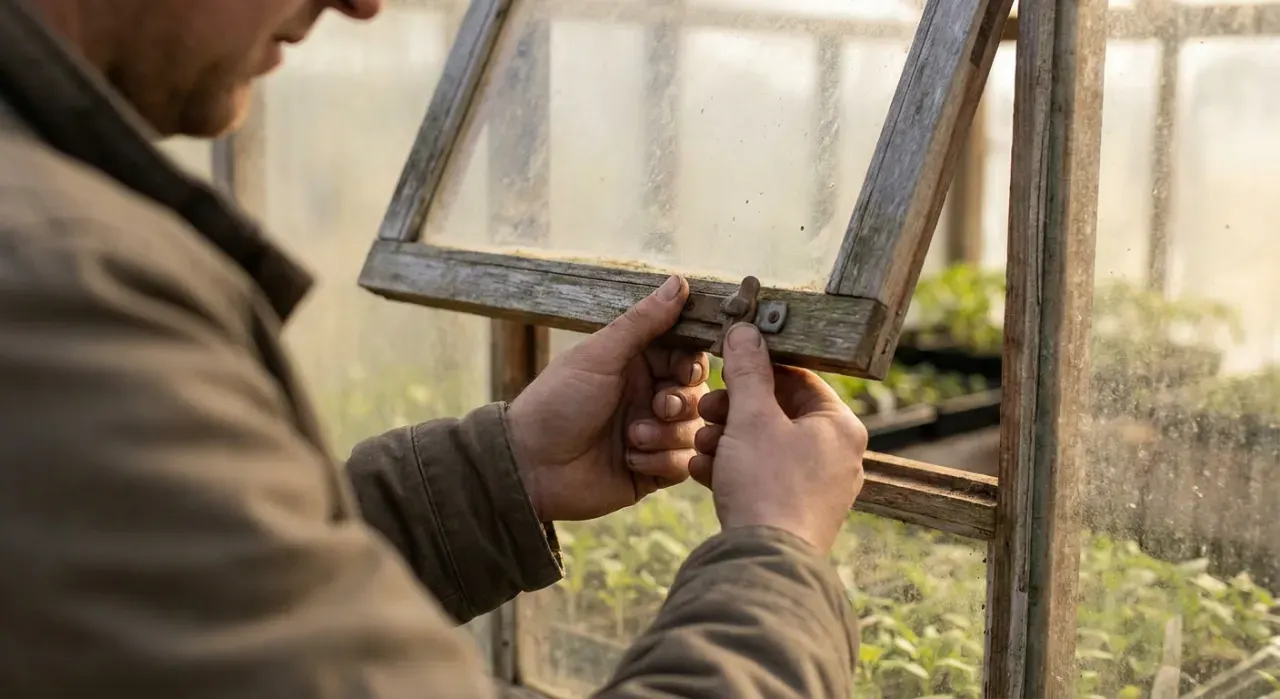
The fix is cheap: keep a small circulation fan running continuously to prevent stagnant pockets, crack a vent for 10 to 20 minutes on any mild dry day to exchange the air, water in the morning rather than the evening, and water the soil rather than the leaves. Remove fallen leaves and spent flowers promptly. All of that is covered further in greenhouse ventilation and overheating, which matters in winter as much as in July, just for a different reason.
What Most People Should Actually Do
Insulate the glazing with bubble film in November, put three or four black water drums along the north wall, weatherstrip the door, curtain off a third of the space, and fit a thermostatically controlled 1,500 W electric fan heater set to 38°F inside that zone. That combination protects tender plants through a zone 5 or 6 winter for something in the region of $100 to $200 in electricity across the season, and it leaves the rest of the greenhouse to do what unheated greenhouses do well — grow hardy greens.
If your ambition is winter tomatoes, run the sizing arithmetic above at ΔT 60 before you commit; the number is usually persuasive on its own. And if you are still choosing a structure, the insulation value of the glazing is the single biggest lever on every figure on this page — start with our ranked backyard greenhouses and greenhouse sizing and siting. For a cheaper route to frost protection without any heater at all, row covers and frost cloth and cold frames do more than most people expect. More at greenhouses and season extension; our method is on how we rank.