 Garden

Affiliate Disclosure
Some links on this page are affiliate links. As an Amazon Associate, we earn from qualifying purchases — at no extra cost to you. We do not buy, test, or physically handle the products we cover; our rankings come from aggregated owner reviews, ratings and expert consensus. Commissions never change our verdicts. How we rank · full disclosure.
An old window sash makes a good cold frame lid, but if the window predates 1978 you must deal with the paint before it goes near food crops. The EPA notes that pre-1978 housing commonly contains lead-based paint, and window sash is a high-risk component because the friction of opening generates dust. Test with a $10 to $25 swab kit or assume positive, then encapsulate rather than sand. After that the build is straightforward: measure the sash, build a box half an inch smaller so the sash overhangs, hinge along the high back edge, and set the low side facing south. Half a day, $20 to $60.
We never buy, test or physically handle the products we rank; recommendations come from aggregated owner reviews and expert consensus, described in how we rank. More at the greenhouses and season extension hub.
Step 1: Deal with the paint before anything else
This is the step that separates a good salvage project from a genuinely bad idea, and it is easy to get right.
Lead-based paint was banned for residential use in the US in 1978, and the EPA notes that homes built before then frequently contain it. Windows are specifically flagged as high-risk because the sash rubs in the frame and generates fine dust. A cold frame concentrates two aggravating factors: the sash is directly above soil you will be eating from, and rain washes off whatever the surface sheds.
- Establish the age. Pre-1978 sash: assume lead unless tested otherwise. Post-1978 or clearly modern aluminum or vinyl: no concern.
- Test if you want certainty. Hardware-store swab kits cost $10 to $25 and give a color change in seconds. Test several spots, including the inside of the rabbet where paint is thickest.
- Never dry-sand, scrape or power-wash suspect paint. That is precisely how lead becomes airborne dust in your garden and on your hands.
- Encapsulate instead. Wipe down wet, let it dry, then apply a bonding exterior primer followed by two coats of exterior paint. The paint stays where it is, sealed under a new film. Re-coat every few years as the frame weathers.
- Reject badly flaking sash. If paint is already lifting in sheets, encapsulation will not hold. Use that window somewhere non-edible, or not at all.
If you would rather sidestep the question entirely, build the same frame with a polycarbonate lid — the technique is in how to build a cold frame.

Step 2: Choose the right sash
Not every salvaged window is worth carrying home. Check:
- Sound wood at the bottom rail. That is where water sits and rot starts. Press with a screwdriver tip — if it sinks, walk away.
- Tight glazing putty. Press each pane gently at its edges. A pane that moves needs re-puttying, and a loose pane overhead is a hazard.
- Square, tight joints. A sash you can rack by hand will only get worse outdoors.
- Weight you can lift. A big double-hung sash with old glass can run 20 to 30 pounds. Anything heavier than you can raise one-handed will be annoying every single day.
Sources: Habitat for Humanity ReStores, salvage yards, marketplace listings, and window-replacement crews who are otherwise going to break them. Typical price is free to $20.
Step 3: Build the box to fit the sash
Measure the sash overall, then build the box half an inch smaller in each direction so the sash overhangs slightly and drips clear of the joints.
| Element | Figure |
|---|---|
| Box opening | Sash size minus about 1/2 in each way |
| Back wall height | 16–20 in |
| Front wall height | 10–14 in |
| Slope | 10–15 degrees, low side south |
| Depth front to back | Keep at or under 3 ft so you can reach the back |
| Wood | Untreated cedar, redwood or cypress, 1x10 or 1x12 |
Cut the side pieces on a taper from back height to front height. Screw 2x2 cleats into the inside corners and assemble to them — butt joints alone work loose within a season. Check square by measuring both diagonals; they should match within about 1/8 inch.
Cedar, redwood or cypress are the standard woods next to food crops because they resist rot without chemicals. Do not use reclaimed lumber that might carry creosote, and do not use old painted boards for the same reason you tested the sash.
Step 4: Hinge it safely — glass changes the rules
A glazed sash weighs several times what a polycarbonate lid does, and glass falling on a hand is a different outcome from plastic falling on a hand. Three things to get right:
- Hinge along the back, high edge with three 3-inch exterior hinges rather than two. Screw into the cleats or a solid rail, not into end grain.
- Fit a positive prop, not a stick. A casement stay or a length of chain with hooks holds the lid at set positions and will not slip. A loose prop stick that kicks out drops a glazed sash on whatever is underneath, including your forearm.
- Add a wind restraint. A hook-and-eye or a strap that limits how far the lid can fly open. A gusted sash slamming past vertical breaks glass and hinges.
If a pane is missing or cracked, replace it with clear polycarbonate cut to size and bedded in silicone rather than new glass. Lighter, safer, and it will not fail on a cold night.
Step 5: Site and use it
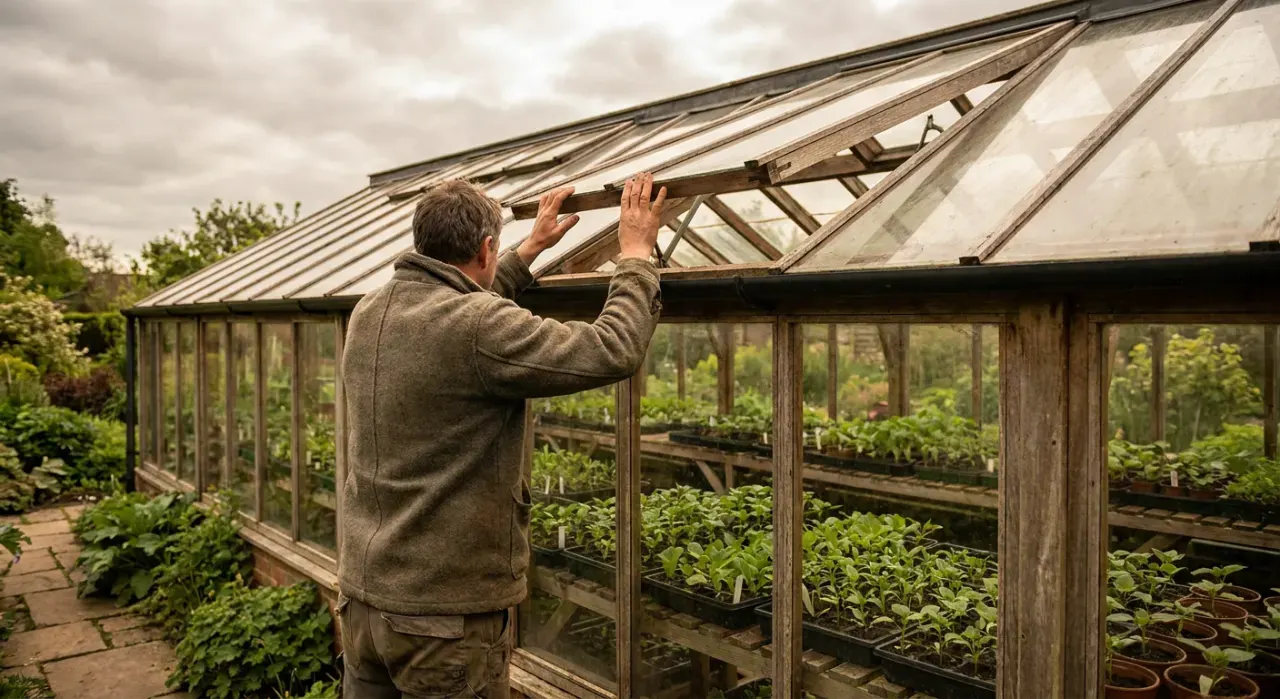
Set the low side facing south so the sloped glazing meets low winter sun as squarely as possible. A south-facing wall or fence behind the frame blocks north wind and re-radiates stored heat overnight. Level the ground, remove sod, and add a few inches of gravel if drainage is poor.
Then vent it, which is what actually protects the plants. A closed frame in full sun exceeds 100°F even on a near-freezing day, and cooked seedlings kill more cold frame plantings than cold does. Prop the lid 2 to 6 inches whenever outside air passes about 40°F in sun, and close it by mid-afternoon to trap warmth for the night. An automatic wax-cylinder vent opener costs $30 to $60 and works with no power at all — on a heavy glazed sash, check the opener is rated for the weight.
Add thermal mass: two or three black-painted jugs of water along the back wall are worth several degrees on a clear night. Crop choices are in unheated winter crops, and the underlying mechanism in how a cold frame works.
Living with single glass
Understand the trade-off you have accepted. Single-pane glass insulates roughly half as well as twin-wall polycarbonate, because polycarbonate has an air gap between its walls. It also shatters into sharp shards under a footfall, a falling branch or a hailstone. That is manageable — keep the frame out of a traffic path, cover it with a board if heavy hail is forecast, and sweep up thoroughly if it does break, because glass in a vegetable bed is a long-term problem.
Households with children or dogs moving through the garden should weigh that seriously. Panel comparisons are in polycarbonate vs glass vs film, and ready-made alternatives in best cold frames.
Related reading: how to build a cheap cold frame, cold frame vs greenhouse, keeping a greenhouse warm without electricity.