 Garden
Affiliate Disclosure
Some links on this page are affiliate links. As an Amazon Associate, we earn from qualifying purchases — at no extra cost to you. We do not buy, test, or physically handle the products we cover; our rankings come from aggregated owner reviews, ratings and expert consensus. Commissions never change our verdicts. How we rank · full disclosure.
Build a cold frame as a bottomless box with a sloped, glazed lid: roughly 3 feet wide by 2 to 3 feet deep, 18 inches tall at the back and 12 at the front, with the low side facing south. That 6-inch drop over 2 to 3 feet gives about a 10 to 15 degree slope, which sheds rain and angles the glazing toward low winter sun. Use untreated cedar and either a salvaged window or a sheet of twin-wall polycarbonate for the lid. Expect a half day of work and $40 to $150 in materials. The frame extends each end of your season by about four to six weeks.
We never buy, test or physically handle the products we rank; recommendations come from aggregated owner reviews and expert consensus, described in how we rank. More at the greenhouses and season extension hub.
The dimensions that matter
| Dimension | Figure | Why |
|---|---|---|
| Width | 3–6 ft | Match your glazing panel or salvaged sash |
| Depth (front to back) | 2–3 ft max | You must reach the back row from the front |
| Back wall height | 16–20 in | Headroom for seedlings and short greens |
| Front wall height | 10–14 in | Creates the slope; keeps glass close to plants |
| Slope | 10–15 degrees | Sheds rain, angles glazing at low winter sun |
| Orientation | Low side to the south | Maximum winter light capture |
The depth limit is the rule people break and regret. A 4-foot-deep frame looks generous and then you cannot reach the back without stepping in, so the back row goes unwatered and unharvested. Two 3-foot frames beat one 6-foot-deep one every time.
Materials and cut list
For a 3 ft by 2 ft frame from 1x12 cedar boards, which needs no ripping:
- Back: one board, 36 in long, full 11.25 in width, plus a 6-in strip ripped or a second stacked board to reach 18 in total height.
- Front: one board, 36 in long, cut down to about 11 in tall.
- Sides: two boards, 24 in long, cut on a diagonal from 18 in at the back down to 11 in at the front.
- Corner cleats: four lengths of 2x2 cedar, 11 to 18 in, to screw the corners into.
- Lid: a salvaged window sash, or a frame of 1x2 cedar glazed with 8 mm twin-wall polycarbonate.
- Hardware: two or three 3-inch exterior hinges, exterior-grade screws (deck or stainless), a hook-and-eye or a prop stick.
Cost runs about $40 to $60 if you use a salvaged sash, $90 to $150 with new polycarbonate. Ready-made frames start around $80 and are compared in best cold frames.
On wood: untreated cedar, redwood or cypress last 8 to 15 years outdoors without chemicals, which is why they are the standard choice next to food crops. Modern pressure-treated lumber uses copper azole or ACQ rather than the arsenic-based CCA withdrawn from residential use in 2003, and most extension guidance now considers it acceptable for garden beds — but cedar avoids the question entirely. Never use reclaimed railroad ties, creosote-treated timber, or old painted lumber that may carry lead.
On glazing: twin-wall polycarbonate is the better technical choice — it insulates roughly twice as well as single glass because of the air gap between walls, weighs a fraction as much, and does not shatter. Old window sash is cheaper and looks better. Panel thickness guidance is in how thick polycarbonate panels should be, and lifespan in how long they last.
Step 1: Choose and prepare the site (30 minutes)
Pick a spot that gets full sun from mid-morning through mid-afternoon in winter, not in summer — the sun angle is completely different and a spot that bakes in July can be shaded by the house in January. A south-facing wall or fence at the back of the frame is the ideal position: it blocks north wind and stores heat during the day, releasing it overnight.
Avoid low points where cold air settles. Level the ground and remove sod. If drainage is poor, dig out 4 inches and backfill with gravel — a cold frame sitting in a puddle rots at the base and freezes the root zone.
Step 2: Build the box (90 minutes)
- Cut the side taper. Mark 18 inches at one end and 11 at the other on each side board, snap a line, and cut with a circular saw or a jigsaw. Cut both sides together so they match.
- Screw the corner cleats to the inside ends of the front and back boards, flush with the edges. The cleats are what the sides screw into — butt joints alone will loosen within a season.
- Assemble the box on a flat surface, checking for square by measuring both diagonals. They should match within about 1/8 inch.
- Add a bottom rail or stakes if the frame sits on soft ground. Two stakes driven inside each corner and screwed to the box keep it from shifting and from being lifted by wind.
Step 3: Fit the lid (45 minutes)
Hinge the lid along the back, high edge so it opens upward and away from you and rain runs off the front. Use two hinges on a 3-foot lid, three on a 6-foot one.
Leave a small overhang — about half an inch on the front and sides — so water drips clear of the box rather than running down the inside of the joints. Add a simple prop: a notched stick, a length of chain, or a casement stay, giving you positions at roughly 2, 6 and 12 inches of opening.
The single best upgrade is a non-electric automatic vent opener, $30 to $60. A wax cylinder expands with heat and pushes the lid open, closing again as it cools. It works with no power, and it solves the problem that will otherwise cost you a planting: nobody is home at 11am on the sunny Tuesday when the frame hits 105°F.
Step 4: Using it through the season
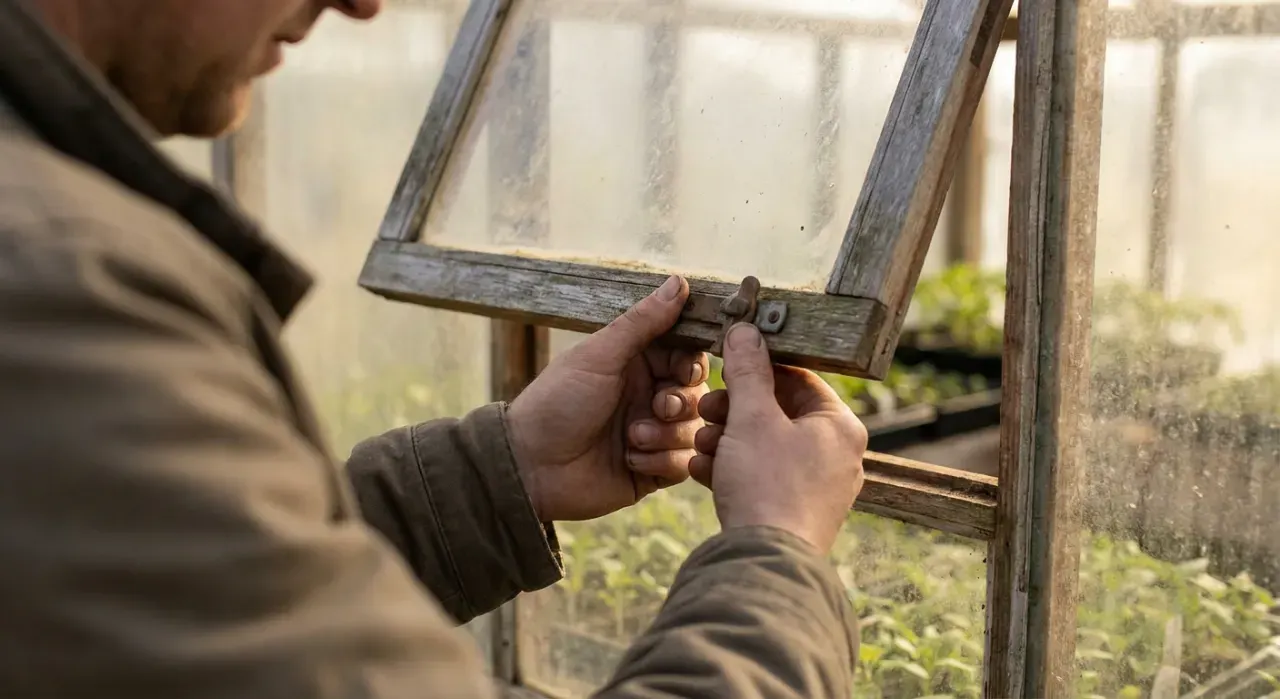
- Vent whenever outside air exceeds about 40°F in sun. Prop it 2 to 6 inches. On a mild sunny day open it wide.
- Close it by mid-afternoon, around 3 to 4pm in winter, to trap the day heat for the night.
- Add thermal mass. Two or three gallon jugs of water painted black, set along the back wall, absorb heat by day and release it overnight — worth several degrees on a clear night.
- Insulate on hard nights. An old blanket, a piece of rigid foam or a bag of leaves over the lid when a hard freeze is forecast. Remove it in the morning.
- Water sparingly. A closed frame loses very little moisture, and overwatering in cool weather invites damping off. Check the soil rather than the calendar.
What to grow: spinach, mache, arugula, lettuce, kale, chard, scallions, radishes and hardy herbs all crop through winter in a frame across much of the US. Full crop guidance is in unheated winter crops, and the underlying physics in how a cold frame works.
Safety and permits
A cold frame is a garden structure, not a building, and no US jurisdiction requires a permit for one. Two genuine cautions all the same. If you glaze with salvaged single-pane glass, understand that it breaks into sharp shards under a footfall or a falling branch — see building from old windows for handling it safely, including the lead paint issue on pre-1978 sash. And a lightweight lid is a wind hazard: secure it with a hook or a strap when open, because a gusted sash slamming shut breaks glass and fingers.
If you are weighing a frame against a full greenhouse, the trade-offs are in cold frame vs greenhouse and greenhouse vs hoop house vs cold frame. A budget-first approach is in how to build a cheap cold frame.