 Garden

Affiliate Disclosure
Some links on this page are affiliate links. As an Amazon Associate, we earn from qualifying purchases — at no extra cost to you. We do not buy, test, or physically handle the products we cover; our rankings come from aggregated owner reviews, ratings and expert consensus. Commissions never change our verdicts. How we rank · full disclosure.
Yes, this is a DIY job — the limit is your back, not your skill. A yard-scale French drain is a sloped trench 8 to 12 inches deep and 6 to 12 inches wide, lined with non-woven fabric, filled with washed stone around a 4-inch perforated pipe, and daylighted to a lower point. Materials run roughly $8 to $15 per linear foot and a 40-foot run is a solid weekend. Call 811 first to have utilities marked. A footing drain against a basement wall is a different, deeper, structural job — hire that one out.
First: Do You Actually Want a French Drain?
The most common mistake in yard drainage is building the wrong thing well. A French drain transports water. It only works if there is somewhere lower to send it — a swale, a ditch, a street-side curb outlet, a slope at the back of the lot. If your ground is flat and there is nowhere lower, a drain has nothing to do and water will simply sit in the gravel.
| Situation | Right solution | Why |
|---|---|---|
| Wet strip, lower ground available within ~50 ft | French drain | Gravity carries it away; nothing stores |
| Flat lot, no lower outlet, sandy or loamy soil | Dry well | Stores a surge and infiltrates over hours |
| Flat lot, heavy clay | Regrade, or a rain garden | A dry well in clay fills and stays full |
| Water only after roof runoff | Downspout extensions first | Cheapest fix; often the whole problem |
| Seepage into a basement | Footing drain — contractor | Structural, several feet deep, needs waterproofing |
Before you dig anything, do the cheap test: run downspout extensions out 6 to 10 feet from the house and watch through one wet week. A surprising share of "drainage problems" are four downspouts discharging at the foundation. If that fixes it, you have saved a weekend and several hundred dollars. Our why water pools after rain guide walks the diagnosis.

Tools and Materials
- Perforated corrugated drain pipe, 4-inch. The flexible expandable type is easiest to handle in a curved trench — Flex-Drain 4-inch perforated, 25 ft (paid link). If your soil is fine and silty, buy it pre-sleeved with a filter sock (paid link) and wrap the stone in fabric as well — belt and braces is correct here.
- Non-woven landscape fabric, wide enough to line the trench and fold over the top. Non-woven, not woven — see the section below on why that distinction decides whether the drain lasts. Our landscape fabric picks cover the difference.
- Washed drainage stone, 3/4-inch clean, roughly 1 cubic yard per 20 feet of 12-inch-wide trench at 10 inches deep. Have it delivered; it is about 1.4 tons per yard.
- Trenching tools: a round-point shovel, a drain spade, a mattock in rooty ground. A rented walk-behind trencher pays for itself past about 60 feet.
- Layout: mason's string, line level or laser level, marking paint, tape measure.
- Outlet: a pop-up emitter or a rodent-screened grate.
The Build, Step by Step
- Call 811, then mark the run. Utility location is free and takes a few working days. Spray the trench line from the wet area to the outlet, keeping at least 5 feet off a foundation for a yard drain and clear of tree trunks by roughly the drip line where you can.
- Establish the fall before you dig. Drive a stake at each end, run a taut mason's string with a line level, then drop the outlet end by 1/4 inch for every foot of run and re-tension. That string is now your finished pipe level. Over 40 feet you have just committed to an outlet about 10 inches lower than the start — check that you actually have that much grade before the first shovelful.
- Dig the trench. Aim 10 to 14 inches deep and 8 to 12 inches wide for a yard drain, measuring depth from the string, not from the grass. Keep the bottom smooth and continuously falling. No flat spots, no dips. Stack the spoil on a tarp on one side.
- Line it with non-woven fabric. Lay it in the trench and up both walls with plenty of overhang on each side — you will fold this over the stone at the end. Overlap fabric joins by at least 12 inches.
- Bed 2 to 3 inches of washed stone. Rake it level and re-check the fall along the top of the stone with your string. This bedding layer is what actually sets the pipe's slope.
- Lay the pipe, holes down. Connect sections with couplers, not tape. Keep the run gently curved rather than sharply kinked — a hard bend in corrugated pipe pinches the bore. If you are joining a downspout into the run, use a solid (unperforated) pipe for that leg so roof water is delivered into the system rather than leaking straight back out at the house.
- Cover with stone to within 3 to 4 inches of grade. Fill around and over the pipe so it is fully encased — never let pipe touch soil at any point.
- Fold the fabric over the top and overlap it onto itself. The stone is now a sealed envelope. This is the step that decides whether the drain is working in year fifteen.
- Cap it. Either finish with more stone to grade for a visible gravel drain, or backfill 3 to 4 inches of soil and sod for an invisible one. A soil cap will always be slightly softer than the surrounding lawn for a season.
- Finish the outlet. Daylight it on a slope with a rodent screen, or fit a pop-up emitter in a lawn. An open, unscreened pipe end is an invitation — mice and chipmunks nest in them and block the run from the wrong end.
- Test with a hose before you sod. Run water into the high end for ten minutes and watch the outlet. Water should appear within a few minutes and keep running. If it does not, you have a belly, and it is far easier to find now.
The Fabric Decision That Decides Everything
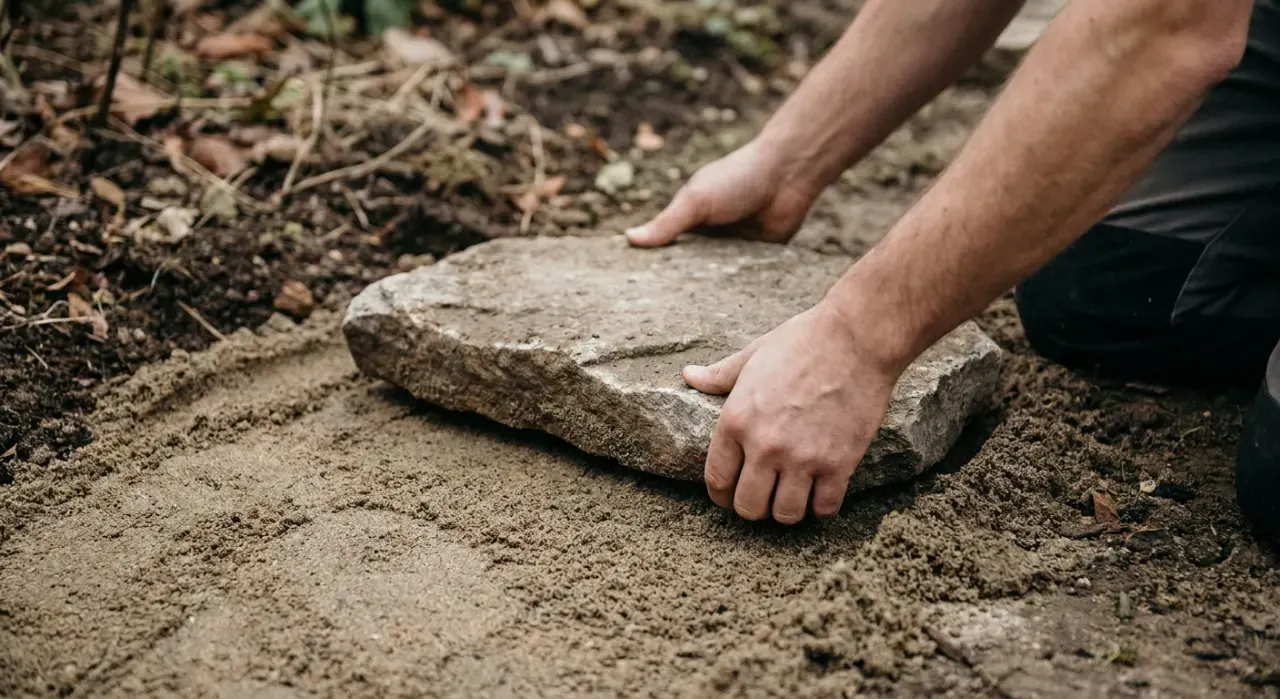
Most French drains that fail did not fail — they silted up, and almost always because of fabric. Use non-woven geotextile, which is a felted fabric that lets water pass through its thickness while trapping fine soil particles. Do not use the woven black "weed barrier" sold for planting beds: it is designed to shed water and block light, its flow rate is a fraction of non-woven, and it blinds off with silt within a couple of seasons.
The second half of the same decision is the stone. Buy washed 3/4-inch drainage stone. Crusher run and unwashed gravel carry their own load of rock dust, and that dust migrates down and cements the voids you are relying on. Paying an extra few dollars a ton for washed stone is the cheapest insurance in this project.
The Five Mistakes That Kill French Drains
- A belly in the run. Water ponds in the low spot, silt drops out of suspension there, and the pipe slowly plugs from the middle outward. Fixed only by digging it up.
- No fabric, or woven fabric. Covered above. The single most common cause of a drain that stops working in year three.
- An outlet that is not actually lower. More common than it sounds on a gently sloping lot. Measure with a string and a level, never by eye — a 2 percent slope is invisible to human judgment.
- Pipe touching soil. Any point where the pipe leaves the stone envelope becomes an entry for fines.
- Treating it as a downspout solution without solid pipe. Perforated pipe under a downspout discharges roof water into the gravel right beside your foundation. Use solid pipe for the connecting leg.
Digging Safety and Code
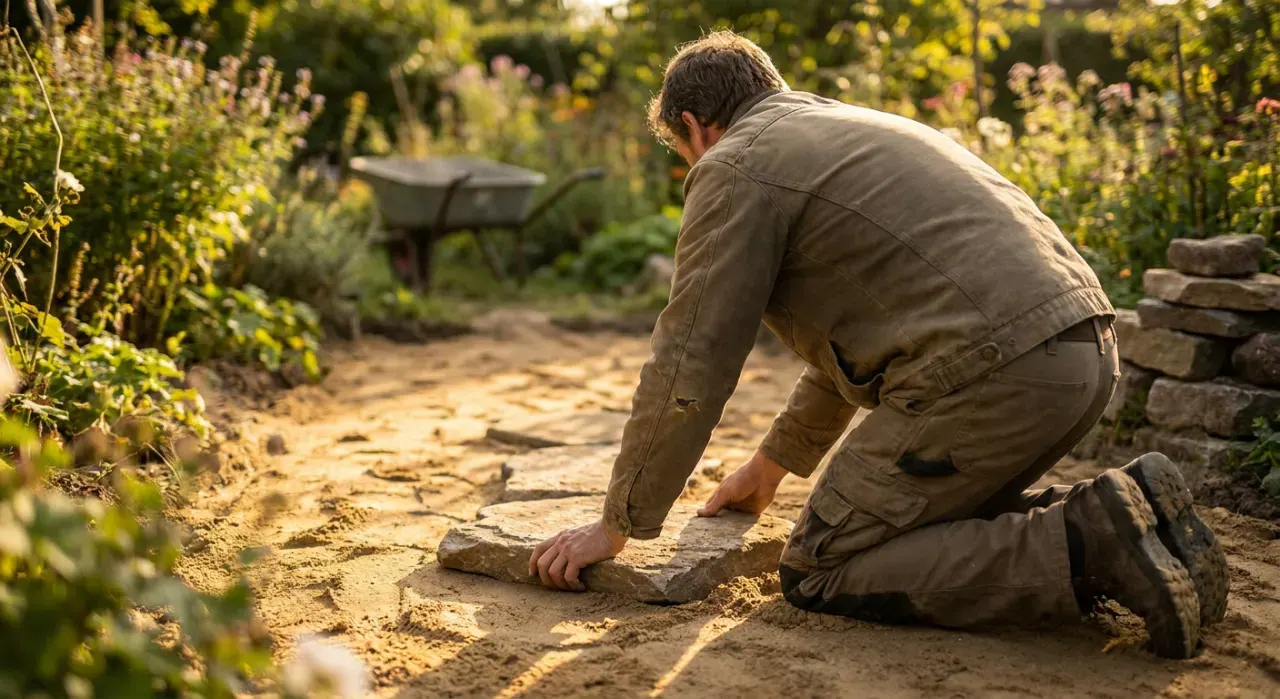
Call 811 before you dig — federal and state programs make utility location free, and hitting a gas or fiber line is both dangerous and expensive. Trenches deeper than about 4 feet raise collapse risk and are governed by shoring rules in occupational settings; as a homeowner, treat that depth as the point to stop and call a contractor. Discharging water onto a neighbor's property, into a storm sewer or into a wetland is regulated in many jurisdictions and outright prohibited in some; your county stormwater or building department will tell you in one phone call. Codes vary by jurisdiction, so check locally before you commit an outlet location.
The Bottom Line
Get four things right and the drain outlives you: continuous fall of 1/8 to 1/4 inch per foot, washed stone, non-woven fabric fully wrapping that stone, and an outlet that is genuinely lower and screened. Get any one of them wrong and you will be digging it up inside five years. If you are still deciding how deep to go, our French drain depth guide sets it by problem type, and yard drainage solutions compares the drain against grading, dry wells and swales.
We never buy, test or physically handle the products we rank. Recommendations come from aggregated owner reviews, star ratings, review volume and expert consensus — see how we rank.
More from this hub: Landscaping & Hardscaping · How to stop water pooling in a yard · Best downspout extensions · How deep should a French drain be · How we rank.