 Garden

Affiliate Disclosure
Some links on this page are affiliate links. As an Amazon Associate, we earn from qualifying purchases — at no extra cost to you. We do not buy, test, or physically handle the products we cover; our rankings come from aggregated owner reviews, ratings and expert consensus. Commissions never change our verdicts. How we rank · full disclosure.
The short answer: excavate deep enough for 6 inches of compacted crushed stone base in mild climates or 8 to 12 inches in freeze-thaw country, plus 1 inch of bedding sand and the paver thickness. Slope the base a quarter inch per foot away from the house. Screed the sand, lay the pavers, install rigid edge restraint on every open side, then sweep in polymeric sand and vibrate it home. The base is the patio; the pavers are just the surface you see.
Nearly every failed paver patio failed underneath. Sinking corners, waving surfaces, joints that open and refill with weeds — these are almost always symptoms of insufficient base depth, base compacted in one thick lift rather than several thin ones, or a missing edge restraint that let the whole field creep outward. Get those three right and the rest is patient labor.
We never buy or physically handle the products we mention; our judgments come from aggregated owner reviews and expert consensus, described in how we rank. For the wider build order, see the landscaping and hardscaping hub.
Tools and Materials
- Plate compactor — rent one, roughly $60 to $100 a day. A hand tamper is only adequate for paths, not patios.
- Flat spade, square shovel, wheelbarrow, garden rake
- Two 10-foot lengths of 1-inch outside diameter EMT conduit for screed rails, plus a straight 2x4 for the screed board
- 4-foot level, line level, mason line and stakes, tape measure
- Rubber mallet, broom, hose with a fan nozzle
- Masonry saw or an angle grinder with a diamond blade for cuts; eye and hearing protection and a dust mask
- Crushed stone base — 3/4 inch minus, sometimes sold as crusher run or 21A
- Coarse concrete sand for bedding — not play sand, not mason sand
- Pavers, plus 10 percent for cuts and waste
- Rigid plastic or aluminum edge restraint and 10-inch spikes
- Polymeric sand
Working Out Quantities
For a 12 by 16 foot patio, 192 square feet:
| Material | Calculation | Typical order |
|---|---|---|
| Base stone at 6 in | 192 sq ft x 0.5 ft ÷ 27 | About 3.6 cubic yards, order 4 |
| Base stone at 10 in | 192 sq ft x 0.83 ft ÷ 27 | About 6 cubic yards, order 6.5 |
| Bedding sand at 1 in | 192 sq ft x 0.083 ft ÷ 27 | About 0.6 cubic yards, order 1 |
| Pavers | 192 sq ft plus 10 percent | 212 sq ft |
| Edge restraint | Perimeter minus the house edge | About 40 linear feet |
| Polymeric sand | 1 bag per 75 to 100 sq ft | 2 to 3 bags |
Order base stone generously. Running short mid-compaction means an unplanned joint between lifts and another delivery fee. Full budget context is in what landscaping costs.
The Build, Step by Step
- Call 811 before you dig. The national utility locate service is free and takes a few days. Gas, electric and irrigation lines are routinely shallower than people expect.
- Lay out the patio and set your grade. Stake the corners and run mason line at the finished paver height along the house. Then drop the line a quarter inch per foot across the width — 3 inches over 12 feet — and set the outer stakes to that. Every measurement from here down is taken from these strings.
- Excavate. Dig 6 to 12 inches of base depth plus 1 inch of sand plus the paver thickness below the finished grade line, and extend the excavation 6 to 8 inches beyond the patio edge on all open sides so the base can support the edge restraint. Keep the excavated floor parallel to the sloped string, not level — the slope is built into the subgrade, not corrected at the top.
- Compact the subgrade. Run the plate compactor over the bare soil until it stops visibly moving. On soft or clay soil, lay a woven geotextile over the subgrade before any stone goes down; it keeps the base from punching into the soil and is cheap insurance.
- Build the base in lifts. This is the step that decides everything. Spread crushed stone no more than 3 to 4 inches deep, wet it lightly so the fines bind, and compact it with at least two passes in perpendicular directions. Repeat until you reach full depth. A 10-inch base is three lifts, not one dump. A single thick layer compacts only at the top and settles for years.
- Check the slope on the finished base. Pull a string or run a level on a long board. Correct now, with stone, while it is easy. Every inch of error here is an inch you cannot fix with an inch of sand.
- Screed 1 inch of bedding sand. Lay the two lengths of conduit on the compacted base, parallel, a little narrower than your screed board. Fill between them with coarse concrete sand, then pull the 2x4 along the rails to strike it flat. Lift the rails, fill the grooves with sand and smooth by hand. Do not compact the bedding sand and do not walk on it — the layer must stay a consistent 1 inch. Screed only the area you can pave that day.
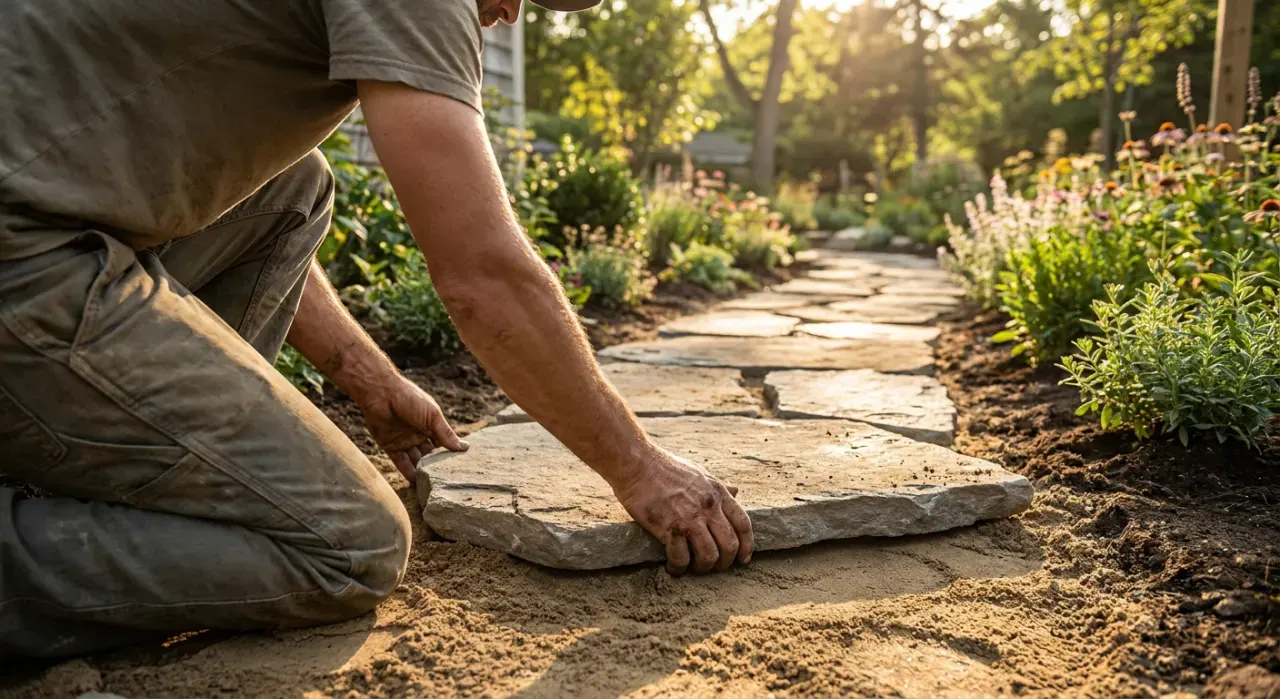
- Lay the pavers. Start at the straightest fixed edge, usually the house, and work outward, always standing on laid pavers rather than on the sand. Set each unit straight down rather than sliding it, which would plow sand ahead of it. Keep joints consistent — most modern pavers have spacer nubs that handle this. Check alignment with a string every few courses; small drifts compound fast.
- Cut the perimeter. Mark cuts by laying a paver over the gap and scribing. A masonry saw is faster and cleaner than a grinder for a full perimeter. Wear the dust mask; concrete dust is silica.
- Install edge restraint. Rigid plastic or aluminum restraint spiked into the base on every side that is not against a wall. Without it the outer courses migrate outward under load, joints open across the whole field and the patio unravels from the edges in. Spike every 12 inches, angled. Then backfill soil against the restraint so it is buried and invisible.
- Sweep in polymeric sand and vibrate. The pavers and joints must be bone dry. Sweep the sand across the surface diagonally until joints are full to about an eighth of an inch below the chamfer, then run the plate compactor over the field with a protective mat or a sheet of plywood, which settles the pavers into the bedding sand and drops the joint sand further. Top up and repeat until the joints hold. Then blow or sweep every trace of sand off the paver faces — this is the step people rush, and residue left on the surface sets as a haze that is genuinely difficult to remove.
- Water it in. Follow the bag directions exactly, because they differ by brand. Typically a light fan spray in two or three cycles, letting each soak in, never a jet that would wash the sand out of the joints. Keep off the patio for 24 hours.
Why Paver Patios Fail
Too little base. Four inches under a patio in Minnesota is not a base, it is a delay. Freeze-thaw needs 8 to 12 inches, and clay soil needs the deeper end of that range regardless of climate.
Compacting in one lift. Plate compactors influence a few inches at a time. Anything thicker stays loose underneath and settles later.
Too much bedding sand. A thick sand layer feels like it is fixing an uneven base. It is not; it is a compressible cushion that will rut wherever weight sits. One inch, screeded, always.
Using the wrong sand. Play sand and mason sand are too fine and too round. Coarse concrete sand is what bedding layers are specified with.
No edge restraint. The most-skipped component and one of the most consequential. Every unrestrained edge slowly walks outward.
Flat or reversed slope. A patio that drains toward the house sends water at your foundation. Check the fall with a level before laying a single paver, and again after the base is finished.
Polymeric sand on damp pavers. Sets as haze on the surface. Dry joints, dry faces, blow it clean, then water.
Maintenance and What Comes Next
A well-built patio needs almost nothing: sweep it, rinse it, and top up joint sand every few years where it has washed low. Reseal only if you want a wet look or you have a light-colored paver prone to staining, and do it after the patio has weathered a full season. If a small area settles, the repair is genuinely simple — lift the pavers, add and compact base or sand, and reset them.
Before you build, make sure the surrounding grade takes water away from the new hard surface rather than into a low corner, since a patio is a large new impervious area — see fixing yard drainage. And if the patio is part of a larger plan, sketch the zones first in how to plan a yard layout.