 Garden
Affiliate Disclosure
Some links on this page are affiliate links. As an Amazon Associate, we earn from qualifying purchases — at no extra cost to you. We do not buy, test, or physically handle the products we cover; our rankings come from aggregated owner reviews, ratings and expert consensus. Commissions never change our verdicts. How we rank · full disclosure.
Adding shelves to a closet is a two-to-three-hour beginner job — no permit, nothing structural — for roughly 40 to 120 dollars in lumber and hardware (2026). You need a drill, a level, a stud finder, and a saw. The strongest approach is a cleat system: 1x2 or 1x3 cleats screwed into the studs along the back and side walls, with the shelf resting on and screwed to them. That carries far more weight than brackets alone. The two things to get right are hitting the studs with the cleats and sizing shelf spacing to what each shelf holds — plus a center support on any span over about 36 inches so it never sags.
Tools and materials
- Drill/driver, level, and stud finder.
- Circular saw or hand saw to cut shelves and cleats, plus a tape measure.
- Materials: 3/4-inch plywood or 1x shelf boards, 1x2 or 1x3 cleat stock, 2-inch screws for cleats, 1.25-inch screws for shelves, and rated anchors for any cleat spot that misses a stud. Fill the new shelves with matched storage bins; if you want a full modular buildout, compare closet organizer systems.
Step 1: Plan spacing and depth
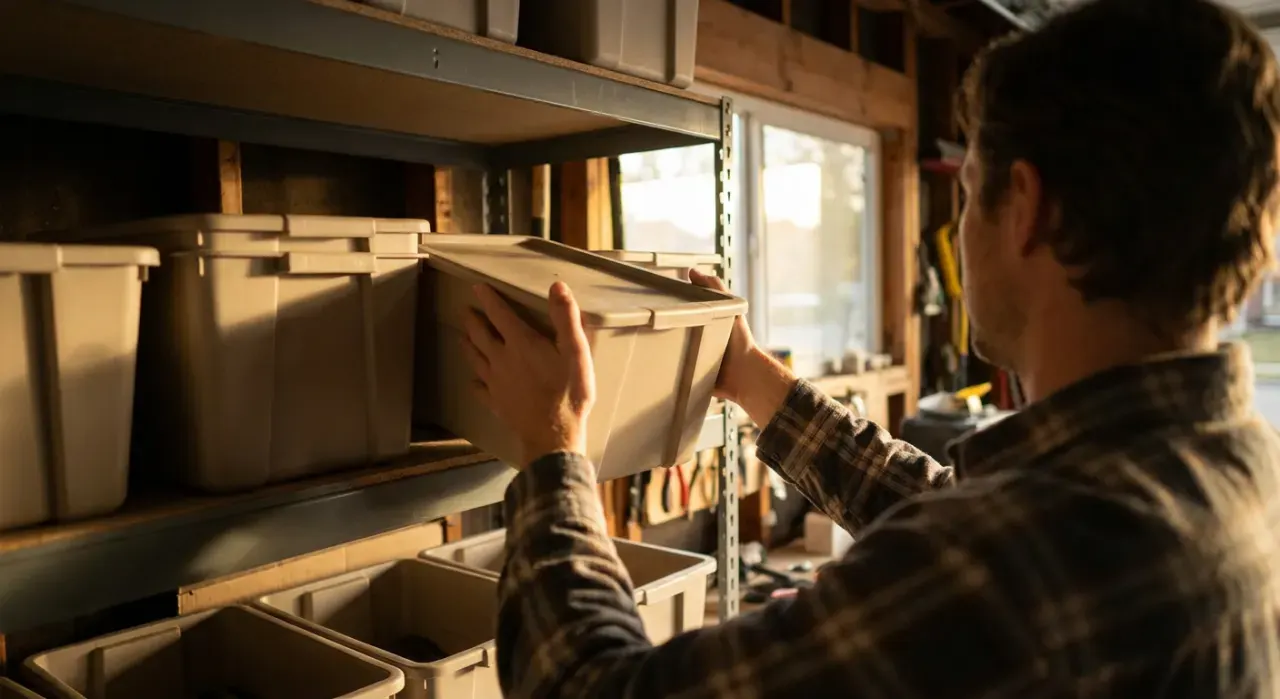
Decide what each shelf will hold and set spacing to match: 12 to 14 inches for folded clothes, 7 to 8 inches for shoes, container height plus an inch for bins. Set depth at 14 to 16 inches so shelves clear a hanging rod in front. Mark the shelf heights on the wall with a level line for each.
Step 2: Find studs and mount the cleats
Locate the studs and screw a cleat along your level line on the back wall and both side walls, driving at least one 2-inch screw per stud. Keep every cleat perfectly level — the shelf only sits as flat as the cleats do. Where a back-wall cleat spans between studs, add a rated anchor so the run is fully supported.
Step 3: Add center support for long spans
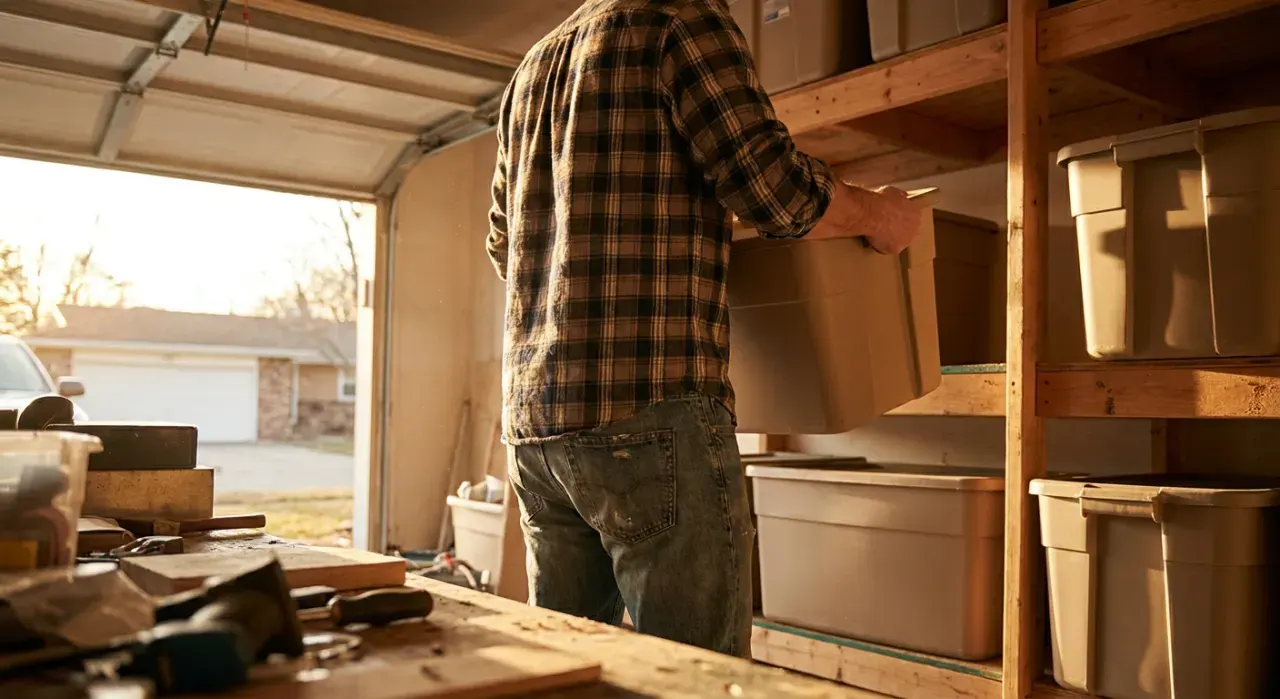
If a shelf will span more than about 36 inches, add a center support now: a vertical divider, a mid-span bracket into a stud, or a center cleat run. This is what stops a loaded shelf from bowing over time. Skip it on short spans, but never on a long, heavily loaded one.
Step 4: Cut and set the shelves
Measure each opening and cut the shelf to sit fully on its cleats with a snug fit. Set the shelf down and screw through it into the cleats every 12 inches or so. For extra stiffness on a long shelf, glue a 1x2 lip along the front edge. Butt any joined boards over a support, never mid-span.
Step 5: Load and verify
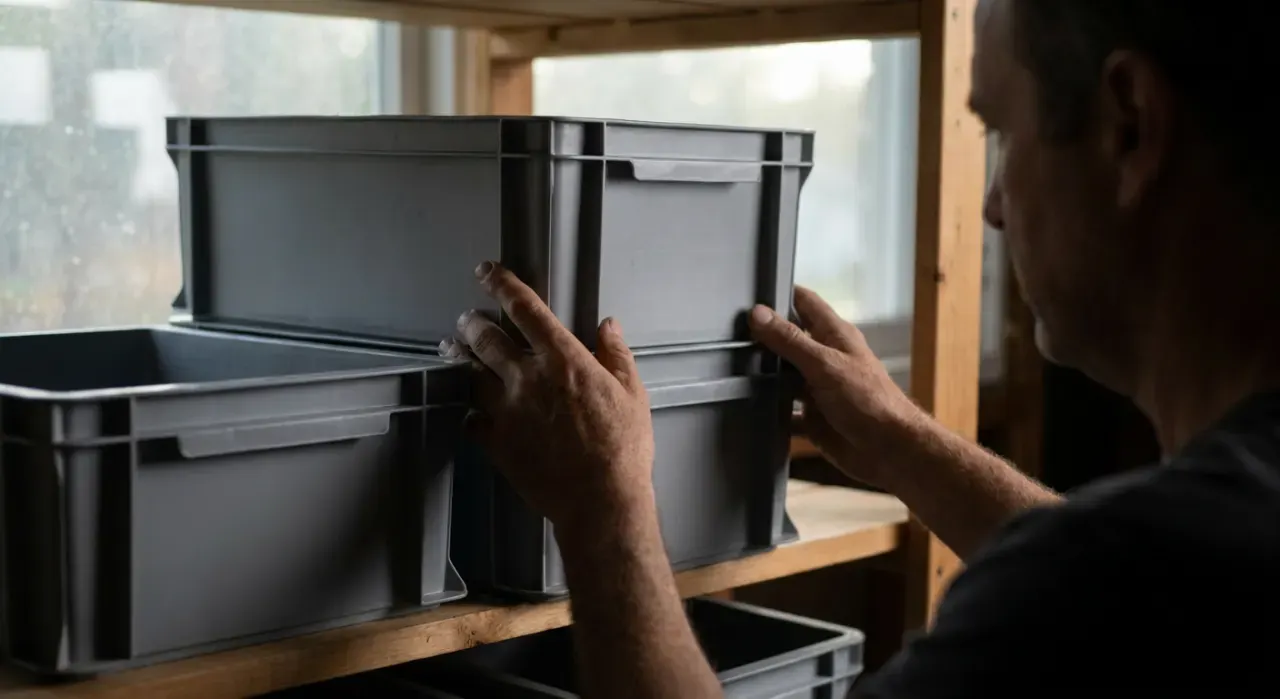
Load the shelves and confirm they stay level and the cleats stay tight. Watch a long span for any center droop over the first week; if it appears, add a center support. A cleat-mounted, properly spanned shelf will carry a packed closet for years without moving.
Where to go next
Added shelves pair with a properly hung closet rod below them and a full plywood closet organizer for folded goods; run floating shelves on an open wall. Everything sits under the storage and organization hub.
We never buy or physically test the products we rank — our picks come from aggregated owner reviews and expert consensus, explained on how we rank.