 Garden

Affiliate Disclosure
Some links on this page are affiliate links. As an Amazon Associate, we earn from qualifying purchases — at no extra cost to you. We do not buy, test, or physically handle the products we cover; our rankings come from aggregated owner reviews, ratings and expert consensus. Commissions never change our verdicts. How we rank · full disclosure.
To clean tile grout on floors, work from the gentlest method to the strongest: start with warm water and a stiff brush, move up to a baking soda paste, then oxygen bleach for stubborn stains, a dedicated commercial grout cleaner for the worst of it, or a steam cleaner — and seal the grout afterward so it stays clean. Grout is porous and sits below the tile, so it soaks up grime that ordinary mopping never reaches. The safest, most reliable approach is to escalate only as far as each patch of grout actually needs.
We do not test or physically handle the products we cover; our guidance draws on manufacturer guidance and the aggregated experience in thousands of owner reviews, as explained in how we rank.
Read this first: what you must never mix
Before any grout cleaning, one rule overrides everything else, because it is a genuine safety hazard rather than a matter of results:
- Never mix bleach with ammonia. The combination releases toxic chloramine vapors that can cause serious respiratory harm. Many glass and multi-surface cleaners contain ammonia, so do not follow a bleach step with one of those.
- Never mix bleach with vinegar or any acid. This releases toxic chlorine gas. That includes vinegar, and acidic tile or grout cleaners.
- Do not combine cleaning products in general. Rinse thoroughly between different products, and only ever use one cleaner at a time on the grout.
- Ventilate and wear gloves. Open a window or run a fan whenever you use bleach, oxygen bleach or a commercial cleaner, and protect your hands and eyes.
With that settled, here are the methods in order of increasing strength. Try the gentlest that clears your grout — going straight to the harshest option risks damaging grout, sealer, or stone unnecessarily.
Method 1: Warm water and a stiff brush
The most overlooked method is also the gentlest: hot water and agitation. Plenty of everyday grout dinginess is just loose surface soil that a good scrub removes with no chemicals at all, so this is always the right first move.
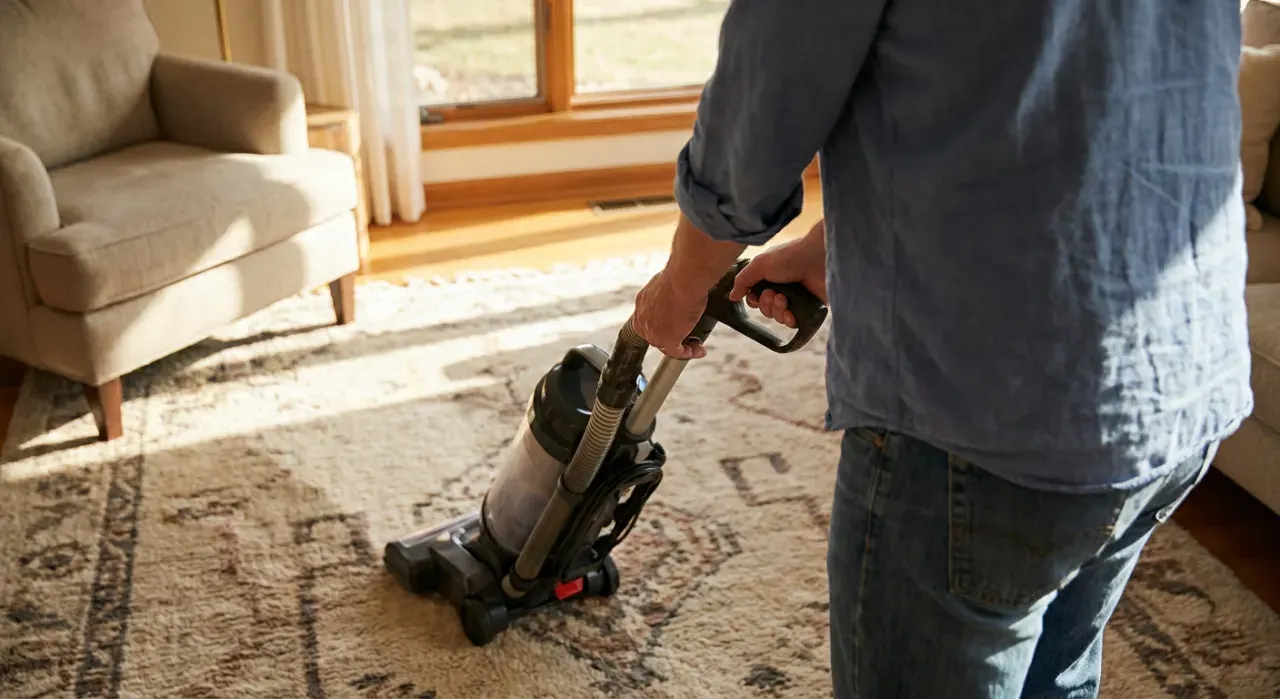
- Sweep or vacuum the floor first so you are not grinding loose grit into the grout as you scrub.
- Pour or spray hot water along the grout lines and let it sit a minute to soften the dirt.
- Scrub with a stiff nylon brush — a dedicated grout brush or an old toothbrush for tight spots — working along the line, not across it.
- Wipe up the loosened dirt with a cloth and rinse with clean water so you remove the grime rather than smearing it back in.
Use nylon, never a metal brush, which scratches grout and tile. If the grout comes up clean, stop here and skip to sealing. If it is still dingy, move up a level.
Method 2: Baking soda paste (plus vinegar for surface grime)
Baking soda is a mild abrasive and a gentle alkaline cleaner, which makes it the classic next step for grout that resisted plain water. Adding vinegar creates the familiar fizz, and while the fizz itself is mostly cosmetic, the mild acid does help cut greasy surface film on sealed ceramic and porcelain.
- Mix a paste of baking soda and a little water to a thick, spreadable consistency.
- Spread it into the grout lines and let it sit for five to ten minutes.
- Optionally spray with white vinegar and let it fizz — only on sealed grout between glazed ceramic or porcelain, never on stone.
- Scrub with a stiff nylon brush once the fizzing settles.
- Rinse thoroughly with clean water and wipe dry.
Two cautions. First, vinegar is acidic and slowly etches unsealed or older cement grout, so reserve it for occasional use on sealed floors and skip it entirely on natural stone. Second, never seal baking soda and vinegar together in a closed container — the gas has nowhere to go. If your grout is unsealed, jump past vinegar to the oxygen bleach method below.
Method 3: Oxygen bleach for stubborn stains
When paste and scrubbing are not enough, oxygen bleach is the strongest option most homes should reach for, and it is the workhorse for genuinely dingy grout. Oxygen bleach is sodium percarbonate powder; dissolved in warm water it releases hydrogen peroxide, which lifts and whitens embedded grime. Unlike chlorine bleach it does not give off harsh fumes, will not ruin fabric on contact, and is far gentler on grout and stone, though you should still ventilate and glove up.
- Dissolve the powder in warm water per the label to make a solution or a loose paste.
- Apply it generously to the grout lines and, critically, let it dwell for 10 to 30 minutes — the soak time is what does the work.
- Scrub with a stiff nylon brush.
- Rinse well with clean water and wipe up all residue.
Oxygen bleach is a much better fit for floor grout than chlorine bleach: it whitens effectively without the risk of discoloring surrounding surfaces or breaking down colored grout, and there is no chlorine gas risk if a stray acidic residue is nearby. It is the method to reach for on large floor areas.

Method 4: Commercial grout cleaner
For the worst grout — years of neglect, ground-in grease, or dark staining that shrugs off oxygen bleach — a dedicated commercial grout cleaner is the next step. These are formulated specifically for grout and come in alkaline and acidic types. Alkaline cleaners handle grease and organic soil and are safe on more surfaces; acidic cleaners cut mineral and efflorescence buildup but must never touch natural stone.
- Read the label and match it to your tile — confirm it is safe for your grout and, if you have it, your stone. When unsure, test a hidden corner first.
- Ventilate the room and put on gloves and eye protection.
- Apply and dwell for the time the label specifies — do not exceed it, especially with acidic products.
- Scrub, then rinse thoroughly. Leftover cleaner can keep working on the grout and attract dirt.
Use these one at a time and never layer them with a previous bleach or vinegar step — rinse fully in between. If you want to compare floor-care tools and cleaners by how owners rate them, see the Vacuums & Floor Care hub.
Method 5: Steam cleaning
A steam cleaner is the most effective chemical-free deep clean for grout, and a strong choice if you would rather not use cleaners at all. A machine with a narrow brush or detail nozzle drives hot, pressurized steam into the porous grout, loosening embedded dirt and killing mold and bacteria with heat alone. You then wipe away the loosened grime.
- Fill and heat the steamer per its manual, and fit the small grout or detail brush.
- Work along each grout line slowly, letting the steam penetrate rather than rushing.
- Wipe up the residue with a clean microfiber cloth as you go.
- Let the floor dry fully before walking on it or sealing.
Two cautions: high heat can degrade an existing grout sealer, so plan to reseal afterward, and confirm your tile and any natural stone tolerate steam before you start. Always follow the machine's own instructions.
Method comparison at a glance. Use the table below to match the method to the job before you start, and remember the guiding principle throughout: reach for the gentlest option that clears your grout, and only escalate when it genuinely will not come clean.
| Method | Strength | Best for | Watch out for |
|---|---|---|---|
| Warm water + brush | Gentlest | Light, everyday soil | Use nylon, never metal brushes |
| Baking soda paste | Mild | General dinginess | Vinegar etches stone and unsealed grout |
| Oxygen bleach | Strong | Stubborn, dingy grout on large floors | Needs dwell time; ventilate |
| Commercial cleaner | Strongest | Neglected or grease-stained grout | Acidic types ruin natural stone |
| Steam cleaner | Strong, chemical-free | Deep clean and sanitizing | Can degrade sealer; check heat tolerance |
Know your grout and tile before you choose
The right method depends on what you are cleaning, and getting this wrong is how floors get damaged. There are two broad grout types. Cement-based grout (sanded and unsanded) is the common, porous kind that soaks up dirt and benefits from sealing. Epoxy grout is far less porous, resists staining, and rarely needs the aggressive methods, though it can still hold surface film.
The tile matters as much as the grout. On glazed ceramic and porcelain you have wide latitude. On natural stone — marble, travertine, limestone, slate — the rules tighten sharply: acids etch the stone itself, so no vinegar and no acidic commercial cleaner, ever. Stick to pH-neutral or stone-safe cleaners and oxygen bleach on stone floors. When you are not certain what your floor is, test any new method on a hidden patch first and start with the gentlest option.
Mold and mildew are a special case worth calling out, because they are common in bathroom and kitchen grout and they change what you are really cleaning. Black or greenish discoloration that keeps returning is usually mold growing in the porous grout, not just dirt, so surface scrubbing alone will not keep it away. Oxygen bleach and steam both kill mold, and a dilute chlorine bleach solution does too — but if you use chlorine bleach, use it alone, rinse well, and never chase it with vinegar or an ammonia-based cleaner. The lasting fix is addressing the moisture: ventilate the room, wipe surfaces dry, and seal the grout so spores have nowhere porous to take hold. If the grout is cracked, crumbling, or missing in places, no amount of cleaning helps, and re-grouting is the real answer.
Seal the grout after cleaning
Cleaning grout is only half the job; sealing is what keeps it clean, so treat it as the payoff step rather than an optional extra. Grout gets dirty because it is porous and absorbs everything that lands on it. A penetrating sealer fills those pores so dirt, grease and spills sit on the surface and wipe away instead of soaking in.
- Let the grout dry fully after cleaning — at least 24 hours, longer in humid conditions. Sealing damp grout traps moisture and fails.
- Apply a penetrating grout sealer along each line with a small brush, roller-tip applicator, or sealer bottle.
- Wipe sealer off the tile face before it hazes — sealer left on glazed tile dries cloudy.
- Apply a second coat if the label recommends it, and let it cure fully before getting the floor wet.
Most floors benefit from resealing every one to two years, sooner in high-traffic or wet areas. A quick test: drip water on the grout — if it beads, the seal is intact; if it soaks in and darkens, it is time to reseal.
Keeping grout clean between deep cleans
Good habits stretch the time between the hard scrubs:
- Sweep or vacuum regularly so grit never gets ground into the grout in the first place.
- Wipe spills quickly, especially anything greasy or staining, before it soaks in.
- Mop with clean water and a neutral cleaner, and change the mop water often — dirty mop water settles straight into the grout lines and is a leading cause of gradual darkening.
- Ventilate damp rooms to discourage mold and mildew in the grout.
Sealed grout plus these habits means you may only need a full deep clean once or twice a year.
Bringing it together
Match the method to the mess: warm water and a brush for light soil, baking soda paste for general dinginess, oxygen bleach for stubborn stains, a commercial cleaner or steam for the worst, always working from gentle to strong. Respect your surfaces — no acids on natural stone — never mix bleach with ammonia or acid, and seal the grout when you are done so the next clean is easy.
Related: the Vacuums & Floor Care hub compares floor-care tools by owner ratings, and how we rank explains our research-only method. Find more guides on the resources index.