 Garden


Affiliate Disclosure
Some links on this page are affiliate links. As an Amazon Associate, we earn from qualifying purchases — at no extra cost to you. We do not buy, test, or physically handle the products we cover; our rankings come from aggregated owner reviews, ratings and expert consensus. Commissions never change our verdicts. How we rank · full disclosure.
To maintain hardwood floors, remove grit before it scratches the finish and keep moisture off the wood. That means dust-mopping or vacuuming high-traffic areas daily, damp-mopping weekly with a pH-neutral wood cleaner, wiping spills the moment they happen, and refreshing the protective finish every few years. Get those four habits right and a quality wood floor will outlast the house. Everything else is detail.
The reason maintenance matters so much is that a hardwood floor is not the wood you see — it is the microscopically thin finish sitting on top of it. Protect that layer and the wood underneath stays pristine. Let it wear through and you are into a sanding-and-refinishing job that costs several dollars per square foot. This guide walks through the full routine, from the five-minute daily pass to the once-a-decade decisions, with the specifics that actually protect the surface.
First, identify your floor finish
Every cleaning decision depends on what is sealing your floor, so start here. There are two broad categories, and using the wrong products on either one causes damage.
- Surface-sealed finishes — polyurethane, urethane, and polyacrylic. This is what almost every floor installed since the 1980s has. The wood is coated in a clear, water-resistant film; you clean the film, not the wood. Most modern floors are this type.
- Penetrating seals, oils, and wax — older floors and some high-end site-finished floors. The finish soaks into the wood rather than sitting on top. These need special care products and periodic re-waxing, and they must never be cleaned with water-based products meant for polyurethane.
A quick test: rub a finger across the floor in an inconspicuous spot. If you leave a smudge, it is likely wax or oil. If nothing happens, it is surface-sealed. When in doubt, put a few drops of water in a corner — if it beads for several minutes, the finish is intact and water-resistant; if it soaks in and darkens the wood, the floor is worn or oil-finished and needs gentler treatment.
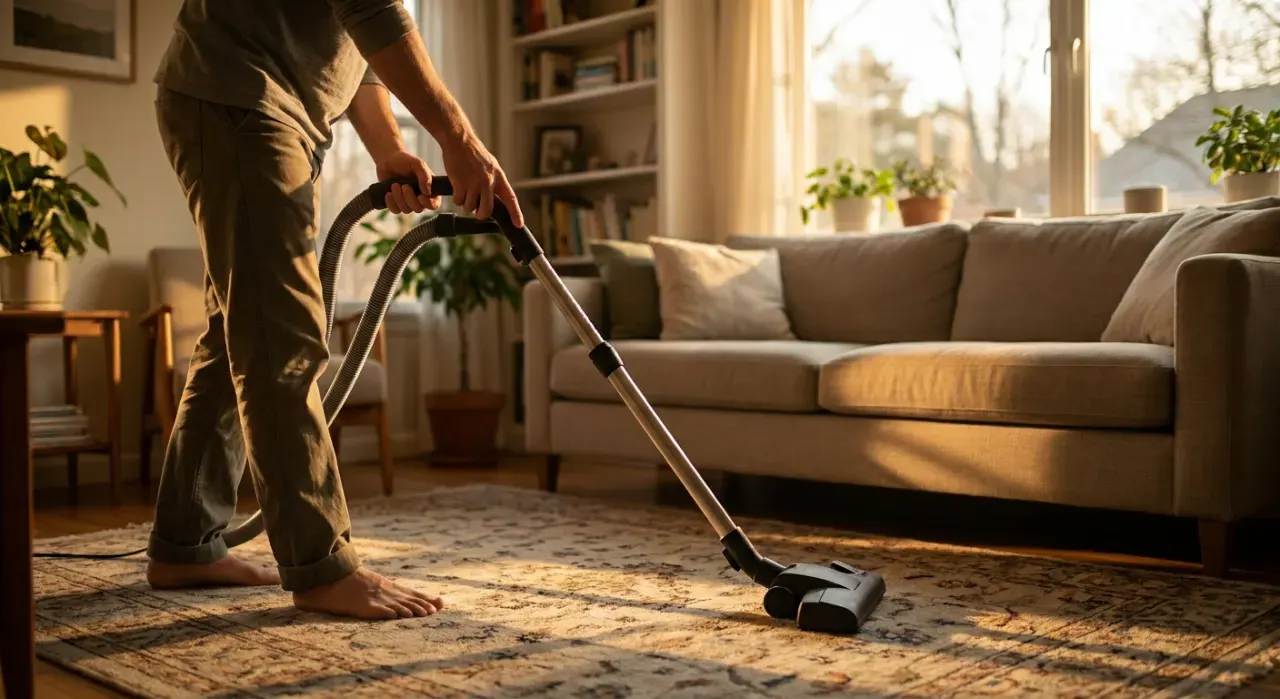
The Daily Dry-Clean for Hardwood Floors
The most important thing you can do for a wood floor takes about five minutes and uses no liquid at all: get the grit off. Sand, dirt, and pet litter tracked in from outside act like sandpaper underfoot, and they cause the fine haze of micro-scratches that eventually make a floor look dull even when it is clean.
Use a microfiber dust mop or a vacuum in hard-floor mode. If you vacuum, turn the brush roll (beater bar) off or use a dedicated bare-floor tool, because a spinning brush roll flings grit and can scuff softer woods. A good cordless vacuum with a soft-roller head is ideal here; the ranked field is in our best vacuum for hardwood floors and best stick vacuum for hardwood floors guides. For a no-electricity option, a fine-bristle broom works well — see our best broom for hardwood floors picks.
Focus daily attention on entryways, hallways, and the paths between rooms. These traffic lanes collect the most grit and wear fastest, so a quick daily pass there does more than a thorough weekly clean of the whole house.
Weekly damp-mopping done right
Once a week, after dust-mopping, damp-mop to lift the film of oils and residue that dust-mopping leaves behind. The word to remember is damp, not wet. Standing water is the enemy of wood.
- Dust-mop or vacuum first. Mopping over grit just drags it around and scratches the finish.
- Mix a pH-neutral wood-floor cleaner per the label, or use a ready-to-use spray. Skip dish soap, all-purpose sprays, vinegar, and ammonia.
- Wring the mop until it is barely damp. A microfiber flat mop is ideal because it holds little water and dries fast. The floor should feel dry to the touch within a minute of mopping.
- Work in the direction of the boards, in manageable sections, rinsing or swapping the pad when it gets dirty.
- Dry any wet spots with a clean towel, paying attention to seams and board edges where water can seep in.
If your floor is oil- or wax-finished, use only the products the manufacturer specifies — water-based cleaners can cloud a wax finish and strip an oil one.
Products and Tools to Avoid on Hardwood Floors
More hardwood floors are damaged by well-meaning cleaning than by neglect. Keep these off your floor.
| Avoid | Why | Use instead |
|---|---|---|
| Steam mops | Force heat and moisture into the wood; cause cupping and cloudy finish; void most warranties | Barely-damp microfiber mop |
| Vinegar and ammonia | Acids and bases dull and etch polyurethane over time | pH-neutral wood cleaner |
| Oil soaps (e.g. Murphy-type) | Leave a residue that dulls the floor and blocks future recoating | Cleaner made for surface-sealed floors |
| Wax on a polyurethane floor | Cannot bond to a sealed surface; goes slippery and streaky | Nothing — sealed floors do not need wax |
| Abrasive pads and scrubbers | Scratch and dull the finish | Soft microfiber or a soft-bristle brush |
| A soaking-wet mop | Standing water seeps into seams and swells boards | Well-wrung damp mop |
Stopping scratches before they start
Prevention is cheaper than refinishing, and most protection is one-time or nearly so. The National Wood Flooring Association and every major manufacturer point to the same short list.
- Walk-off mats at every exterior door. The majority of the grit that scratches your floor rides in on shoes. A coarse mat outside and an absorbent one inside stops most of it. A no-shoes-indoors habit does even more.
- Felt pads under all furniture legs. Check and replace them a couple of times a year, because a worn pad exposes a nail head or a hard nub that gouges the floor when the chair is dragged.
- Area rugs in pivot points — the base of stairs, in front of the sink, under a rolling office chair. Use rug pads that are safe for wood floors, not rubber-backed mats that can trap moisture or discolor the finish.
- Keep pet nails trimmed. Dog nails are a leading cause of the fine surface scuffs on floors in pet homes.
- Lift, do not drag, heavy furniture. When rearranging, lift or use furniture sliders rather than pushing.
Managing spills, humidity, and sunlight
Wood is hygroscopic — it takes on and gives off moisture with the air around it, expanding in humid summers and contracting in dry, heated winters. Managing that swing keeps boards from gapping, cupping, and squeaking.
Aim to keep indoor relative humidity in the 35 to 55 percent range year-round. In winter, a whole-house or room humidifier prevents the dry shrinkage that opens gaps between boards; in a humid summer, a dehumidifier or air conditioning prevents the swelling that causes cupping. Wide seasonal gaps that close up again in summer are normal on solid wood and usually not a defect.
Wipe spills immediately — even a sealed floor is only water-resistant, not waterproof, and a puddle left overnight can penetrate a seam. Finally, direct sunlight fades and ambers wood over time, so use blinds or UV-filtering window film in sun-drenched rooms and occasionally move rugs and furniture so the floor ages evenly.
Recoating and refinishing over the years
Maintenance eventually shades into renewal. Knowing the difference between a recoat and a full refinish saves money and dust.
| Job | What it is | Typical timing |
|---|---|---|
| Screen and recoat | Lightly abrade the existing finish and add a fresh topcoat — no bare wood exposed | Every 3 to 5 years in busy homes, before wear reaches the wood |
| Full sand and refinish | Sand back to bare wood and rebuild the finish; can also change color | Every 7 to 10+ years, or when the finish has worn through |
| Spot repair | Fill and touch up isolated scratches, dents, or gouges | As needed |
The key insight is that a recoat is far cheaper and less disruptive than a refinish, and it is only possible while some finish still covers the wood. Once traffic lanes have worn through to bare wood — often visible as a dull gray path — you have missed the recoat window and are into a full refinish. Watching your traffic lanes and recoating on time is the single biggest money-saver in long-term hardwood care. Solid wood can typically be fully refinished many times over its life; most engineered wood tolerates only one or two refinishes depending on the thickness of its top veneer.
A Simple Hardwood Floor Maintenance Schedule
Put it all together and the routine is easy to keep.
| Frequency | Task |
|---|---|
| Daily / as needed | Dust-mop or vacuum traffic lanes; wipe spills immediately |
| Weekly | Damp-mop the whole floor with pH-neutral wood cleaner |
| Monthly | Check and replace worn felt furniture pads; shake out and wash door mats |
| Seasonally | Adjust humidity (humidify in winter, dehumidify in summer); move rugs to even out sun exposure |
| Every 3 to 5 years | Screen and recoat before wear reaches bare wood |
| Every 7 to 10+ years | Full sand and refinish if the finish has worn through |
A hardwood floor rewards consistency more than effort. The homes with beautiful decades-old floors are rarely the ones that scrub hardest — they are the ones that keep grit at the door, mop with the right products, and recoat on schedule.
For technique on vacuuming without doing damage, see how to vacuum hardwood floors without scratching. If your floors are laminate or vinyl rather than real wood, the care rules differ — see how to clean laminate floors. For the tools themselves, our best vacuum for hardwood floors roundup ranks the field, and how we arrive at every ranking is explained in how we rank. Everything else lives at the vacuums and floor care hub.