 Garden

Affiliate Disclosure
Some links on this page are affiliate links. As an Amazon Associate, we earn from qualifying purchases — at no extra cost to you. We do not buy, test, or physically handle the products we cover; our rankings come from aggregated owner reviews, ratings and expert consensus. Commissions never change our verdicts. How we rank · full disclosure.
Fix a leaky garden hose by matching the repair to the failure: a new rubber washer for a drip at the spigot, a barbed mender and two clamps for a split or pinhole in the middle, and a replacement coupling for a crushed or stripped end. Each takes 5 to 15 minutes, costs $3 to $10 in parts, and needs nothing more exotic than a utility knife and a screwdriver. The one step people skip is finding the actual leak first — a hose that sprays at the spigot often has a fine split three feet down the line that is doing the real damage.
Step 1: find the leak properly
- Lay the hose out straight on a dry surface — a driveway shows wet patches best.
- Turn the water on and close the nozzle so the hose is fully pressurized.
- Walk the full length slowly. Look for spray, bulges, and dark wet patches.
- For a slow weep you cannot see, dry the hose and run a paper towel along it; the towel finds moisture your eyes miss.
- Flex the hose in sections. Hairline splits in old rubber only open under bending.
- Mark every leak with tape or a marker before you turn the water off. They are surprisingly hard to relocate on a dry hose.
Count them. One or two discrete leaks are worth repairing. Four or five means the hose material has failed and you are about to spend an afternoon chasing new leaks that appear next week.
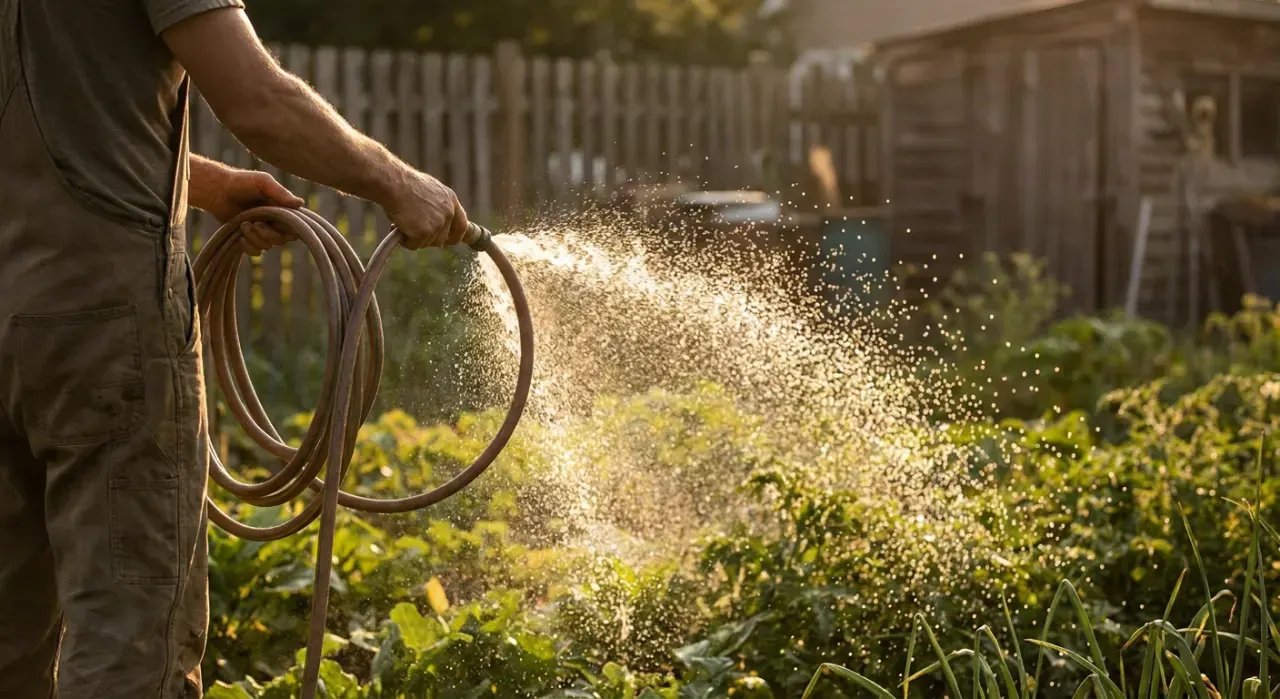
Step 2: identify which failure you have
| Symptom | Cause | Fix | Parts cost |
|---|---|---|---|
| Spray at the spigot connection | Failed washer, or cross-threaded coupling | New washer; re-seat squarely | Under $2 |
| Drip at the nozzle end | Failed washer in the nozzle or hose end | New washer | Under $2 |
| Coupling that will not thread on | Oval-crushed or stripped brass end | Replacement male or female coupling | $4–$10 |
| Pinhole spray mid-hose | UV degradation, abrasion, a nick | Barbed mender, or tape for a temporary patch | $3–$8 |
| Long split or blowout | Freeze damage, or a kink fatigued open | Cut out and fit a mender | $3–$8 |
| Bulge or blister in the wall | Reinforcement layer has separated | Cut out that section, it will burst | $3–$8 |
| Weeping along a whole length | Material failure from age and UV | Replace the hose | — |
Fix 1: the washer (five minutes, fixes most leaks)
- Turn the water off and unscrew the hose from the spigot.
- Look inside the female coupling. There should be a flat rubber washer seated at the bottom. If it is missing, flattened, hardened, cracked or has come out with the water, that is your leak.
- Hook the old one out with a small flat screwdriver or a bent paperclip.
- Press a new washer in flat, fully seated. Standard garden hose washers are a universal size and sold in bags of ten for a couple of dollars. Washers with a stainless screen built in are worth the small extra on the spigot end because they filter grit before it reaches a nozzle or a drip system.
- Thread the hose back on by hand until it seats, then a quarter turn more. Do not wrench it. Over-tightening crushes the new washer and you are back where you started.
- Turn the water on and check. Still leaking with a good washer means the coupling rim is damaged.
If the leak is at the spigot body rather than at the hose connection, that is a different problem — see why a hose leaks at the spigot connection.

Fix 2: a barbed mender for splits and pinholes
This is the permanent fix for damage in the body of the hose. You will need a hose mender kit matched to your hose diameter — five-eighths inch is standard for most US garden hoses, with half inch and three-quarter inch also common. Check your hose before buying; the size is usually printed on the jacket.
- Turn off and drain the hose. Water still in the line makes everything slippery and cold.
- Cut out the damage. Use a sharp utility knife or loppers, cutting square. Remove an inch either side of a split so you are joining sound material — a mender pushed into a section that is already fatigued simply tears out.
- Soften stiff hose ends. Dip the cut ends in hot tap water for 30 seconds. Cold vinyl hose is extremely hard to push a barb into, and this single trick turns a fight into a five-second job.
- Slide the clamps on first. Everyone forgets this once.
- Push the barbed mender fully home into each end, until the hose butts against the center collar. A barb only half inserted will leak or blow off under pressure.
- Position and tighten the clamps over the barbs, roughly a quarter inch from the cut end. Tighten evenly and firmly, but stop when the hose material starts to bulge on either side of the band — over-tightening cuts the wall.
- Pressurize and check. Leave the water on for a few minutes and watch the joint. A weep here means a clamp needs another quarter turn or the barb is not seated.
Brass menders outlast plastic ones by years and are worth the extra dollar or two, especially on a hose that gets dragged. Use stainless clamps rather than plated steel, which rust and seize.
Fix 3: replacing a crushed end
Ends get crushed by car tires, gate hinges and being stepped on with the spigot still attached. A replacement coupling installs exactly like a mender: cut the damaged end off square, warm the hose, slide the clamp on, push the barbed coupling in fully, and tighten. Male and female replacement couplings are sold separately, so check which end you are fixing. Push-fit repair ends that need no clamp exist and are convenient, but owners consistently report they slip loose more readily than a clamped barb under repeated dragging.
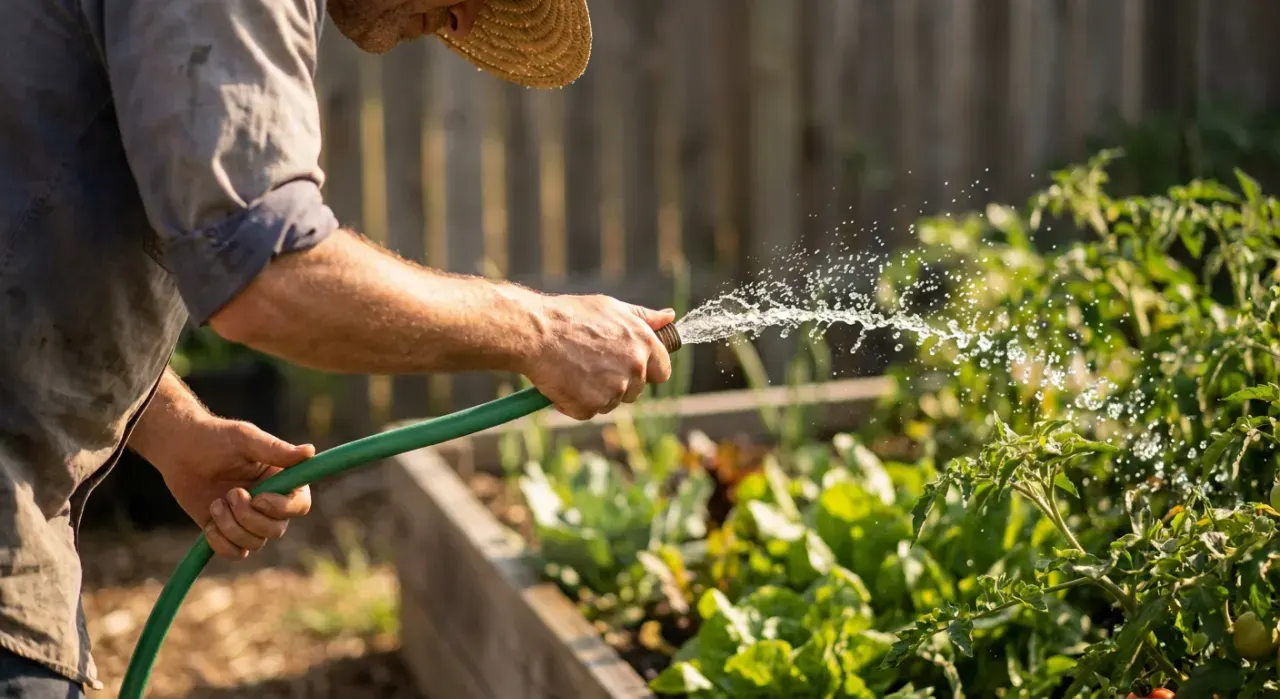
The temporary tape patch
For a pinhole when you need the hose working right now: dry the area completely, then wrap self-fusing silicone tape under firm tension with a 50 percent overlap, extending at least two inches either side of the hole, and build up three or four layers. This tape bonds to itself rather than sticking to the hose, so it works on a wet, greasy surface. It will hold ordinary residential pressure for a season. Duct tape and electrical tape do not work on a pressurized hose, wet or dry — do not bother.
Why hoses leak, and how to stop it
- UV degradation. A hose left in full sun goes chalky and brittle in two or three seasons. Store it coiled in shade or on a reel.
- Freezing. Water left in a hose expands when it freezes and splits the wall. Drain and store hoses before the first hard freeze; the same applies to the wider system, covered in winterizing an irrigation system.
- Kinking. Every kink fatigues the same spot until it splits. A reel and a wider coil radius fix this, and hose diameter matters too — see garden hose sizes explained.
- Leaving it pressurized. A hose left charged all summer with a closed nozzle sits under constant stress. Shut the spigot when you finish.
- Dragging over concrete and around corners. Abrasion thins the jacket. Hose guides at corners cost a few dollars.
Expected life is the honest backstop here: most hoses give 5 to 10 years with good care and 2 to 3 when left in the sun and frozen, which is covered in how long a garden hose lasts. When a hose reaches the point of multiple leaks, replacement is the better use of an afternoon, and owner reviews consistently favor rubber and hybrid polymer hoses over cheap vinyl for exactly this reason — see our garden hose picks.
A few practical cautions
Turn the water off before cutting anything, and be aware that a hose under pressure stores energy — a coupling that lets go can whip. Cut away from yourself with a sharp blade; a dull knife slipping off a round hose is the usual injury here. If the leak is at the spigot body, at a wall penetration, or inside the house, stop: a frost-free sillcock that leaks inside the wall can flood a wall cavity, and repairs to house plumbing past the fixture are work for a licensed plumber. Do not drink from a garden hose that is not certified as potable-safe, and never connect a hose to a drinking water line without a backflow preventer where local code requires one — cross-connection rules are set by your local water authority and are jurisdiction-specific.
We never buy, test or physically handle the products we rank. Recommendations come from aggregated owner reviews, star ratings, review volume and expert consensus — see how we rank.
More from this hub: Watering & Irrigation · Repairing a hose end · Fixing a leaking hose nozzle · How long a hose lasts · Best garden hoses · How we rank