 Garden
Affiliate Disclosure
Some links on this page are affiliate links. As an Amazon Associate, we earn from qualifying purchases — at no extra cost to you. We do not buy, test, or physically handle the products we cover; our rankings come from aggregated owner reviews, ratings and expert consensus. Commissions never change our verdicts. How we rank · full disclosure.
To fix a leaky shower head, first find where it leaks. A drip from the face after you shut the water off is a worn shower valve cartridge, not the head; a leak where the head meets the arm is a thread-seal or washer problem fixed with fresh plumber's tape and a new rubber washer; and water spraying oddly from the head is usually mineral clogging cured by a vinegar soak. Most of these are 10-minute, few-dollar DIY fixes. Only an in-wall leak or a cartridge swap you are unsure of needs a plumber.
The mistake most people make is replacing the shower head to stop a drip that is coming from the valve. The head is just the messenger; when the valve behind the wall stops sealing, water trickles through it and out the head, and a brand-new head will drip exactly the same. So the first job is diagnosis: where, exactly, is the water coming from?
Diagnose the Shower Head Leak First
| Where it leaks | Most likely cause | Fix |
|---|---|---|
| Drips from the face after shutoff (keeps going) | Worn valve cartridge | Replace the cartridge |
| Drips from the face for 1 to 2 minutes only | Normal drain-down of trapped water | Nothing needed |
| Leaks where head meets the arm | Failed thread seal or washer | New plumber's tape and washer |
| Water sprays sideways or unevenly | Clogged nozzles, mineral scale | Vinegar soak and clean |
| Water behind the wall or on the ceiling below | In-wall leak | Call a plumber |
The single most useful test: turn the shower off and watch. A drip that stops within a couple of minutes is just water draining out of the arm and head, and it is harmless. A drip that keeps going means the valve is not sealing.
Fix 1: A Shower Head Leaking at the Connection
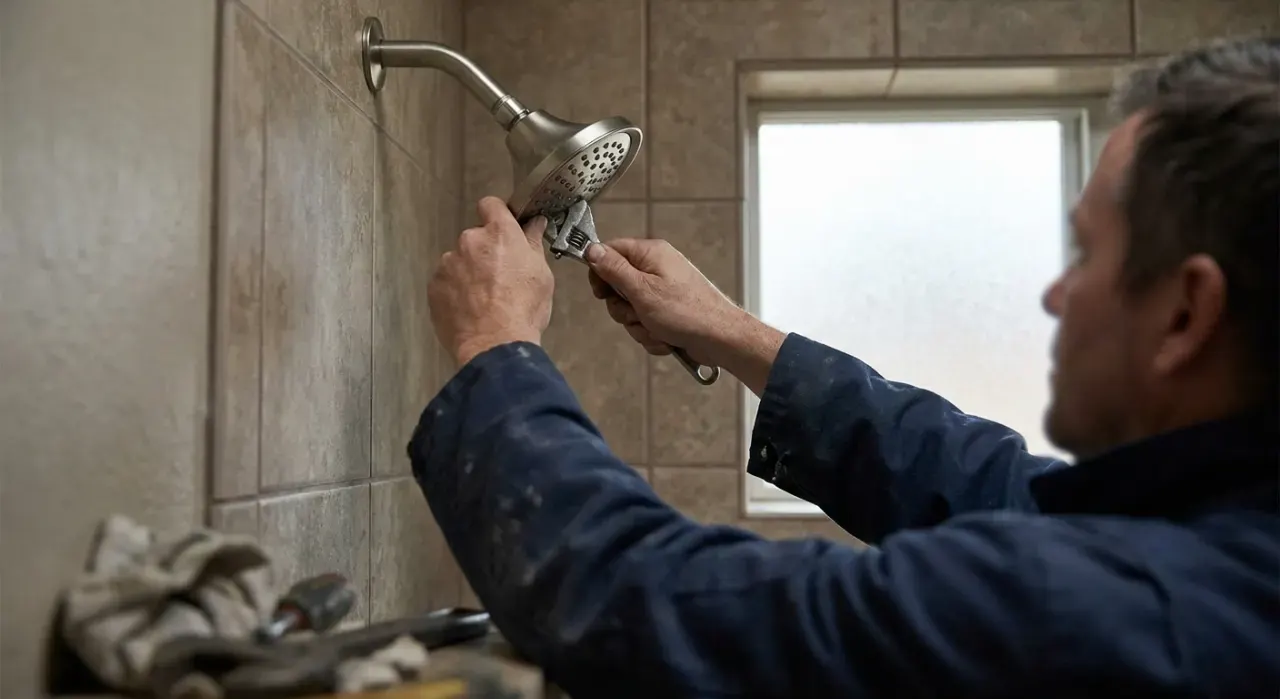
This is the easiest and most common. Water seeping where the head threads onto the shower arm means the thread seal has failed.
- Unscrew the head counterclockwise while holding the arm steady. No need to shut off the house water; just turn the shower off.
- Remove old tape and scale from the arm threads, and wipe them clean and dry.
- Check the rubber washer inside the head's connector nut. If it is cracked, flattened, or missing, replace it; a pack of washers costs a dollar or two.
- Wrap two to three clockwise turns of PTFE plumber's tape around the arm threads.
- Thread the head back on hand-tight plus a gentle quarter turn, then test. No drip means done.
Fix 2: Clogged nozzles causing spray leaks
When mineral scale blocks some nozzles, pressure inside the head rises and water forces its way out around gaskets or sprays sideways. Descaling solves it:
- Tie a bag of white vinegar around the head so the nozzles are submerged, and leave it 30 minutes to overnight for heavy buildup.
- Scrub the face and rub the rubber nozzle tips to pop out scale.
- Clean the filter screen at the base of the head where it meets the arm.
- Run the shower to flush loosened mineral before reattaching.
Full detail is in how to descale a shower head with vinegar.
Fix 3: The dripping face (valve cartridge)
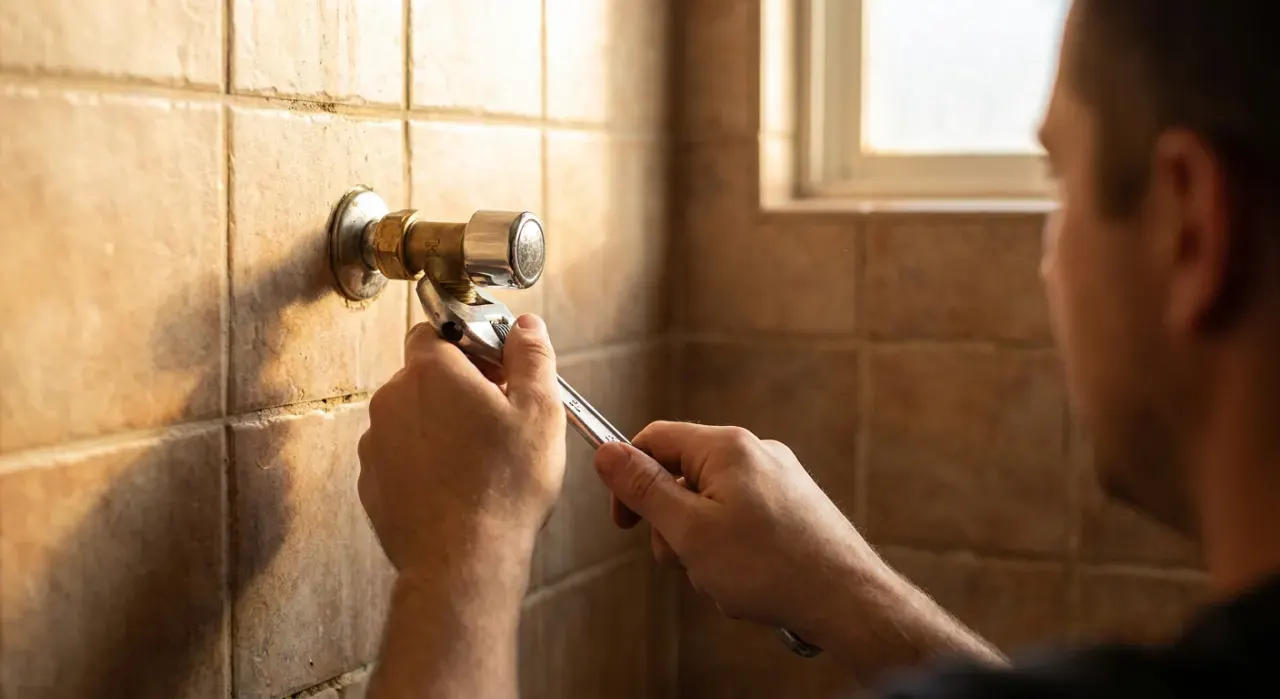
If the head keeps dripping long after you shut the water off, the shower valve cartridge is worn and no longer sealing. This is the fix people miss. Replacing the cartridge is a moderate DIY job:
- Shut off the water to the shower, at the fixture shutoffs behind an access panel or at the main.
- Remove the handle and trim plate to expose the valve body.
- Pull the retaining clip and withdraw the old cartridge with pliers or a cartridge puller.
- Match the replacement to your valve brand (Moen, Delta, Kohler, and Pfister each use their own cartridge), and seat the new one the same way.
- Reassemble, restore water, and test. The drip should be gone.
If working inside the valve body is beyond your comfort, this is a fair point to call a plumber; it is not expensive for a pro and prevents the wasted water a steady drip causes.
Leaks specific to handheld shower heads
Handheld units have more connections than a fixed head, so they have more places to leak. A handheld has a hose that connects at both ends: to the wall elbow and to the wand. Each connection has its own washer and its own thread seal. If a handheld drips:
- Leak at the wall elbow — retape the elbow threads and check that washer.
- Leak where the hose meets the wand — replace that washer and retape.
- Leak from the hose itself — a cracked or kinked hose leaks along its length and simply needs replacing; hoses are inexpensive.
- Leak from the diverter on a combo unit — the diverter valve that switches between fixed and handheld can wear and drip; it is usually a replaceable cartridge.
Because there are more parts, work methodically: dry everything, run the shower, and watch exactly where the first drop appears before you start disassembling.
What a dripping head actually costs you
It is easy to ignore a slow drip, but the numbers add up. The EPA estimates that household leaks waste nearly 1 trillion gallons of water nationwide each year, and that a leak dripping at one drop per second wastes more than 3,000 gallons annually, roughly the amount needed for 180 showers. A hot-water leak costs more still, because you pay to heat every drop that goes down the drain. Beyond the bill, a persistent drip keeps the shower area damp and feeds mildew, and a dripping valve that is left alone can seize or worsen. Fixing a leak that takes ten minutes and a dollar in parts is one of the highest-return small repairs in the house, which is why it is worth doing promptly rather than living with the sound.
The role of the rubber washer
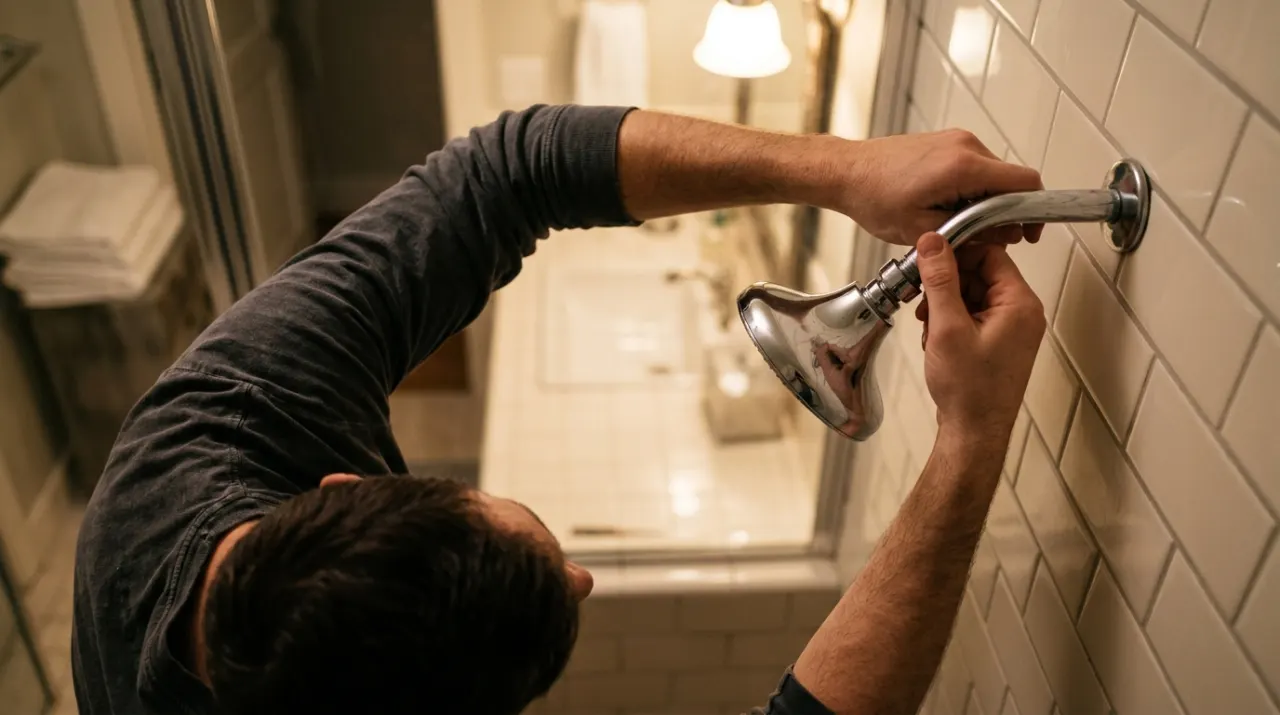
Inside the connector nut of most shower heads is a small rubber washer (an O-ring or flat gasket) that seals the head to the arm. It hardens and cracks over years, and a bad washer causes a connection leak that no amount of tape fixes. Whenever you have the head off, inspect and replace it if it looks worn. It is the cheapest part in the whole system and a frequent culprit.
Tools and parts you will need
None of these fixes call for a plumber's toolkit. For the connection and cleaning fixes, you need almost nothing; the cartridge job needs a bit more:
| Item | Used for |
|---|---|
| PTFE plumber's tape | Resealing the head-to-arm threads |
| Replacement rubber washer / O-ring | The connection seal inside the connector nut |
| White vinegar and a bag | Descaling clogged nozzles |
| Adjustable pliers with a cloth | Loosening the head without marring it |
| Allen wrench and screwdriver | Removing the handle and trim for a cartridge job |
| Replacement valve cartridge (brand-matched) | Fixing a dripping face from a worn valve |
| Cartridge puller (sometimes) | Extracting a stuck cartridge |
Buy the cartridge only after you have confirmed the drip is coming from the valve and identified your valve brand, since Moen, Delta, Kohler, and Pfister each use different parts. For the far more common connection and clog leaks, a roll of plumber's tape and a pack of washers cost only a couple of dollars and cover most repairs.
Preventing Future Shower Head Leaks
| Habit | Why it helps |
|---|---|
| Descale the head periodically | Prevents clog-driven pressure leaks |
| Do not overtighten the head | Overtightening cracks connectors and washers |
| Replace the washer when you service the head | Stops connection leaks before they start |
| Address a dripping valve early | Saves water and prevents cartridge seizing |
A steady drip is not just a nuisance; the EPA notes household leaks waste nearly 1 trillion gallons nationwide each year, and a dripping shower adds up fast. For related work see how to remove a shower head, how to clean a shower head, and if low pressure came with the leak, why is my shower pressure low. Our ranked field is in best shower head. More at the bathroom hub; our method is in how we rank.