 Garden
Affiliate Disclosure
Some links on this page are affiliate links. As an Amazon Associate, we earn from qualifying purchases — at no extra cost to you. We do not buy, test, or physically handle the products we cover; our rankings come from aggregated owner reviews, ratings and expert consensus. Commissions never change our verdicts. How we rank · full disclosure.
Installing a toilet paper holder is one of the easiest bathroom jobs there is, well within reach of a first-time DIYer and finished in under 30 minutes. The holder itself costs $10 to $40 and you need only a drill, a level and the right wall anchors. There is nothing electrical, structural or plumbing-related involved, so no permit or pro is required. The only skill is drilling clean holes at the right height, and drilling tile without cracking it if the wall next to your toilet is tiled.
Step-by-step: mounting the holder
- Pick the spot. Aim for about 26 inches above the finished floor to the center of the roll, and 8 to 12 inches in front of the bowl's leading edge. Sit on the toilet and reach to sanity-check it before you commit.
- Level the bracket and mark the holes. Hold the mounting bracket (or the paper template many holders include) against the wall, set a small level on it, and mark each screw hole with a pencil.
- Check for a stud. Run a stud finder over the marks. If a stud is behind one hole, plan to screw straight into it. If not, you will use anchors, which is fine for this light load.
- Drill the pilot holes. For drywall, drill the diameter your anchor requires. For tile, cover the mark with painter's tape, use a carbide or diamond tile bit at low speed with light pressure, and keep the tip cool; once through the tile, switch to a masonry bit for the wall behind.
- Set the anchors. Tap or thread the wall anchors in until they sit flush. Skip the anchor anywhere you hit solid wood.
- Screw on the mounting bracket. Drive the screws through the bracket into the anchors or stud until it is snug and does not spin. Re-check level.
- Attach the post and lock the set screw. Slide the decorative post or bar over the bracket and tighten the small hidden hex set screw with the included Allen key so the post cannot lift off.
- Load the roll. Fit the spring bar and hang the roll, over-mounted unless you prefer otherwise.
Tools and materials
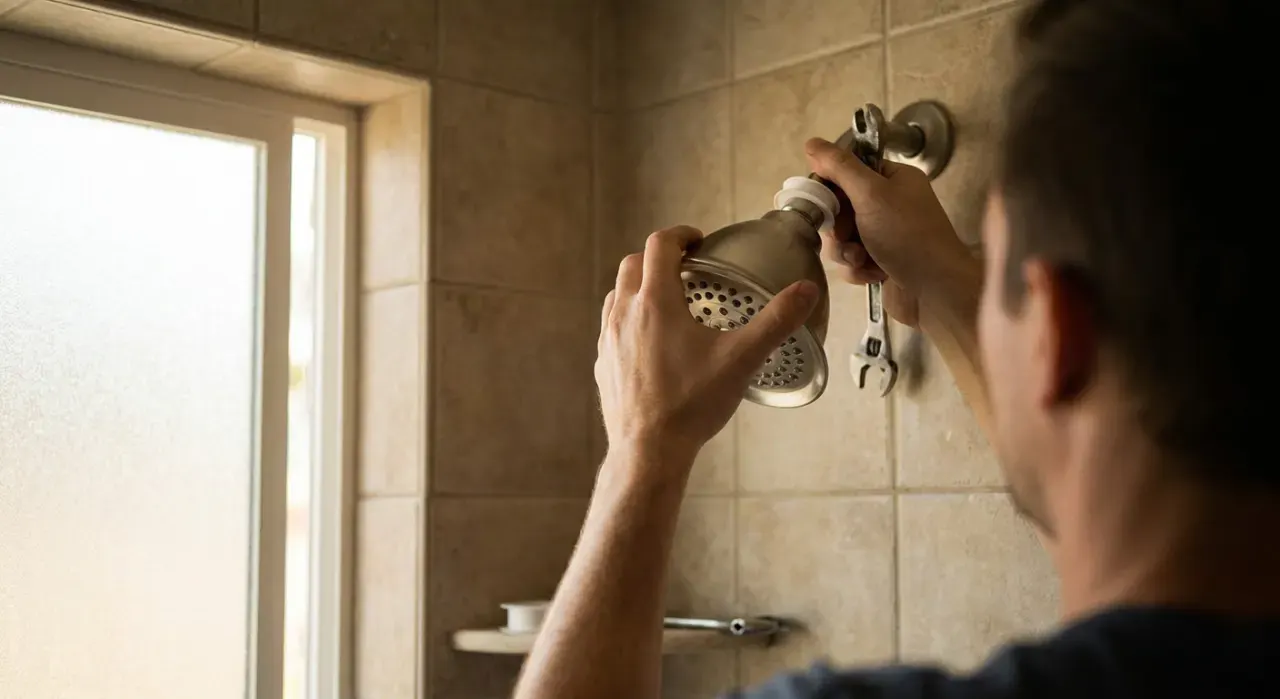
You need a drill/driver, a level, a pencil, a stud finder, wall anchors sized to the screws, and the small Allen key that ships with the holder. For a tiled wall, add a carbide or diamond-tipped tile bit and painter's tape. That is the whole kit. Because this is often one job in a larger refresh, it pairs naturally with the other quick bathroom upgrades in this hub; while you have the drill out, our shower head roundup covers the swap owners most often do in the same afternoon, and a bidet attachment is the other popular no-plumber add-on.
Common mistakes
- Mounting too high or too far back. The seated-reach zone is real. Stick near 26 inches high and 8 to 12 inches ahead of the bowl.
- Hammer-drilling tile. Impact cracks the glaze. Use a tile bit at low speed with light pressure and tape over the mark.
- Trusting the cheap conical anchors. Upgrade to threaded or expansion anchors; the box anchors often spin out.
- Forgetting the set screw. A loose, spinning post is nearly always an untightened hidden set screw.
- Not leveling the bracket. A holder that hangs crooked is obvious at eye level. Level before you drill.
We never buy, test or physically handle the products we rank. Recommendations come from aggregated owner reviews, star ratings, review volume and expert consensus — see how we rank.
More from this hub: Bathroom · Installing a towel bar · Replacing a bathroom mirror · Installing a grab bar · Best bidet attachments · How we rank