 Garden
Affiliate Disclosure
Some links on this page are affiliate links. As an Amazon Associate, we earn from qualifying purchases — at no extra cost to you. We do not buy, test, or physically handle the products we cover; our rankings come from aggregated owner reviews, ratings and expert consensus. Commissions never change our verdicts. How we rank · full disclosure.
Installing a shower grab bar is a straightforward DIY job of about an hour, but it is a safety-critical one: the bar must hold at least 250 pounds, so the anchoring, not the bar, is what matters. A code-compliant bar costs $20 to $60. You need a drill, a stud finder, a tile bit, and either studs, solid blocking, or grab-bar-rated anchors. No permit is required for adding a grab bar in most areas, but the 250-pound ADA load standard is the bar you must clear. If you cannot reach solid backing and are unsure of the anchors, have a pro fit it.
Step-by-step: a grab bar that holds
- Choose the location and height. A horizontal bar 33 to 36 inches above the shower floor on the long wall suits most people. Position it so at least one flange can catch a stud where possible.
- Find the studs and any blocking. Use a stud finder over the tile, tapping to confirm. If the shower was built with grab-bar blocking (a common upgrade in newer builds), that solid backing is your target.
- Mark the flange holes level. Hold the bar at your chosen angle, level it, and mark each mounting hole through the flanges.
- Drill the tile carefully. Tape over each mark, and drill through the tile only with a carbide or diamond tile bit at low speed and light pressure, cooling with water. Do not use impact on the tile face.
- Drill for your backing. Into a stud or blocking, switch to a wood bit and pilot for the lag or grab-bar screw. Where there is no wood, install a grab-bar-rated anchor (such as a heavy toggle or a dedicated grab-bar anchor system), never an ordinary drywall anchor.
- Seal every hole. Inject 100% silicone into each drilled hole and behind the flange so water cannot enter the wall.
- Fasten the flanges. Drive the provided stainless screws or lags into the studs, blocking or anchors until each flange is tight and flat to the tile.
- Tool the flange seal and load-test. Wipe a thin silicone seal around each flange, then pull hard on the bar in several directions to confirm it does not budge before anyone relies on it.
Tools and materials
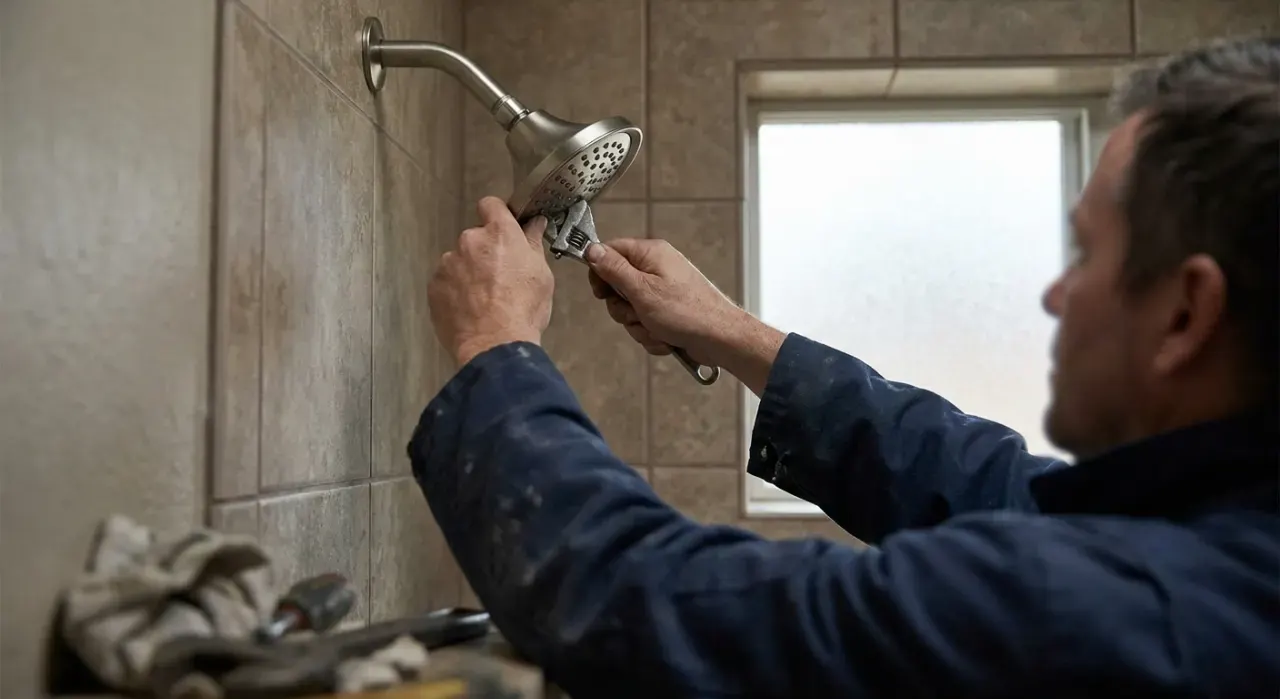
You need a drill/driver, a stud finder, a carbide or diamond tile bit, a wood bit, stainless lag screws or the bar's supplied fasteners, grab-bar-rated anchors if you cannot hit wood, 100% silicone, and painter's tape. A grab bar is often added as part of aging-in-place or accessibility work alongside the other bathroom safety and comfort upgrades in this hub; while you are improving the shower, our shower head roundup covers handheld models that pair well with a seated shower, and a bidet attachment is another common accessibility addition.
Anchoring, load and code
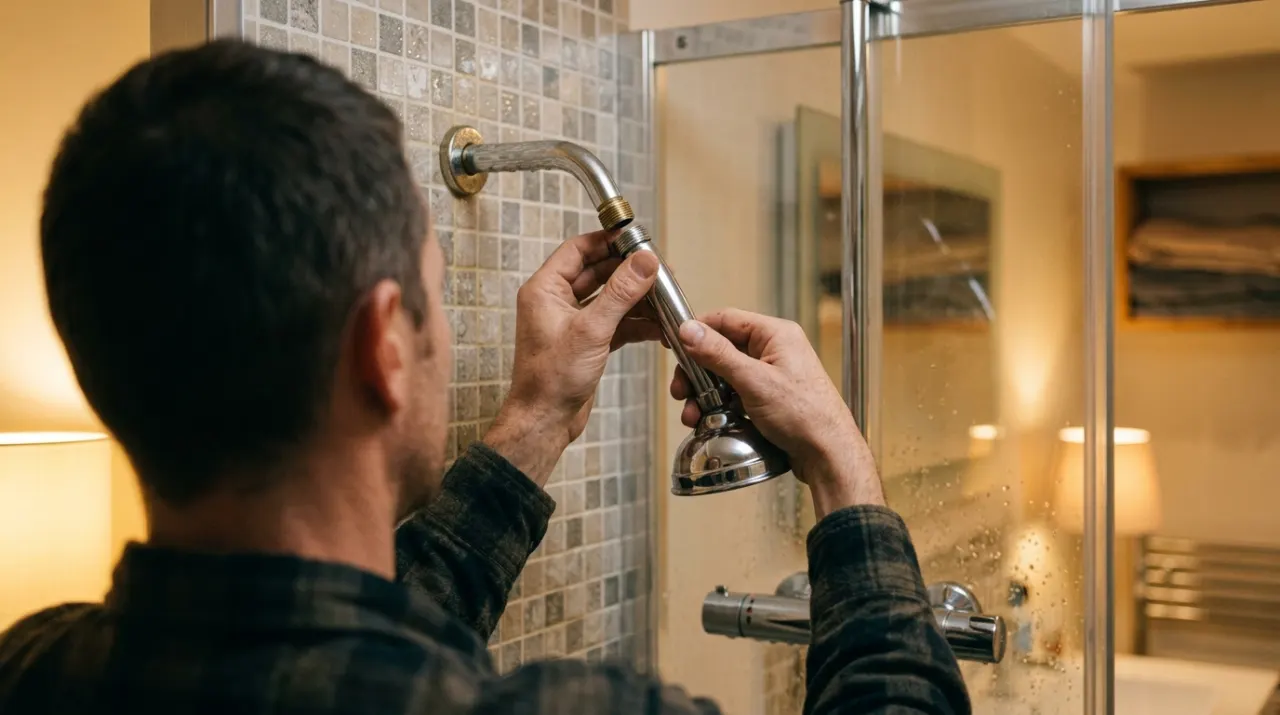
The whole safety of a grab bar rests on the mount. The ADA standard (ADA 609.8) requires a grab bar to resist 250 pounds of force in any direction, so fasten flanges into studs or solid blocking whenever possible, and use only grab-bar-rated anchors where wood is absent, never generic drywall plugs. Local accessibility and building codes vary by jurisdiction, and any bar installed for a care setting or rental may have specific requirements, so check your local code. If you cannot confirm solid backing, if the wall is a fiberglass surround with no blocking, or the bar is for someone with a real fall risk, hire a licensed contractor to install it.
We never buy, test or physically handle the products we rank. Recommendations come from aggregated owner reviews, star ratings, review volume and expert consensus — see how we rank.
More from this hub: Bathroom · Installing a towel bar · Resealing a shower · Installing a toilet paper holder · Best shower heads · How we rank