 Garden
Affiliate Disclosure
Some links on this page are affiliate links. As an Amazon Associate, we earn from qualifying purchases — at no extra cost to you. We do not buy, test, or physically handle the products we cover; our rankings come from aggregated owner reviews, ratings and expert consensus. Commissions never change our verdicts. How we rank · full disclosure.
Resealing a shower is a beginner-friendly job of about an hour of work plus a day of cure time, and it is the single best defense against water getting behind your tile. A tube of quality mildew-resistant silicone costs $8 to $12. You need a caulk gun, a removal tool and patience. No permit or pro is required for resealing surface joints. The work is 80% preparation: new silicone only bonds to clean, bare, bone-dry surfaces, so stripping the old bead completely is what makes the reseal last rather than peel in weeks.
Step-by-step: stripping and resealing
- Remove all the old sealant. Run a utility knife or plastic silicone-removal tool along both edges of the old bead and peel it out. Get every bit; new silicone will not bond over old.
- Clear the residue. Scrape off the thin remaining film with a plastic razor, and treat stubborn silicone smears with a silicone digester gel. Kill any surface mold with a bathroom cleaner or diluted bleach.
- Clean and dry completely. Wipe the joint with rubbing alcohol to remove soap film and oils, then let it dry fully, several hours or overnight, because a damp joint ruins adhesion.
- Mask the joint. Run painter's tape on both sides of the joint, leaving a consistent gap the width of the bead you want, for crisp edges.
- Cut the tip and load the gun. Snip the nozzle at 45 degrees to a small opening, about 1/8 to 3/16 inch, and load a tube of 100% mildew-resistant silicone.
- Lay a continuous bead. Draw the gun steadily along the joint with even pressure, filling it in one smooth pass rather than starting and stopping. Work the vertical corners and the horizontal tub-to-tile line.
- Tool it smooth. Draw a caulk-finishing tool or a soapy gloved fingertip along the bead once, in a single stroke, to press it into the joint and leave a concave profile. Wipe excess onto a rag.
- Pull the tape and cure. Remove the tape while the silicone is wet, pulling at a low angle. Ventilate the room and let it cure a full 24 hours (up to 48 in humidity) before using the shower.
Tools and materials
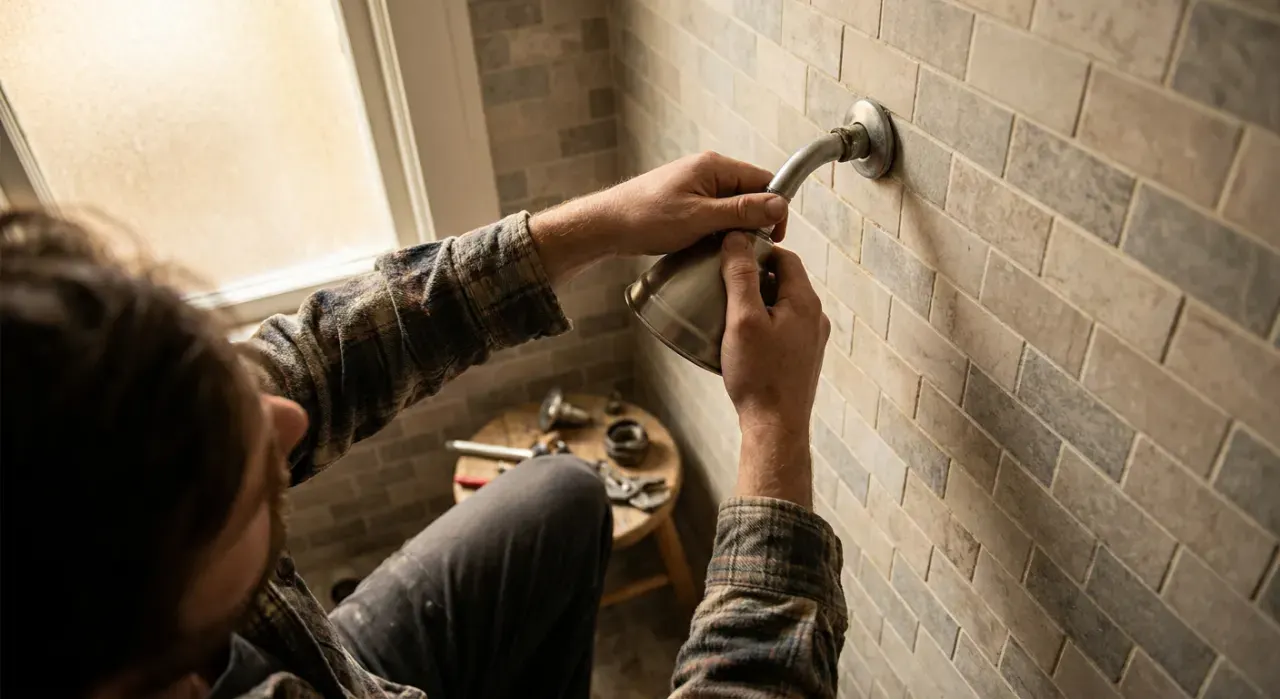
You need a caulk gun, a tube of 100% mildew-resistant silicone, a utility knife or plastic silicone-removal tool, a plastic razor, a silicone digester, rubbing alcohol, painter's tape, and a caulk-finishing tool. Resealing is often paired with the other wet-area maintenance in this hub; the same technique reseals the toilet base in our toilet caulking guide, and since chronic mold points to poor airflow, fixing the ventilation with a unit from the exhaust fan roundup is what keeps the new seal clean. A shower filter also cuts the hard-water scale that stains fresh silicone.
Mistakes that make a reseal fail
- Caulking over old silicone. It will not bond and peels within weeks. Strip the joint to bare surface.
- Sealing a damp joint. Trapped moisture breaks adhesion and breeds mold. Let it dry fully first.
- Using acrylic caulk. It shrinks, cracks and molds in constant wet. Use 100% silicone.
- Showering too soon. Water on uncured silicone washes the bead out. Wait a full 24 hours.
- Ignoring the cause of mold. Fresh caulk in an unventilated bathroom just molds again. Run the fan and squeegee.
We never buy, test or physically handle the products we rank. Recommendations come from aggregated owner reviews, star ratings, review volume and expert consensus — see how we rank.
More from this hub: Bathroom · Caulking around a toilet · Regrouting tile · Replacing a cracked tile · Best shower filters · How we rank