 Garden
Affiliate Disclosure
Some links on this page are affiliate links. As an Amazon Associate, we earn from qualifying purchases — at no extra cost to you. We do not buy, test, or physically handle the products we cover; our rankings come from aggregated owner reviews, ratings and expert consensus. Commissions never change our verdicts. How we rank · full disclosure.
Regrouting bathroom tile is a beginner-friendly job that trades effort for a big cosmetic payoff; expect a weekend for a shower surround once you add cure time, and materials of only $30 to $60. The work itself is not technical, just patient: rake out the old grout, float in the new, and seal it. No permit or pro is needed for surface regrouting. The one caution is that if grout is failing because water got behind the tile or the floor flexes, regrouting only hides a bigger problem, so diagnose why it failed before you refill.
Step-by-step: raking out and regrouting
- Rake out the old grout. Run a grout saw, oscillating multi-tool with a grout blade, or a carbide grout rake down each joint, removing grout to about two-thirds of the tile depth. Keep the blade centered so you do not chip the glazed tile edges. Vacuum the dust out of the joints.
- Clean and dry the joints. Scrub the empty joints and tile faces with a stiff brush, rinse, and let everything dry completely. New grout will not bond to dust, soap film or a damp joint.
- Cut out the corner and edge joints separately. The inside vertical corners and the horizontal joint where tile meets the tub or floor should be left empty for silicone, not grout. Mark them so you do not fill them by habit.
- Mix the grout. Add powder to water (or use premixed) to a smooth peanut-butter consistency with no dry lumps. Let it slake for the time on the bag, usually about 10 minutes, then remix briefly. Mix only what you can use in 20 to 30 minutes.
- Float it in. Load a rubber grout float and push grout diagonally across the joints at a 45-degree angle so it packs fully into each gap. Work a few square feet at a time, then scrape the excess off with the float held on edge.
- Tool and clean the joints. After the grout firms up (about 15 to 20 minutes, when your thumb leaves only a faint print), wipe diagonally with a barely damp sponge, rinsing often, to strike the joints to a uniform depth and clear the tile faces. Do not flood it.
- Buff off the haze. Once the surface hazes over, buff the tile clean with a dry microfiber cloth. A stubborn haze wipes off with a haze remover the next day.
- Caulk the movement joints. Fill the corners and the tile-to-tub joint you left empty with a matching mildew-resistant silicone, tooled to a clean concave line.
- Cure, then seal. Let the grout cure 48 to 72 hours, then apply a penetrating sealer to cement grout, wipe on and buff off the excess. Wait for full cure before showering.
Tools and materials
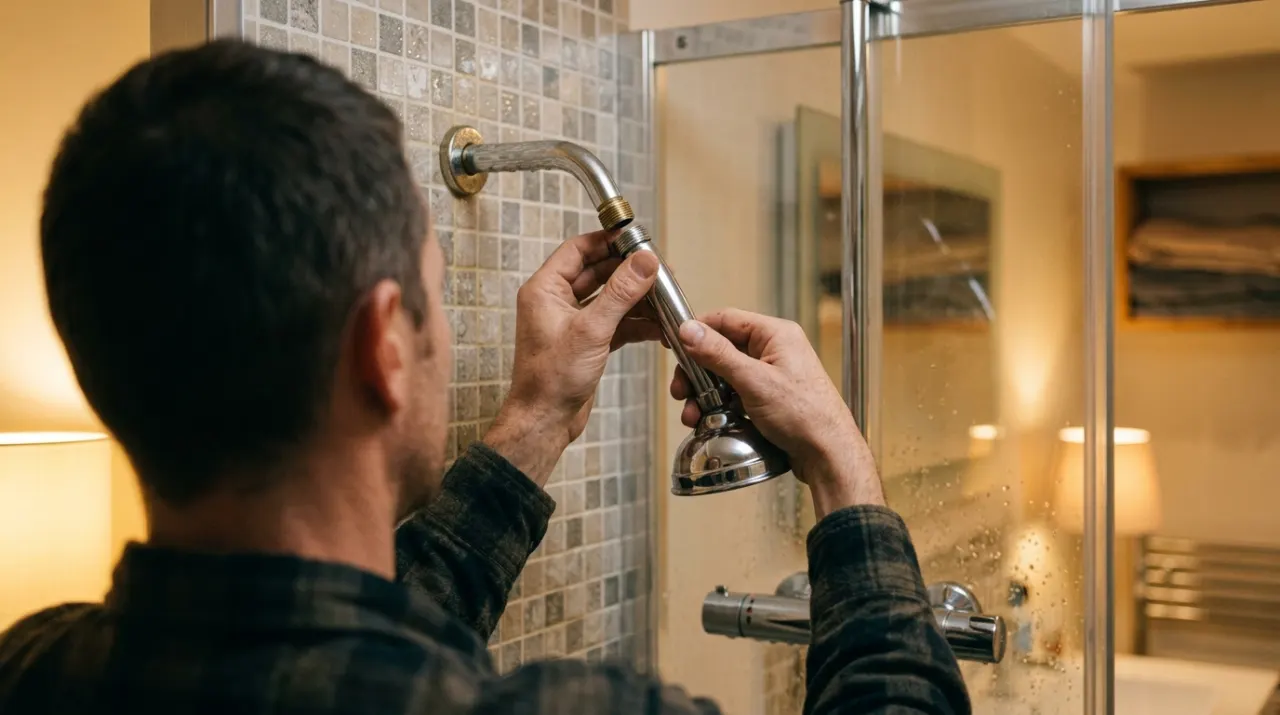
You need a grout removal tool (an oscillating tool with a grout blade is fastest), a rubber grout float, grout sponges, a bucket, sanded or unsanded grout matched to your joint width, mildew-resistant silicone for the corners, and a penetrating grout sealer for cement grout. A pair of knee pads and a shop vacuum make the raking bearable. If humidity is what wrecked the last grout job, tackling ventilation at the same time pays off: see our exhaust fan roundup, and a shower filter cuts the hard-water scale that stains fresh grout gray.
Mistakes that ruin a regrout
- Grouting the corners. Inside corners and the tub joint move and must be silicone. Grout there cracks straight back out.
- Not raking deep enough. A thin skim over old grout has nothing to grip. Go two-thirds of the tile depth.
- Over-wetting the sponge. Too much water washes cement out and leaves pale, weak, pitted joints. Barely damp, rinse often.
- Showering too soon. Water on uncured grout erodes the joints. Wait the full 48 to 72 hours.
- Skipping the sealer. Unsealed cement grout stains and grows mildew fast. Seal it, and reseal a shower yearly.
When it is more than a regrout
Surface regrouting is safe DIY. Stop and reassess if grout is failing across a whole floor or wall, if tiles sound hollow when tapped, or if you find soft, dark or musty areas, because those point to water behind the tile or a flexing subfloor that no amount of new grout will fix. Waterproofing behind wet-area tile is governed by tile-industry standards and local code, and a full shower rebuild is a job for a tile pro. Homes built before 1978 can have lead in old glazes and grout dust; do not create dust dry, and follow lead-safe practices.
We never buy, test or physically handle the products we rank. Recommendations come from aggregated owner reviews, star ratings, review volume and expert consensus — see how we rank.
More from this hub: Bathroom · Resealing a shower · Replacing a cracked tile · Tiling a bathroom floor · Best shower filters · How we rank