 Garden
Affiliate Disclosure
Some links on this page are affiliate links. As an Amazon Associate, we earn from qualifying purchases — at no extra cost to you. We do not buy, test, or physically handle the products we cover; our rankings come from aggregated owner reviews, ratings and expert consensus. Commissions never change our verdicts. How we rank · full disclosure.
Replacing a vanity light is a light-electrical DIY job of about 30 to 60 minutes for a like-for-like swap, with fixtures running $30 to $200. The mechanical part is easy; the care is all in the wiring. You must switch off the circuit at the breaker and verify it is dead before touching anything, and the fixture should be damp-location rated for a bathroom. A straight replacement on existing wiring is DIY-friendly. Adding a new fixture, running new cable, or dealing with an ungrounded box is a licensed-electrician job, and codes near water are jurisdiction-specific.
Step-by-step: swapping a vanity light
- Kill the power and verify. Switch off the breaker for the bathroom lighting, then hold a non-contact voltage tester to the existing fixture wires to confirm they are dead. Do not rely on the wall switch alone.
- Remove the old fixture. Unscrew the mounting nut or screws, ease the fixture off the box, and unscrew the wire nuts to free the black, white and ground connections.
- Check the box and mounting. Confirm the electrical box is secure and rated to support the fixture. Note whether there is a ground wire; there should be.
- Attach the new mounting bracket. Screw the fixture's mounting strap to the box. Thread the fixture wires through as needed.
- Make the connections. Join black to black (hot), white to white (neutral), and the fixture ground to the box ground or ground screw, each with a wire nut over tightly twisted, fully inserted strands. Tug each to confirm it holds.
- Set the height and level. With a bar light, position it about 75 to 80 inches off the floor and 3 to 6 inches above the mirror, and level it before final tightening. Sconces go at roughly eye level, 60 to 66 inches, flanking the mirror.
- Mount the fixture body. Tuck the wires into the box, seat the fixture, and secure it with the cap nut or screws so it sits flush and straight.
- Bulb, power and test. Install the correct bulbs, restore the breaker, and test the switch. If it does not light, cut power and recheck the connections.
Tools and materials
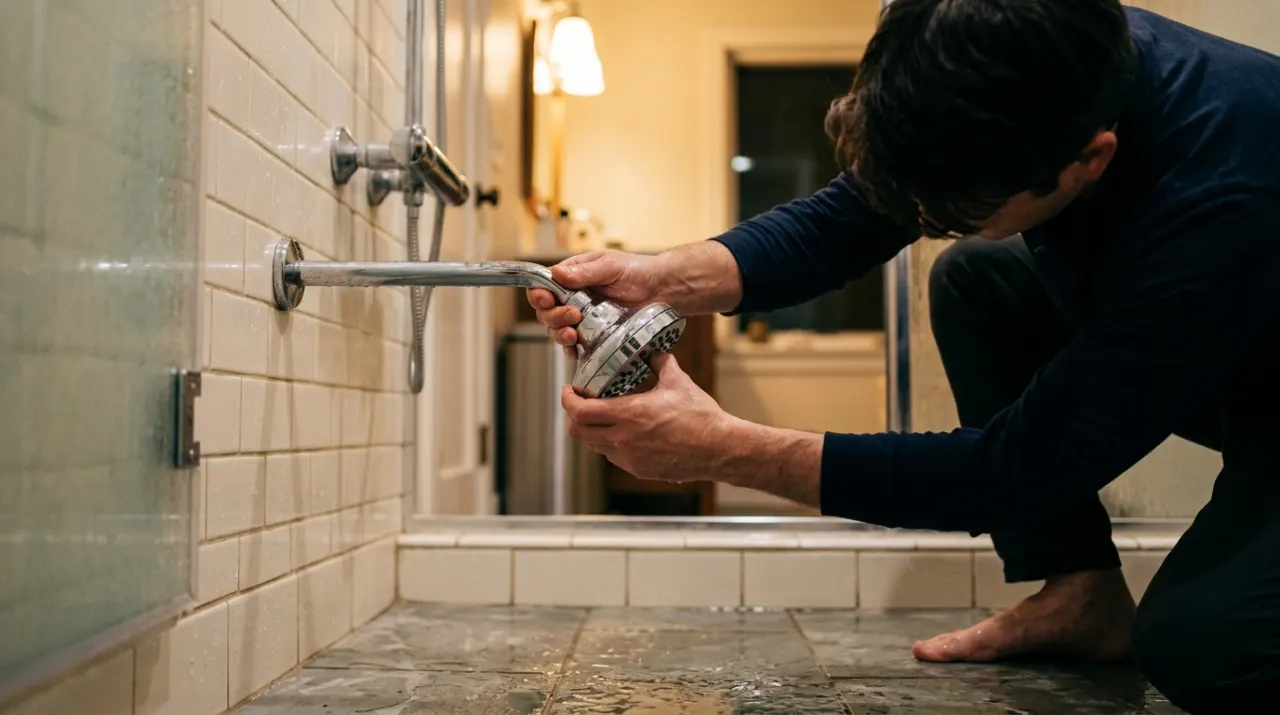
You need a non-contact voltage tester, a screwdriver, a wire stripper, wire nuts, a level, and a damp-location-rated vanity fixture with the right bulbs. A vanity light is usually swapped during a mirror or vanity refresh, so it commonly rides along with the other jobs in this hub; see our mirror replacement guide for the companion step, and if the room stays foggy after showers, the fixture will last longer with better airflow from a unit in our exhaust fan roundup.
Electrical near water and code
The whole risk here is electrical, in a wet room. Always switch off the breaker and confirm dead with a tester before touching wires; the wall switch is not enough. Use a fixture rated at least for damp locations in a bathroom, and wet-location rated over a tub or shower. Ground every metal fixture, and never remove the ground to make a fit. If you find no ground wire, aluminum wiring, a box that is not fixture-rated, or you are adding a fixture rather than replacing one, stop: those are jobs for a licensed electrician, and electrical work in bathrooms is governed by code that varies by jurisdiction and often requires a permit. When unsure, hire a pro.
We never buy, test or physically handle the products we rank. Recommendations come from aggregated owner reviews, star ratings, review volume and expert consensus — see how we rank.
More from this hub: Bathroom · Replacing a bathroom mirror · Installing a medicine cabinet · Installing a bathroom vanity · Best exhaust fans · How we rank