 Garden
Affiliate Disclosure
Some links on this page are affiliate links. As an Amazon Associate, we earn from qualifying purchases — at no extra cost to you. We do not buy, test, or physically handle the products we cover; our rankings come from aggregated owner reviews, ratings and expert consensus. Commissions never change our verdicts. How we rank · full disclosure.
Control a charcoal grill by setting the fuel load first, then steering with the bottom intake vent while leaving the top exhaust vent mostly open — and wait 10 to 15 minutes between adjustments. As a starting point on a kettle: bottom vent one quarter open for 225 to 250F, half open for 325 to 375F, and fully open for 450F and up. Almost every temperature problem is really a fuel problem. You cannot vent your way out of having lit too much charcoal, so decide how much fire you want before you strike the match.
Step 1: the fuel load sets your ceiling
Vents cannot make more heat than the burning fuel can produce, and they only slowly reduce heat that is already there. So the first decision is how many coals you light and how you arrange them.
| Cook | Target grate temp | Fuel on a 22 in kettle | Arrangement |
|---|---|---|---|
| Low and slow barbecue | 225–275F | Full basket, only 8–12 coals lit | Snake or minion, coals to one side |
| Roasting chicken, spatchcock | 325–375F | Half chimney | Two-zone, coals banked one side |
| Burgers, chops, veg | 400–450F | Two-thirds chimney | Two-zone, hot side across half the grate |
| Steak, searing | 500–600F+ | Full chimney | Tight single pile, grate close to coals |
A standard chimney starter holds roughly 80 to 100 standard briquettes, or about 6 quarts. That is your reference unit — think in fractions of a chimney rather than counting individual coals. A useful sanity check while learning: hold your open palm about five inches above the grate and count how long you can keep it there. One to two seconds is searing heat, three to four is medium-high, six to eight is medium-low.
Step 2: the bottom vent is the throttle
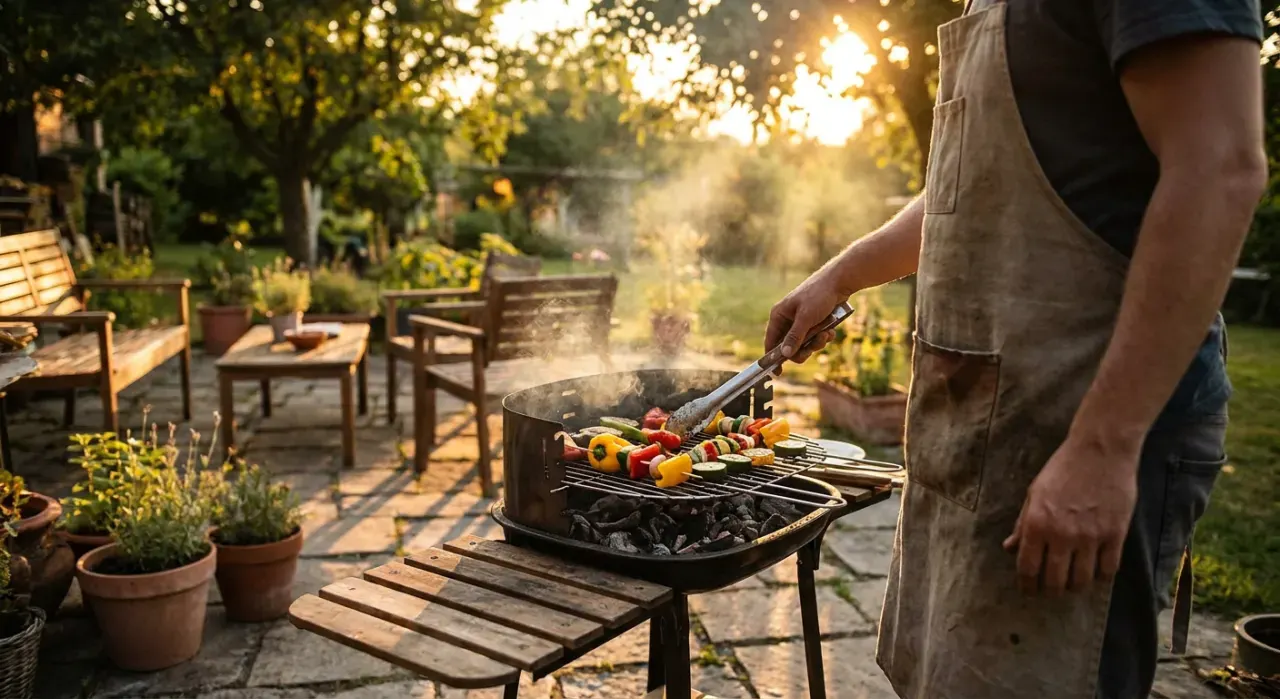
Combustion air enters through the bottom vent, crosses the coals, and exits through the top. Restricting the entrance limits the fire. Restricting the exit mostly just backs up smoke.
| Target temperature | Bottom vent | Top vent |
|---|---|---|
| 225–250F | About 1/4 open | 1/2 to fully open |
| 275–300F | About 1/3 open | Fully open |
| 325–375F | About 1/2 open | Fully open |
| 400–450F | 3/4 open | Fully open |
| 500F and up | Fully open, lid off between turns | Fully open |
These are starting points, not laws. A grill with a well-sealing lid holds temperature at a smaller vent opening than a battered one with a warped rim. Wind, ambient temperature and altitude all shift the numbers. Learn your own grill by writing down what setting held 250F on a calm 70F day, and adjust from there.
Step 3: adjust once, then wait
Charcoal has enormous thermal inertia. When you close the bottom vent, the fire keeps burning at nearly the old rate for several minutes while the oxygen already in the bowl is consumed, then it slowly settles. If you check the lid thermometer two minutes later and close the vent further, you have queued up a second correction on top of the first, and 20 minutes later the fire is dying.
The discipline is simple: make one adjustment, then leave it alone for 10 to 15 minutes. Overshoot the same way. If you are aiming for 250F, start closing the vent when the grill hits about 200F, because it will coast up another 40 to 60 degrees on its own.
Step 4: build a two-zone fire, not an even one
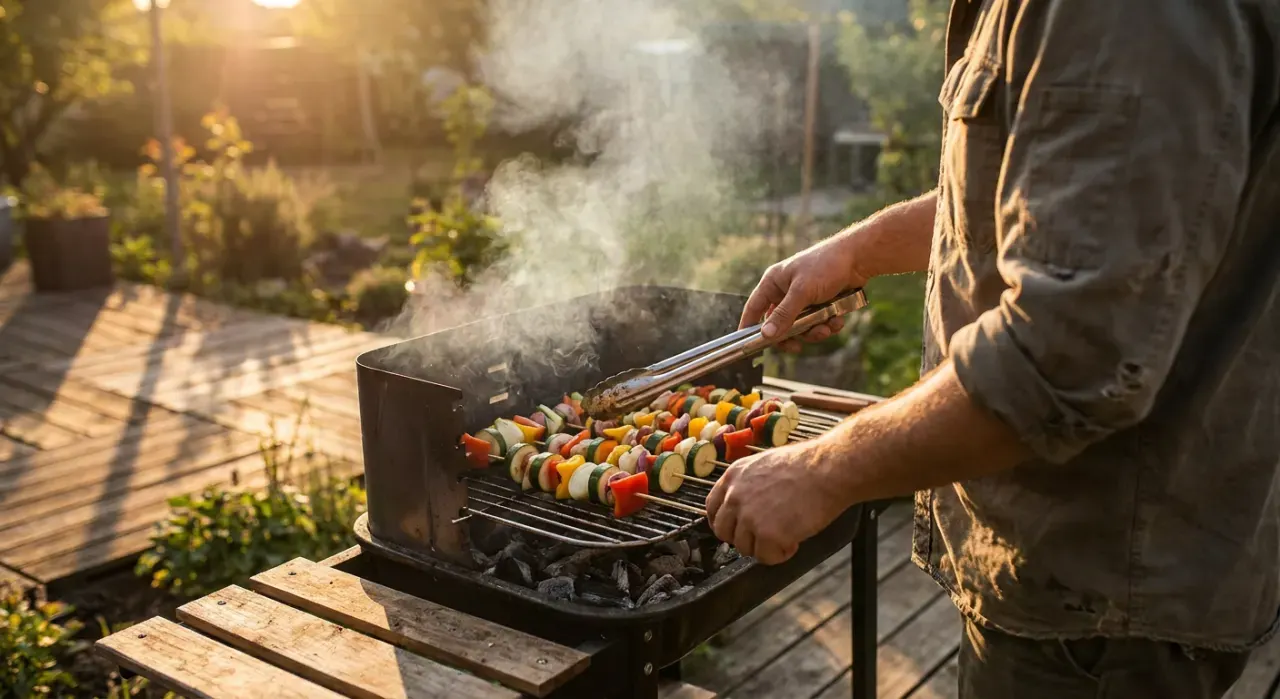
The most useful temperature control on a charcoal grill is not a vent at all — it is having somewhere cooler to move the food. Bank all the coals to one half of the charcoal grate and leave the other half empty. Now you have a searing zone and a safe zone, and the answer to a flare-up or a piece that is browning too fast is to slide it sideways rather than to fight the fire.
For anything thicker than about an inch, the reverse sear is the reliable method: cook on the indirect side with the lid on until the internal temperature is about 15F below your target, then move it over the coals for 60 to 90 seconds a side. This gives an even interior and a hard crust, and it is far more forgiving than trying to hold one perfect grate temperature.
Holding 250F for eight hours
Low and slow is where fuel arrangement does most of the work. Two arrangements dominate.
- The snake (or fuse). Lay unlit briquettes two wide and two high in a C shape around the outer edge of the charcoal grate, tuck wood chunks along it, and drop 8 to 10 lit coals on one end. The fire creeps along the snake at a predictable rate and can hold 225 to 250F for 8 to 12 hours with almost no intervention.
- The minion method. Fill the basket or ring with unlit coals, pour 10 to 15 lit coals into the center or on top, and let it burn downward and outward. Faster to set up, slightly less stable than a snake.
Add a water pan on the coal grate or the lower rack. It is a heat sink that damps temperature swings and adds humidity, which helps bark formation and keeps lean cuts from drying. Refill it with hot water so you do not crash the pit temperature.
Common problems and the actual cause
- Temperature climbing and will not stop. Too much lit fuel. Close the bottom vent to a sliver, move food to the cool zone, and accept a 20-minute wait. Next time, light less.
- Temperature slowly dying with fuel left. Ash blocking the bottom vent and the charcoal grate. Sweep the one-touch cleaner or rake the ash out mid-cook. This is the single most common cause of a stalled long cook.
- Wild swings every time you open the lid. Every lid lift costs roughly 10 to 15 minutes of recovery on a long cook. Use an instant-read probe and a lid thermometer instead of looking.
- Lid thermometer reads much lower than the grate. Dome thermometers sit in the coolest air and are frequently off by 25 to 50F. Clip a probe at grate level next to the food and trust that.
- Bitter, sooty flavor. You are choking the top vent. Open the exhaust, control from the bottom, and let the smoke keep moving.
- Wind wrecking the settings. Point the bottom vent away from the prevailing wind and shield the grill with a fence or wall. Wind through an open intake acts like a bellows.
The gear that actually helps
A chimney starter is non-negotiable — it lights coals evenly in 15 to 20 minutes with no lighter fluid taste, and it lets you add measured amounts of already-burning fuel mid-cook. A dual-probe leave-in thermometer, one probe at the grate and one in the meat, replaces most guesswork. Long tongs and a heavy glove let you move coals safely. Beyond that, the biggest upgrade is usually a grill that seals well; if yours has a warped lid or a rusted-out damper, see our charcoal grill picks and the beginner-focused starter models, where owners consistently rate airtight vent hardware as the difference between a grill that holds temperature and one that does not.
Safety
Run a charcoal grill outdoors only, on a stable non-combustible surface, well clear of siding, railings and overhangs. Charcoal emits carbon monoxide continuously — never use or cool a grill in a garage, screened porch, tent or any enclosed space. Never add lighter fluid to lit or warm coals. Keep a Class ABC extinguisher nearby and smother grease flare-ups with the lid rather than water. When you are done, shut it down properly: see how to put out a charcoal grill.
We never buy, test or physically handle the products we rank. Recommendations come from aggregated owner reviews, star ratings, review volume and expert consensus — see how we rank.
More from this hub: Outdoor Living & Grills · How much charcoal to use · Putting out a charcoal grill · Lump vs briquettes · Best charcoal grills · How we rank