 Garden
Affiliate Disclosure
Some links on this page are affiliate links. As an Amazon Associate, we earn from qualifying purchases — at no extra cost to you. We do not buy, test, or physically handle the products we cover; our rankings come from aggregated owner reviews, ratings and expert consensus. Commissions never change our verdicts. How we rank · full disclosure.
A self-watering planter holds water in a sealed reservoir below the soil and lets the plant draw it upward by capillary action, so the root zone stays evenly moist without daily watering. A perforated platform or false floor separates the reservoir from the growing mix. One or more soil-filled wicking chambers dip down through that platform into the water, and moisture climbs through the fine pores of the potting mix the way liquid climbs a paper towel. You top the reservoir up through a fill tube; an overflow hole drilled at the reservoir line dumps any excess.
What are the parts inside a self-watering planter?
Every design, from a $12 windowsill pot to a 30-gallon patio planter, uses the same five components. Understanding them tells you immediately why a given planter is or is not working, because failures almost always trace to one specific part rather than the concept.
| Part | What it does | What goes wrong |
|---|---|---|
| Reservoir | Holds 1–5 gallons of water below the root zone | Undersized for the plant; empties in 2–3 days |
| Platform / false floor | Separates water from soil, holds an air gap | Cracks or sags, letting soil slump into the water |
| Wick or soil column | Carries water up into the growing mix | Filled with garden soil or left dry, so nothing wicks |
| Fill tube | Refills the reservoir without disturbing roots | Too narrow to read the level; no gauge |
| Overflow hole | Drains rain and overfilling out the side | Blocked or never drilled, so the soil floods |
Why does the water move upward instead of just sitting there?
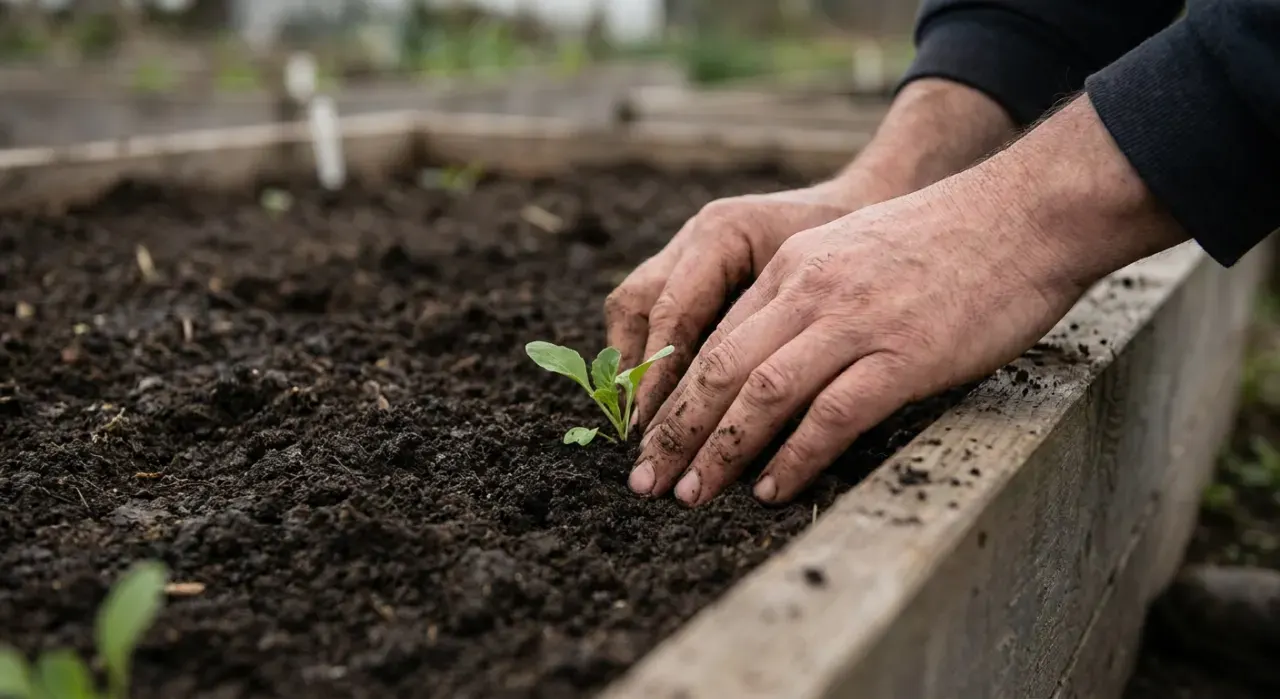
Capillary action. Water molecules cling to the surfaces of soil particles more strongly than gravity pulls them down, so in a medium with many small pores, water climbs. Fine-textured, peat or coir-based potting mixes have the pore structure to lift water roughly 4 to 12 inches above the waterline; coarse bark mixes and garden soil do not, for opposite reasons. Coarse material has pores too large to hold a column of water, and compacted garden soil has pores too small and too poorly connected to move water at any useful rate. This is why manufacturers specify a lightweight soilless mix and why substituting topsoil produces a planter that stays full and a plant that wilts.
The mix also has to start wet. Dry peat is hydrophobic — it repels water — so a freshly filled planter needs the mix moistened in a bucket first, or top-watered thoroughly, before capillary flow will establish at all.
Does the soil sit in the water?
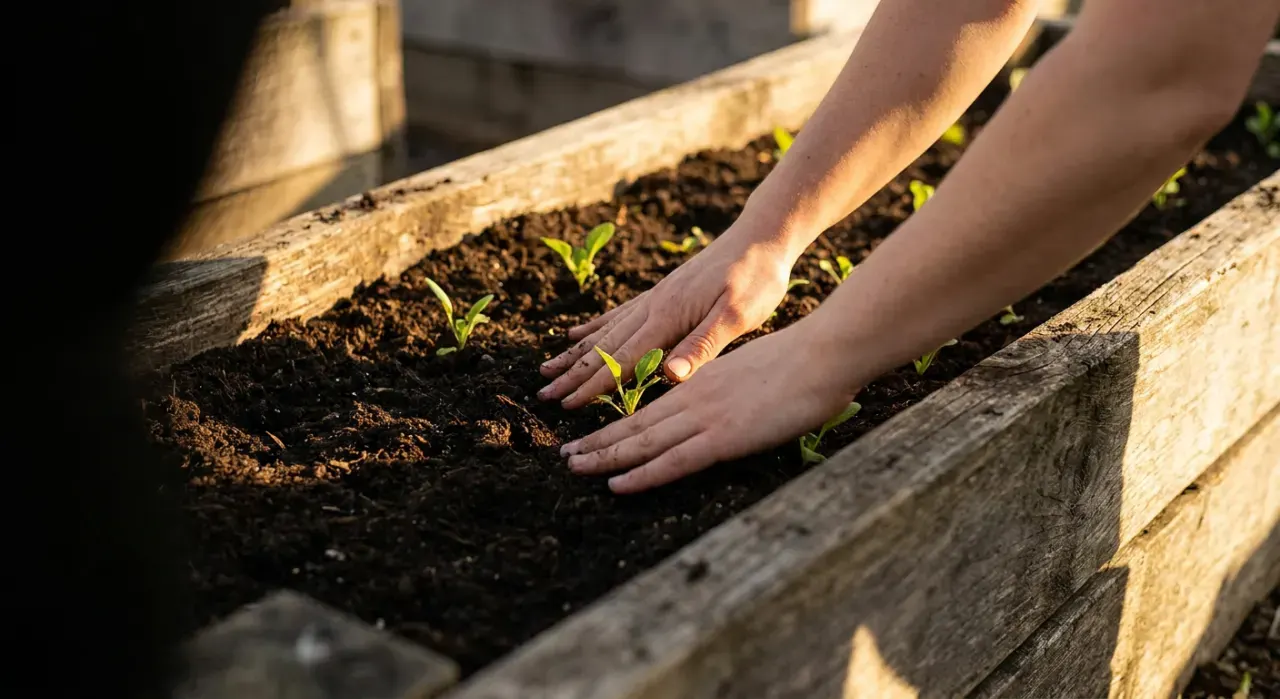
No, and that gap is what keeps roots alive. Only the wicking chamber contacts the water; the main body of soil sits above an air space, so roots in the growing zone get oxygen while moisture arrives from below. Extension horticulturists describe this as sub-irrigation, and the same principle runs commercial greenhouse ebb-and-flow benches. If soil slumps through a broken platform and sits directly in standing water, the planter stops being self-watering and becomes a bog — the classic cause of the rot people wrongly blame on the design itself.
Do you fertilize differently?
Yes. Because water enters from below and never drains out the bottom, dissolved fertilizer salts accumulate in the upper soil instead of leaching away. Two habits fix this: use a controlled-release granular fertilizer mixed into the top few inches at planting rather than liquid feed poured into the reservoir, and top-water heavily every four to six weeks so excess salts flush down and out the overflow. A white crust on the soil surface is the visible warning sign.
The bottom line
Self-watering planters work well for thirsty, evenly watered plants and badly for anything that wants to dry out. Give them a soilless mix, moisten it before filling, top-water for the first fortnight, keep the overflow clear, and let the reservoir empty for a day between refills. For which species reward the setup, see best plants for self-watering planters, and the rot question is covered in do self-watering planters cause root rot. Our best self-watering planters roundup ranks the field on reservoir size, overflow design and owner-reported durability.
We never buy, test or physically handle the products we rank. Recommendations come from aggregated owner reviews, star ratings, review volume and expert consensus — see how we rank.
More from this hub: Raised Beds & Planters · Best self-watering planters · Do grow bags need saucers · What to fill a raised bed with · How we rank