 Garden

Affiliate Disclosure
Some links on this page are affiliate links. As an Amazon Associate, we earn from qualifying purchases — at no extra cost to you. We do not buy, test, or physically handle the products we cover; our rankings come from aggregated owner reviews, ratings and expert consensus. Commissions never change our verdicts. How we rank · full disclosure.
A mudroom bench with cubbies is a satisfying weekend intermediate build — no permit, nothing structural — for roughly 100 to 250 dollars in plywood and finish (2026). You need a circular saw or track saw, a drill, and a pocket-hole jig or screws. The design is a plywood box with vertical dividers that form shoe cubbies and also support a seat you can sit on at 17 to 19 inches high. The keys are transferring the seat load straight down through the dividers to the floor, gluing and screwing every joint, and anchoring the finished bench to the wall studs so it cannot slide or tip when someone leans on it.
Tools and materials
- Circular saw or track saw for clean plywood cuts, and a drill/driver.
- Pocket-hole jig, square, level, and clamps.
- Materials: 3/4-inch plywood for the box, dividers, and seat, 1x2 face-frame stock, screws, glue, wood filler, primer, and durable paint. Line the cubbies with storage bins or baskets, and pair the bench with a closet organizer nearby for coats and gear.
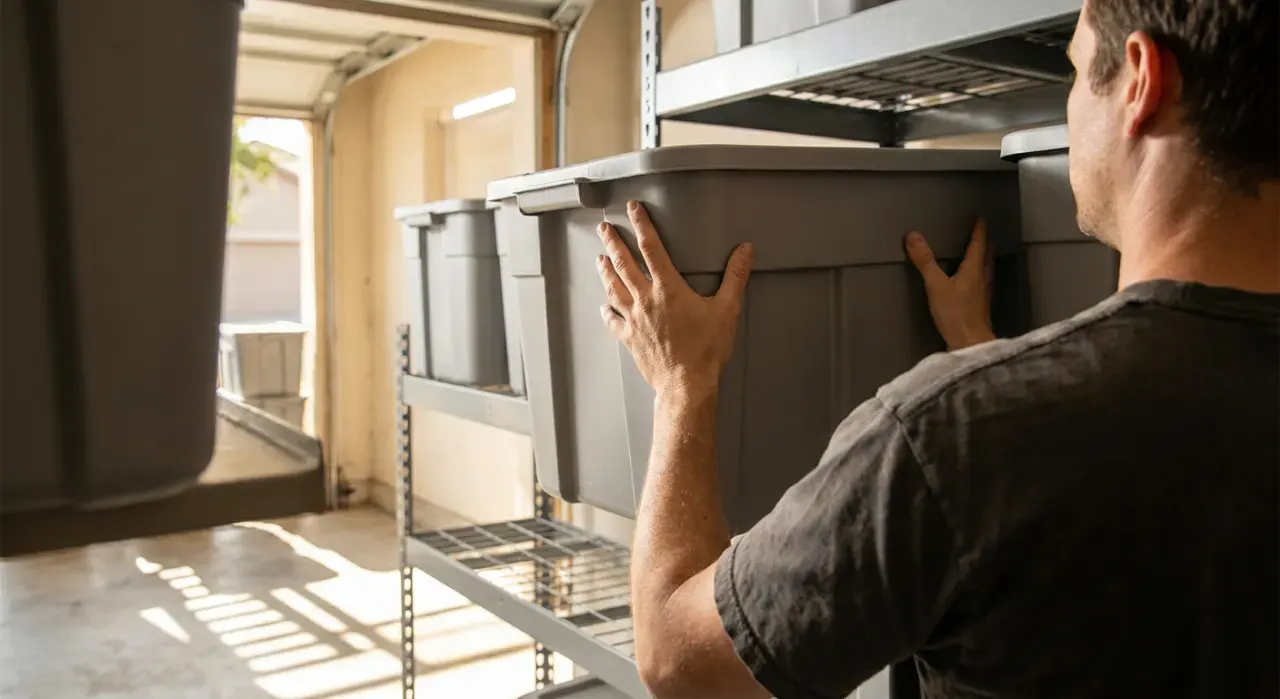
Step 1: Size the bench
Decide the length to fit your entry wall and set the seat height at 17 to 19 inches and depth around 16 inches. Plan the cubby count — dividers every 12 to 16 inches both create the cubbies and support the seat. Draw a cut list. If you will add a hook rail above, note its height (about 60 inches for adults) now.
Step 2: Build the box and dividers
Cut the sides, bottom, and dividers, then assemble the carcass with glue and screws or pocket-hole joinery, keeping it square by checking the diagonals. Space the dividers evenly; they carry the seat load straight to the floor, so they must be plumb and firmly joined to the bottom. Add a back panel or back rail for rigidity.
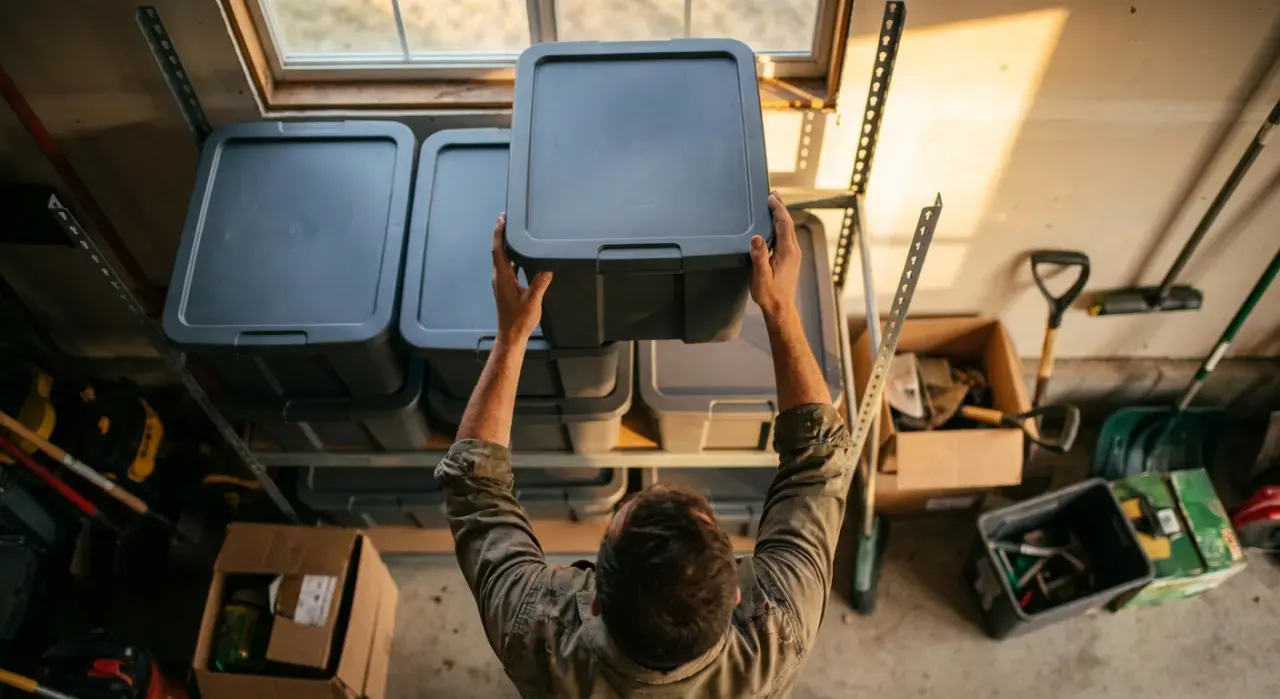
Step 3: Attach the seat
Cut the 3/4-inch seat to overhang the front slightly and set it on the dividers, front rail, and back rail. Glue and screw it down at every support. Because it sits on the dividers, the seat transfers weight straight down rather than flexing — never span a wide open box with an unsupported seat, as it will crack under repeated use.
Step 4: Add the face frame and fill
Apply 1x2 face-frame pieces to the front edges of the box and dividers for a built-in look and to hide the plywood edges. Fill all nail holes and screw pockets with wood filler, then sand flush. This trim step is what turns a plywood box into furniture.

Step 5: Prime, paint, and anchor
Prime everything — especially any MDF edges — and apply two coats of a durable enamel that stands up to scuffs and wet shoes. Once dry, set the bench in place, level it with shims if the floor is uneven, and drive screws through a back cleat into the wall studs so it cannot slide or tip.
Where to go next
A mudroom bench pairs with a shoe rack, floating shelves for keys and mail, and under-stair drawers if the entry is near a staircase. Everything sits under the storage and organization hub.
We never buy or physically test the products we rank — our picks come from aggregated owner reviews and expert consensus, explained on how we rank.