 Garden
Affiliate Disclosure
Some links on this page are affiliate links. As an Amazon Associate, we earn from qualifying purchases — at no extra cost to you. We do not buy, test, or physically handle the products we cover; our rankings come from aggregated owner reviews, ratings and expert consensus. Commissions never change our verdicts. How we rank · full disclosure.
Hanging bikes clears the garage floor and is a one-hour beginner job — no permit, nothing structural — for roughly 10 to 40 dollars in hooks or a simple rack (2026). You need a drill, a stud finder, and the right hooks. The whole job is one rule: hooks thread into framing — a ceiling joist or a wall stud — never into drywall alone, or the bike comes down. Pre-drill a pilot hole so you do not split the joist. Wall hooks suit daily riders; ceiling hooks or a hoist suit seasonal bikes. The one place to stop and rethink is a heavy e-bike, which needs a rated rack or hoist bolted to studs, not a single hook.
Tools and materials
- Drill/driver, stud finder, and a tape measure.
- A drill bit sized for the hook shank to pre-drill pilot holes.
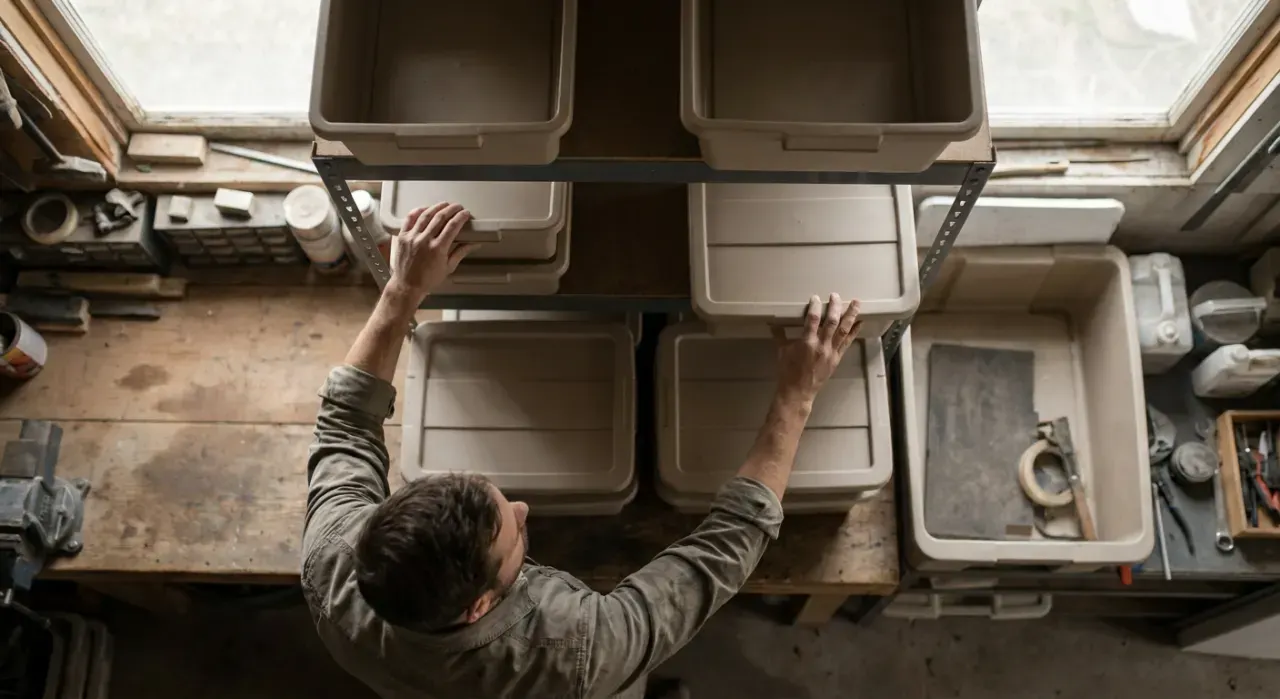
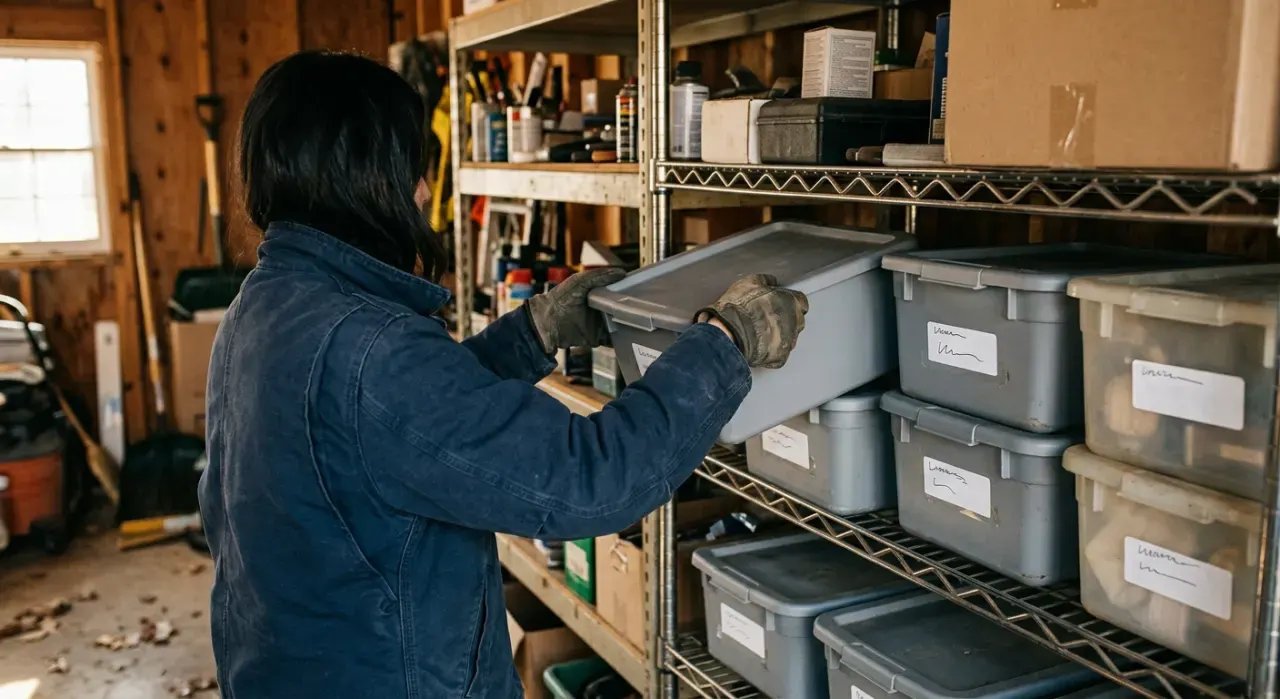
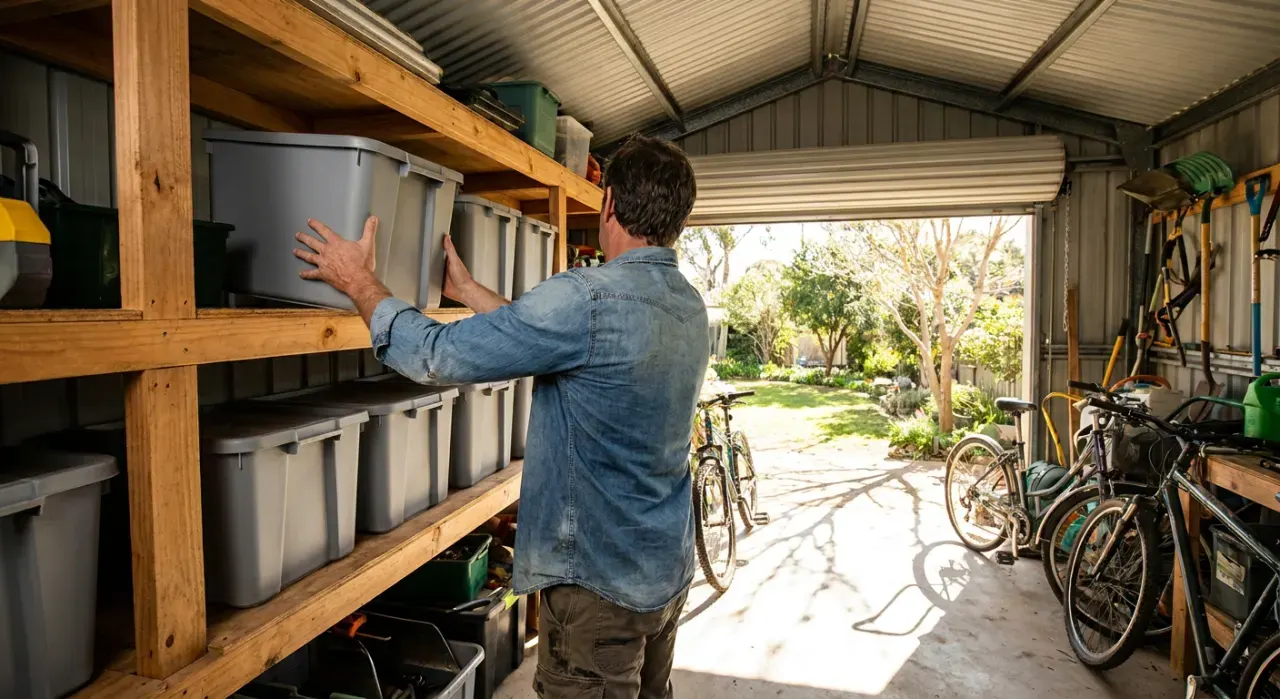
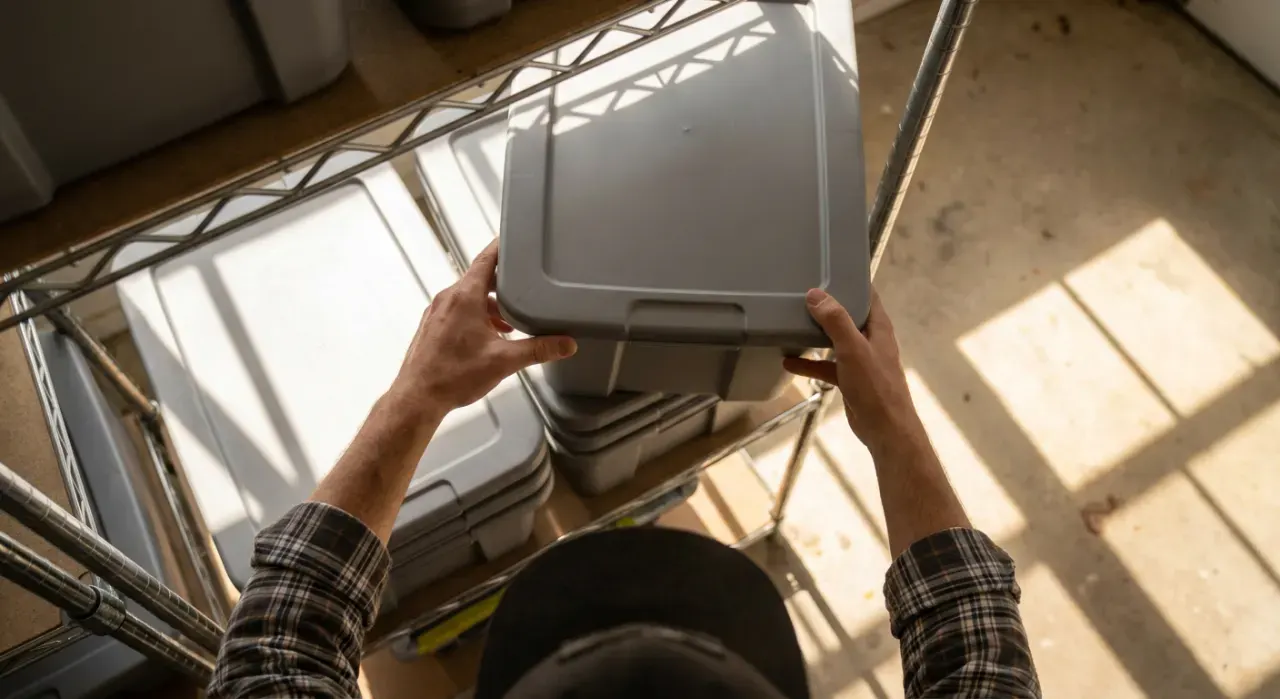
- Materials: vinyl-coated screw-in bike hooks or a rated wall/ceiling rack (a hoist for heavy or high storage). Keep helmets, pumps, and gear in nearby storage bins, and pair the bikes with garage shelving or an overhead rack to clear the rest of the floor.
Step 1: Find the framing
Decide wall or ceiling, then locate the studs or joists with a stud finder and mark them. Confirm each mark with a small test screw — you want solid wood, not the give of drywall. Note the joist direction and spacing overhead, or the stud centers on a wall; the framing, not your preferred spot, dictates where each hook goes.
Step 2: Plan the spacing
Hold a bike up where it will hang and see how the bars and pedals actually sit, then mark hook positions so bikes will not tangle. For vertical wall hanging by the front wheel, alternate bikes nose-up and nose-down and space hooks 12 to 16 inches apart. For horizontal or ceiling hanging, allow the full bike length plus clearance. Confirm the garage door clears any ceiling-hung bike through its travel.
Step 3: Pre-drill and install the hooks
Drill a pilot hole at each mark, sized so the hook threads bite without splitting the wood. Thread each hook in by hand, or use a screwdriver through the hook for leverage, until several full turns of thread are buried in solid framing. The pilot hole is essential — driving a hook dry into a joist can crack it and weaken the hold.
Step 4: Mount a rack for heavy bikes
For an e-bike or any bike too heavy to lift overhead comfortably, install a wall-mounted rack or a hoist rated for the weight, bolting it into studs per its instructions rather than relying on a hook. Keep a heavy bike low enough to load without straining. Match the rack's rating to your bike's actual weight before trusting it.
Step 5: Hang and verify
Lift each bike onto its hook or rack and check that bikes clear each other and the door. Give a hung bike a gentle shake to confirm the hook is solid in the framing. If a hook feels loose or the wood gives, move to the next stud or joist and re-drill — a bike hook is only as safe as the framing behind it.
Where to go next
Bikes off the floor pair with an overhead ceiling rack for seasonal bulk, wall shelving for gear, and a slatwall for helmets and pumps. Everything sits under the storage and organization hub.
We never buy or physically test the products we rank — our picks come from aggregated owner reviews and expert consensus, explained on how we rank.