 Garden
Affiliate Disclosure
Some links on this page are affiliate links. As an Amazon Associate, we earn from qualifying purchases — at no extra cost to you. We do not buy, test, or physically handle the products we cover; our rankings come from aggregated owner reviews, ratings and expert consensus. Commissions never change our verdicts. How we rank · full disclosure.
Wall-mounted garage shelving clears the floor and is a solid half-day intermediate build — no permit, nothing structural — but its strength comes entirely from hitting the studs. Expect roughly 60 to 150 dollars in lumber and hardware (2026) and to need a drill, a circular saw, a level, and a stud finder. The design is a ledger board and brackets (or heavy-duty shelf brackets) lag-screwed into the wall framing, carrying a 3/4-inch plywood or 2x shelf. The rule that keeps it safe: every support lands on a stud, brackets sit no more than 24 inches apart, and the heaviest, densest items go on floor shelving instead — because a wall shelf fails by pulling its anchors, not by breaking the board.
Tools and materials
- Drill/driver and a socket for lag screws, plus a circular saw to cut the shelf boards.
- Stud finder and 4-foot level — non-negotiable for wall shelving.
- Materials: 2x4 ledger and brackets or steel L-brackets, 3/4-inch plywood or 2x10 shelf boards, 3-inch to 4-inch lag screws with washers, and construction screws. Compare pre-made systems in our garage shelving roundup, fill the shelves with matched storage bins, and move heavy seasonal loads to an overhead garage rack.
Step 1: Find the studs and mark a level line
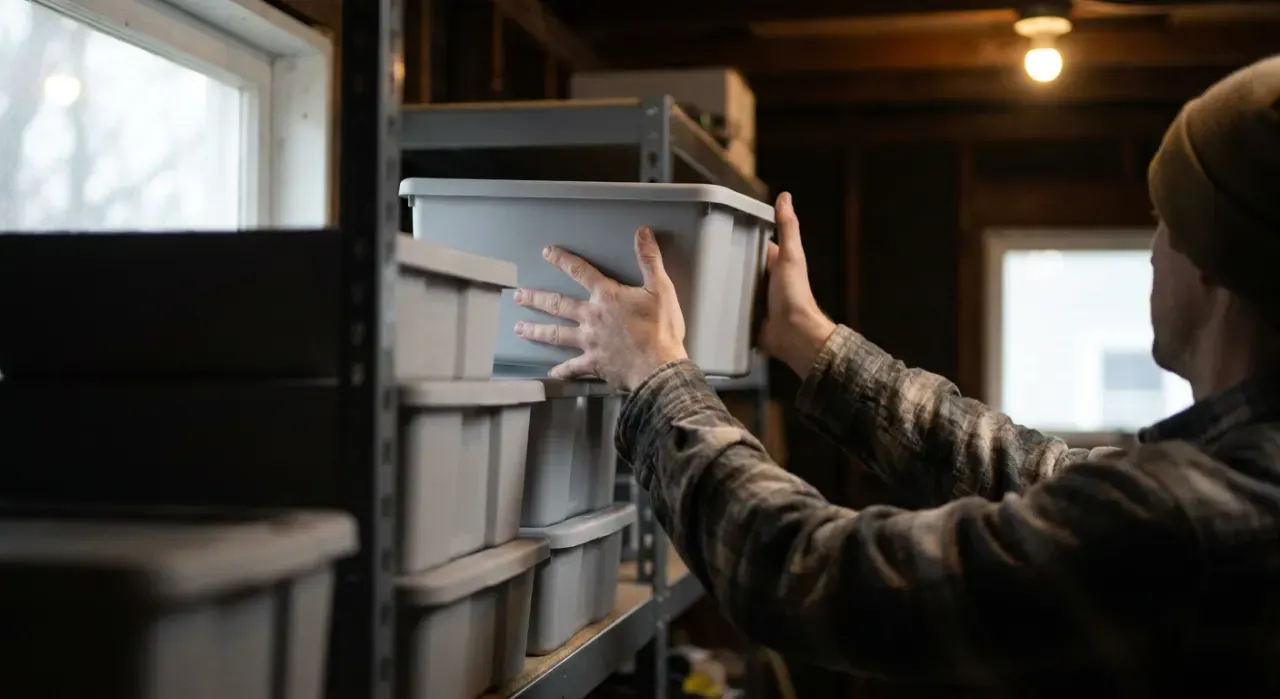
Locate every stud along the wall and mark its centerline. Decide your shelf height and snap or draw a level line for the top of the ledger — use the 4-foot level, not the garage floor, as your reference, because slabs are rarely flat. Note where each bracket will land; the studs, at 16 inches on center, dictate your bracket spacing.
Step 2: Mount the ledger or brackets
Fasten a 2x4 ledger along your level line with a 3-inch or longer lag screw into every stud, or mount individual heavy-duty brackets at each stud. Pre-drill for the lags and drive them with a socket until the washer pulls tight to the wood. This ledger carries the back edge of every shelf into the framing, so confirm each lag bites solid stud, not just drywall.
Step 3: Add the front support
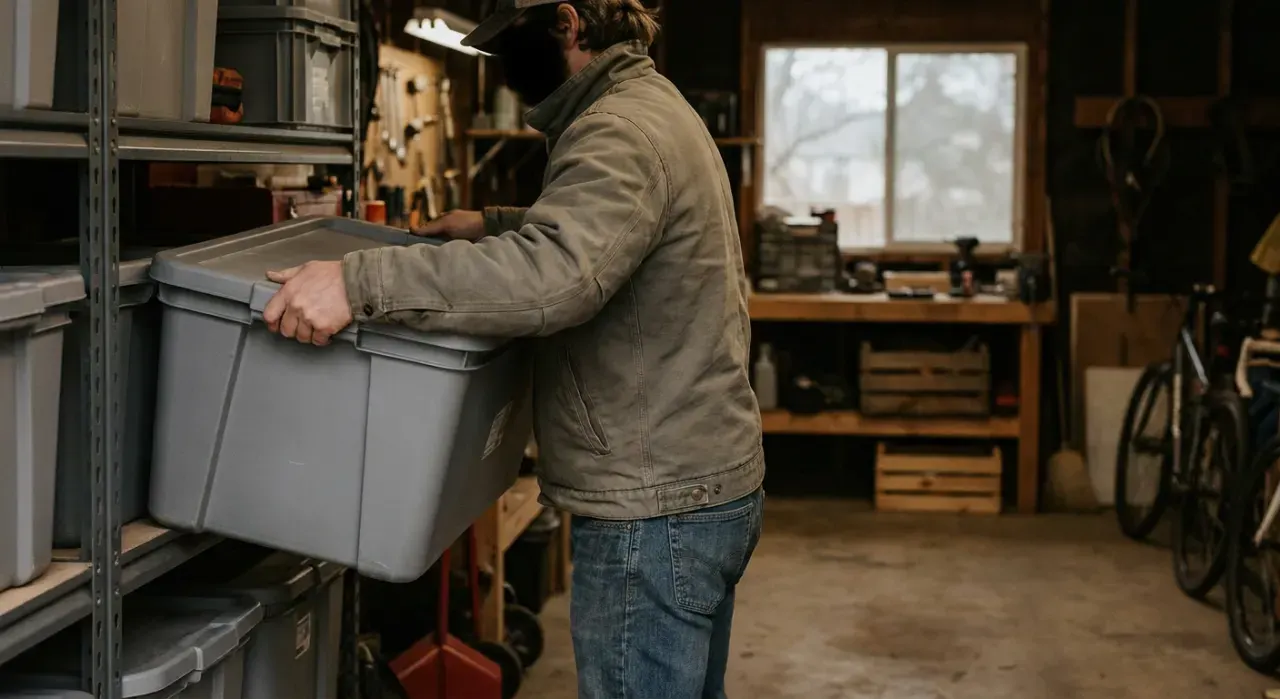
Support the front edge with angled brackets, a knee-brace back to a lower stud, or vertical legs down to the floor for heavier shelves. Keep the front supports aligned with the studs behind the ledger so the whole assembly triangulates. Spacing here should match your stud layout — every 16 to 24 inches — so the shelf cannot sag or twist under load.
Step 4: Cut and fasten the shelf decks
Cut 3/4-inch plywood or 2x boards to your depth (16 to 24 inches) and length, then screw them down to the ledger and front supports with 1.5-inch to 2.5-inch screws so they cannot shift or lift. Butt multiple boards over a support, never mid-span. Leave a small gap at the wall if your studs are uneven so the shelf sits flat.
Step 5: Load light-to-medium and verify
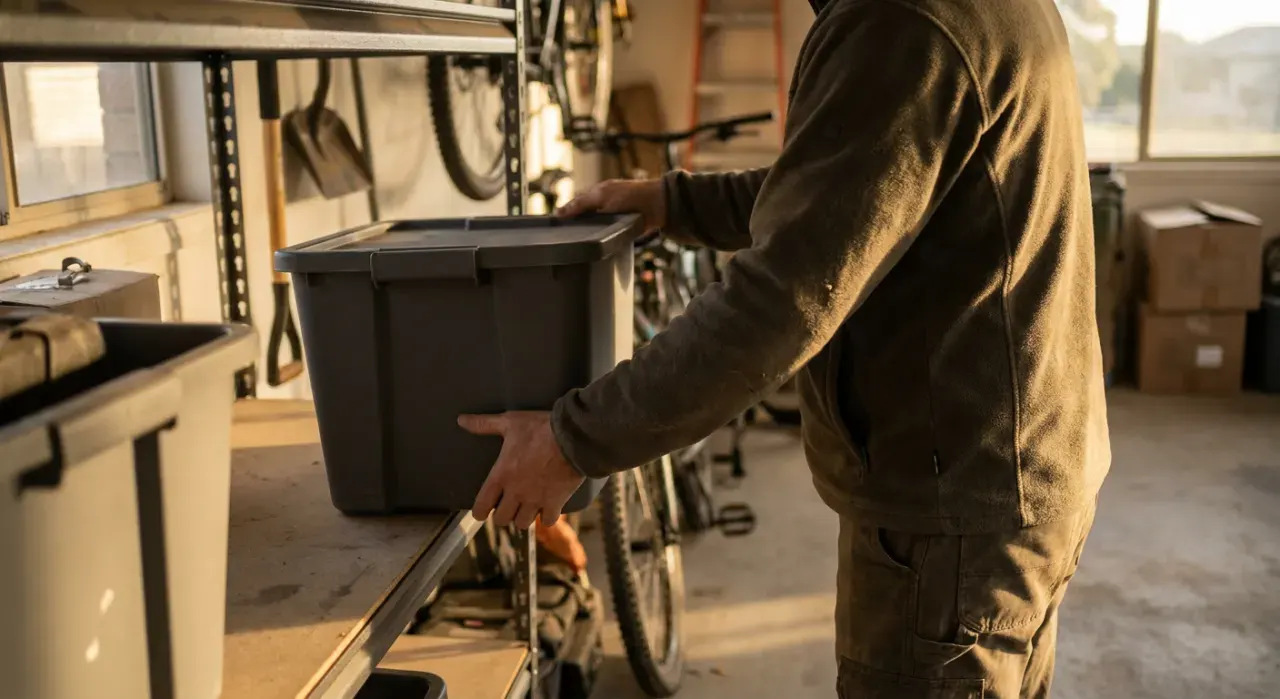
Put light, bulky bins on wall shelves and keep dense items on floor units. Load evenly and give the shelf a firm push down and out to confirm every anchor holds. Check the lags again after a week under load and retighten if needed. If you ever see an anchor start to back out, unload it immediately and re-anchor into solid framing.
Where to go next
Wall shelves handle everyday bins; add an overhead ceiling rack for seasonal bulk, a garage pegboard for hand tools, and ceiling bike hooks to clear the floor. Everything sits under the storage and organization hub.
We never buy or physically test the products we rank — our picks come from aggregated owner reviews and expert consensus, explained on how we rank.