 Garden

Affiliate Disclosure
Some links on this page are affiliate links. As an Amazon Associate, we earn from qualifying purchases — at no extra cost to you. We do not buy, test, or physically handle the products we cover; our rankings come from aggregated owner reviews, ratings and expert consensus. Commissions never change our verdicts. How we rank · full disclosure.
Organizing kitchen cabinets is a no-tools afternoon project any beginner can do — the cost is whatever you spend on inserts, typically 30 to 120 dollars (2026), with nothing to install or permit. Plan two to four hours to empty, sort, and reload. The method is zone-based: group items by how you cook, keep daily things between knee and shoulder height, and use risers, dividers, and pull-out bins to reclaim wasted vertical and deep space. As with a pantry, the makeover is the easy part — the real win is the daily habit of returning items to their assigned zone, which is what keeps the system from unraveling within a week.
Tools and materials
- Shelf risers and under-shelf baskets to reclaim vertical space.
- Drawer dividers, pull-out bins, and a tray divider for pans and boards.
- Materials: a set of matched organizers sized to your cabinet depths, plus clear bins for grouping. Our storage bin picks cover stackable and pull-out options; for the drawers specifically, see how to install drawer organizers, and carry the same zone logic into the pantry.

Step 1: Empty and edit
Take everything out of the cabinets and drawers so you can see what you own. Set aside duplicates, chipped dishes, gadgets you never use, and expired items to donate or toss. A full empty reveals how much you actually have and stops you from organizing clutter you do not need. Wipe the shelves and drawers while they are clear.
Step 2: Map your zones
Assign zones by task: dishes and glasses near the dishwasher, pots and pans near the stove, prep tools near the main counter, food near the pantry, baking gear together. Sketch which cabinet gets which zone before you put anything back. Zoning to your actual workflow is what makes the kitchen faster to cook in.
Step 3: Place by frequency
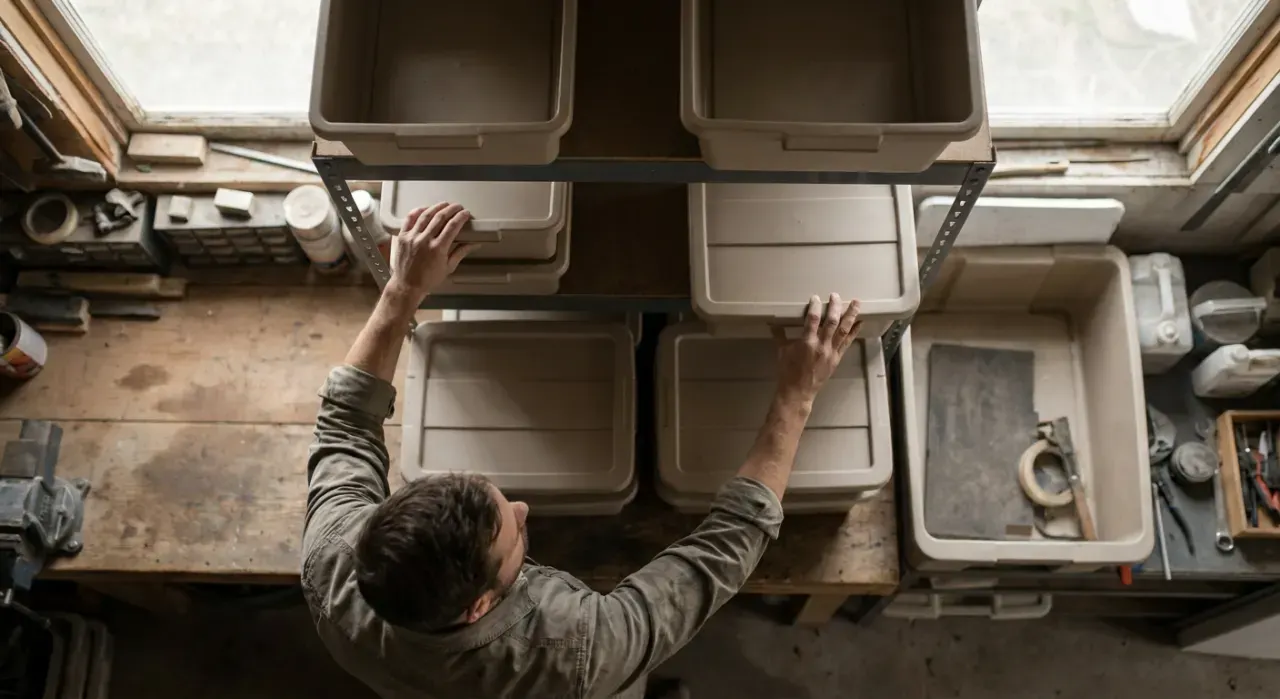
Put daily items in the prime zone — between knee and shoulder height — where they are grabbed without bending or reaching. Heavy pots go in low drawers or base cabinets; rarely used platters and small appliances go up high. This frequency-based placement cuts the effort of everyday cooking and keeps the reachable shelves from filling with things you never touch.
Step 4: Reclaim wasted space
Add shelf risers to double up mugs and cans, clip under-shelf baskets for wraps and lids, and stand baking sheets vertically in a divided section. Use pull-out bins in deep base cabinets so the back comes to you. Match each organizer to the cabinet's depth and height so no space is left as dead air above the items.
Step 5: Contain drawers and set the habit
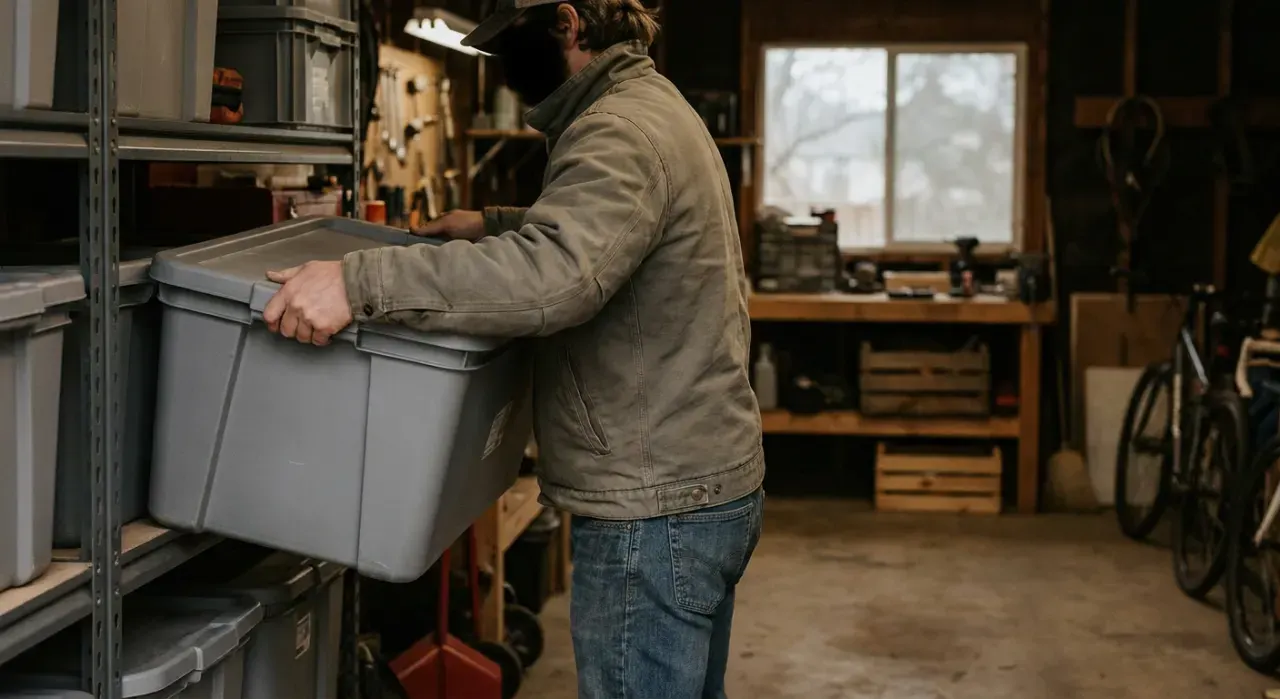
Divide utensil and gadget drawers so each item has a slot, and label bins where it helps. Then set the maintenance habit: return things to their zone as you unload the dishwasher and groceries, and do a two-minute reset when a cabinet drifts. The dividers plus the habit are what carry the system through months of daily use.
Where to go next
Organized cabinets pair with a sorted pantry and drawer organizers for the rest of the kitchen; add floating shelves for everyday dishes. Everything sits under the storage and organization hub.
We never buy or physically test the products we rank — our picks come from aggregated owner reviews and expert consensus, explained on how we rank.