 Garden
Affiliate Disclosure
Some links on this page are affiliate links. As an Amazon Associate, we earn from qualifying purchases — at no extra cost to you. We do not buy, test, or physically handle the products we cover; our rankings come from aggregated owner reviews, ratings and expert consensus. Commissions never change our verdicts. How we rank · full disclosure.
Organizing a pantry is a no-tools afternoon project that any beginner can do — the cost is whatever you spend on containers and bins, typically 30 to 100 dollars (2026), and there is nothing to install or permit. Plan two to three hours to empty, sort, and reload. The method is simple: create zones by category, put everyday items at eye level, decant your high-turnover staples into airtight containers, and give every category a labeled home. The reason most pantry makeovers fail is not the purge — it is the lack of a maintenance habit, so the real win is a system built around how you actually cook and shop.
Tools and materials
- Airtight canisters for flour, sugar, rice, pasta, and cereal.
- Clear bins, tiered can risers, and a turntable for condiments and oils.
- A label maker or labels — the piece most people skip and later regret.
- Materials: a set of matched, square-footprint containers and open snack bins. Our pantry organizer picks cover canisters, risers, and turntables, and general storage bins handle bulk and overflow. If you need more shelf capacity first, see how to add shelves to a closet or pantry.
Step 1: Empty and purge
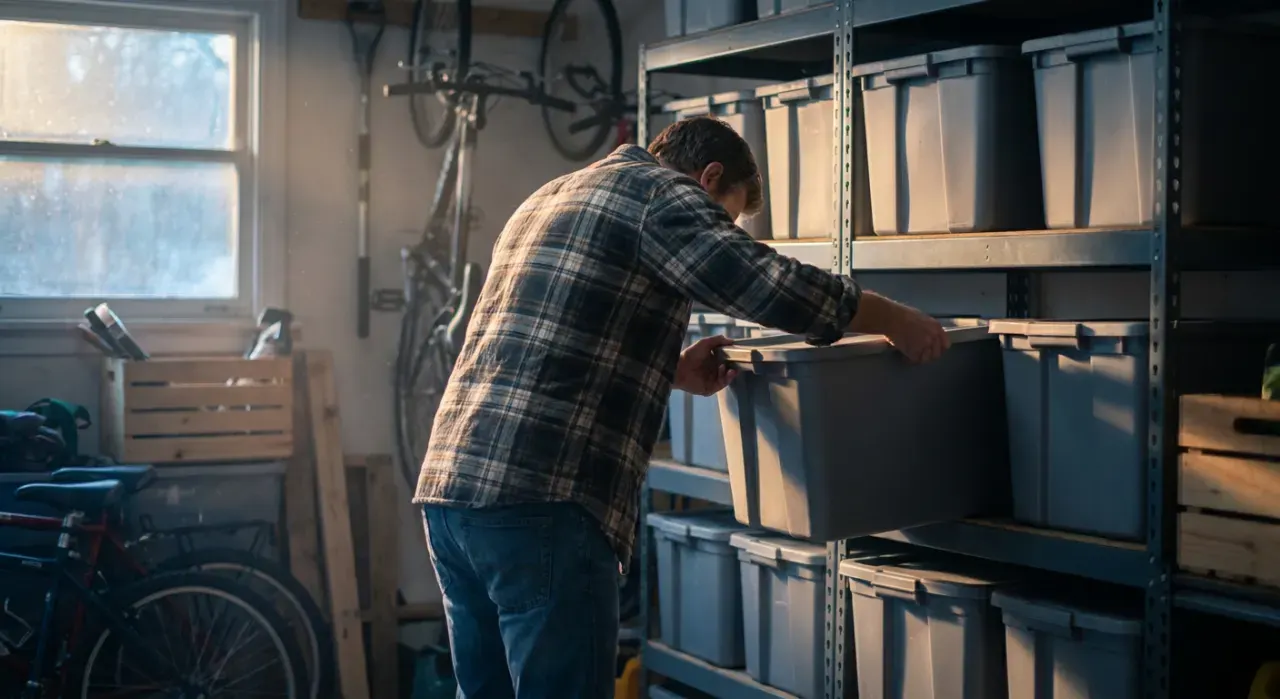
Pull everything out onto the counter and check dates as you go — toss anything expired and set aside duplicates and things you will not use. A full empty is worth the effort because it shows you exactly how much you have and reveals the forgotten back-of-shelf items. Wipe the shelves down while they are clear.
Step 2: Sort into zones
Group what is left into categories: baking, breakfast, grains and pasta, canned goods, snacks, oils and condiments, and bulk paper goods. These groups become your zones. Sizing the zones now tells you how much shelf space and how many containers each needs before you start putting anything back.
Step 3: Assign shelves by reach
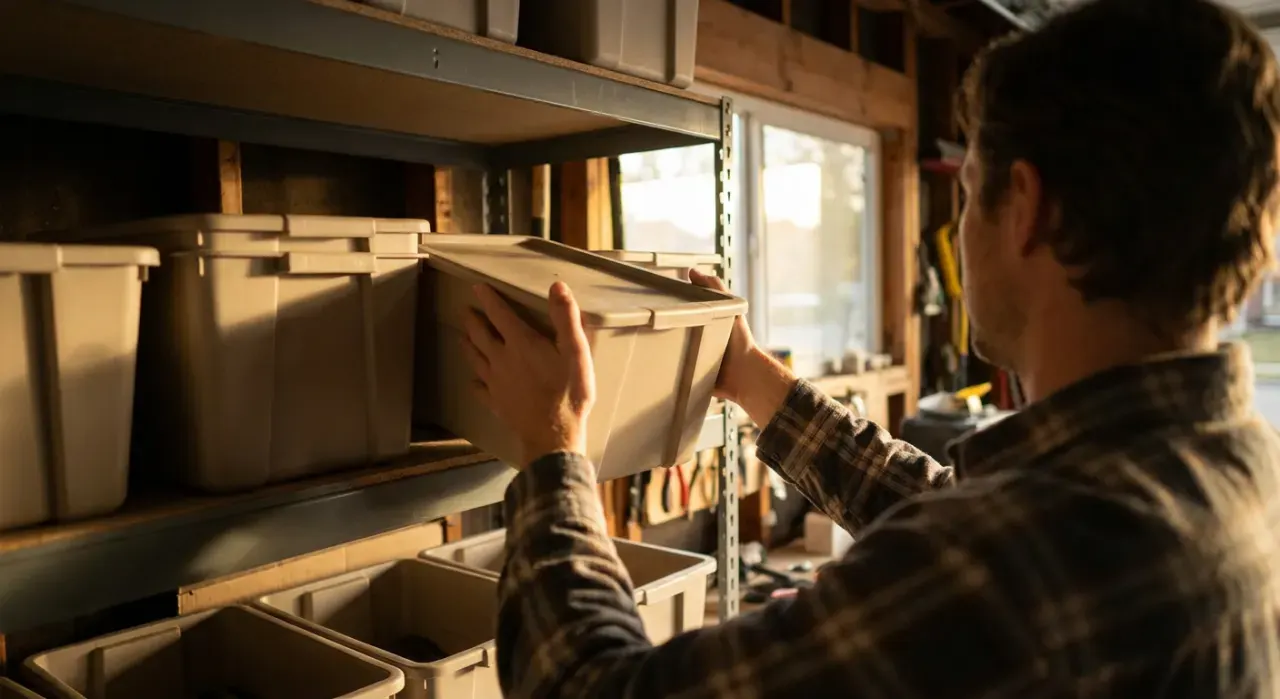
Put everyday items at eye level, heavier and bulk items on lower shelves, and rarely used gear up high. Keep 12 to 16 inches of depth usable by adding pull-out bins or turntables to any deep shelf. Give each zone a fixed location so items return to the same spot — the fixed home is what makes the system self-correcting.
Step 4: Decant and contain
Transfer high-turnover staples into airtight canisters and use tiered risers so canned goods show their back rows. Corral loose snack packets in open bins you can pull out with one hand. Match container heights to shelf spacing so no vertical space is wasted, and keep footprints square so they pack tight.
Step 5: Label and set the maintenance habit
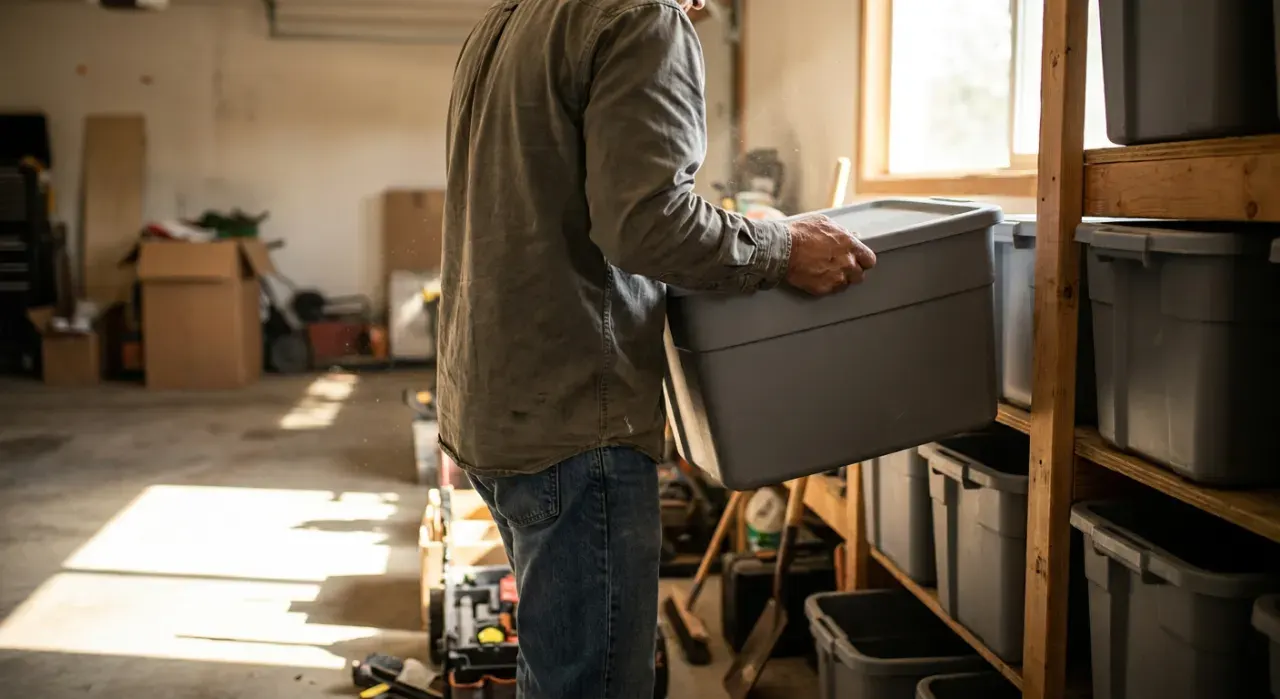
Label every container and bin with contents, and note dates on baking staples. Rotate newest stock to the back. Then set the habit that keeps it working: a five-minute reset each time you unload groceries and a running low-stock list. The labels plus the habit are what carry the system through a busy month.
Where to go next
A tidy pantry pairs with organized kitchen cabinets and drawer organizers for the rest of the kitchen, and added shelves if you need more capacity. Everything sits under the storage and organization hub.
We never buy or physically test the products we rank — our picks come from aggregated owner reviews and expert consensus, explained on how we rank.