 Garden

Affiliate Disclosure
Some links on this page are affiliate links. As an Amazon Associate, we earn from qualifying purchases — at no extra cost to you. We do not buy, test, or physically handle the products we cover; our rankings come from aggregated owner reviews, ratings and expert consensus. Commissions never change our verdicts. How we rank · full disclosure.
Installing drip irrigation on a garden bed is a genuine afternoon DIY job with no permits, no digging and no plumbing skills required — it runs off an ordinary hose faucet. Expect $40 to $90 in parts for two or three beds and about three to four hours the first time. The sequence never changes: build the head assembly at the faucet, run 1/2 in. mainline tubing to the beds, punch 1/4 in. laterals off it to each plant, flush the whole thing before you cap it, then run it and fix the leaks. The only step people genuinely get wrong is skipping the pressure regulator.
We do not install irrigation; our kit rankings come from aggregated owner reviews, described in how we rank. For the full field of kits see best drip irrigation kits, and for the layout-first version of this job see how to set up drip irrigation.
Tools and materials
- Head assembly — backflow device, screen filter, 25 psi pressure regulator, tubing adapter. Buy this as a kit; assembling it from loose parts costs more.
- 1/2 in. mainline tubing — the spine of the system. Allow the run from the faucet plus the length of each bed, plus a third for corners.
- 1/4 in. distribution tubing — the spaghetti line from mainline to plant.
- Emitters — 0.5, 1 or 2 GPH pressure-compensating drippers, or adjustable ones.
- Fittings — tees, elbows, couplers, end caps or figure-8 clamps, and a bag of goof plugs. Buy twice as many goof plugs as you think you need.
- A punch tool — the one in the kit. Do not use a drill bit or a nail; an oversized hole never seals.
- Scissors or tubing cutter, and stakes to hold laterals in position.

Best for the four parts that go on the faucet before anything else
- Backflow device, filter, 25 psi pressure regulator and tubing adapter
- Standard 3/4 in. hose thread
- Fits 1/2 in. drip mainline tubing
- Rain Bird part numbers stocked in most hardware stores
Why buy it: this is the assembly people skip and then wonder why their emitters keep blowing off — it is the difference between a system and a leak.

Best for a first system covering two or three beds
- 100 ft of 1/4 in. tubing plus barbed fittings
- Adjustable drippers rather than fixed emitters
- Reinforced fittings that grip thin-wall tubing
- Punch tool and goof plugs included
Why buy it: the fittings hold pressure without popping off, which is the single failure that ruins cheap kits.

Best for extending a system or plumbing a long vegetable row cheaply
- 100 ft of 1/4 in. distribution tubing
- Adjustable emitters, tees, elbows and stakes
- Standard barbed fittings compatible with other brands
- No pressure regulator included — add one
Why buy it: the cheapest honest way to add length once you know the layout you actually want.
Step 1: Plan on paper, then measure twice
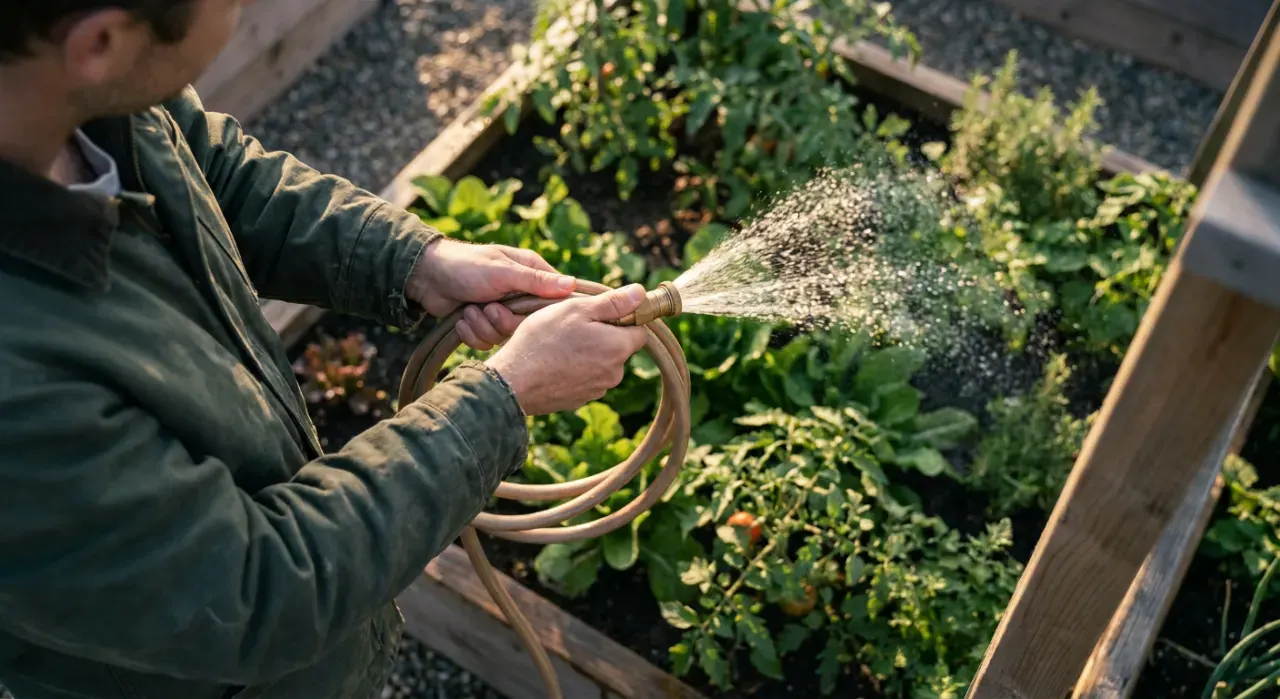
Sketch the bed and mark every plant that needs water. Group by water demand — thirsty vegetables on one line, established shrubs on another — because that is what lets you water them differently later. Measure the run from the faucet to the first bed and around each bed, then add 30 percent for the routing you have not thought of yet. Almost every complaint about a kit being "too small" is a planning error rather than a short kit.
One planning rule worth respecting: keep a single 1/2 in. mainline run under about 200 ft and under roughly 200 GPH of total emitter flow. Beyond that, pressure at the far end falls off and the last emitters deliver noticeably less than the first. If the layout exceeds it, split into two zones on a splitter or a manifold.
Step 2: Build the head assembly at the faucet
Screw the parts on in this order, working outward from the faucet:
- Backflow device / vacuum breaker — first, closest to the faucet.
- Screen filter — catches the grit that plugs emitters. This one part prevents most second-season failures.
- Pressure regulator — 25 psi is the standard for a home garden. It must go after the filter, and it only works in one direction; the arrow points downstream.
- Tubing adapter — converts hose thread to 1/2 in. drip tubing.
Hand-tighten with the rubber washers in place. Wrenching these plastic fittings cracks them. If a timer is going on, it sits between the faucet and the backflow device — see best hose timers.
Step 3: Lay the mainline
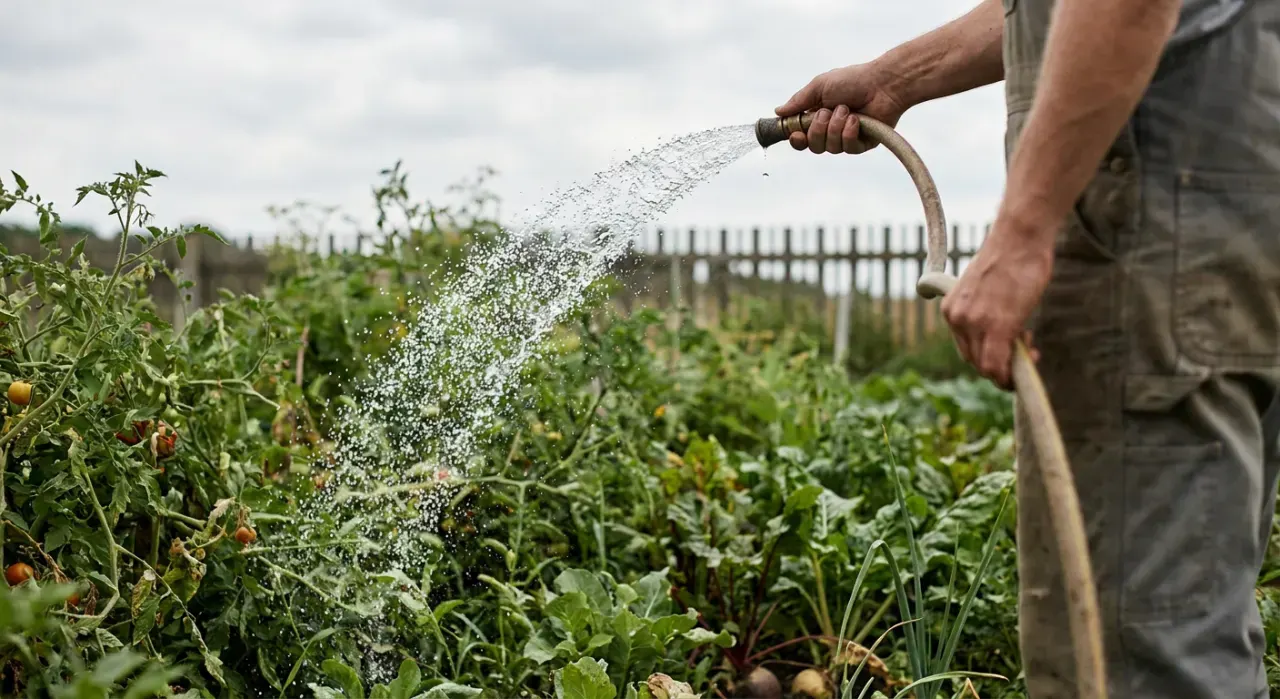
Unroll the 1/2 in. tubing on a warm driveway or lawn and leave it in the sun for 20 to 30 minutes. This is not optional in cool weather; cold tubing keeps its coil memory, fights every corner, and pushes fittings apart. Warm tubing lies flat and stays where you route it.
Run the mainline along the back or edge of each bed rather than through the middle, so the laterals reach forward to the plants and you are not stepping over the spine every time you weed. Use elbows at corners rather than forcing a tight bend — a kinked mainline restricts flow to everything downstream. Push fittings on fully; a barbed fitting is seated when the tubing covers all the barbs, and a half-seated fitting will hold water for exactly as long as it takes you to mulch over it.
Stake the mainline every 4 to 6 ft on straight runs and on both sides of every corner.
Step 4: Punch the laterals and set emitters
With the mainline in place, punch a hole where each lateral leaves it, push in a barbed connector, and run 1/4 in. tubing to the plant. Cut the lateral, push an emitter on the end, and stake it at the soil surface near the root zone.
| Situation | Emitter flow | Placement |
|---|---|---|
| Annual / small perennial | 1 GPH | One emitter, 4–6 in. from the crown |
| Established shrub | 1–2 GPH | Two emitters on opposite sides, at the drip line |
| Young tree | 2 GPH | Three to four spaced evenly around the drip line, never at the trunk |
| Vegetable row | 0.5–1 GPH | Inline emitter tubing along the row |
| Container up to 12 in. | 0.5–1 GPH | One emitter, staked and angled inward |
| Container over 18 in. | 1–2 GPH | Two emitters on opposite sides |
Emitter spacing on a continuous line follows soil, not preference: 8–12 in. in sand, 12–18 in. in loam, 18–24 in. in clay. Water moves sideways through clay and straight down through sand, which is why identical spacing soaks one garden and stripes another.
Punched a hole in the wrong place? That is what goof plugs are for. Everyone does it; nobody needs to replace the tubing.
Step 5: Flush before you cap, then test
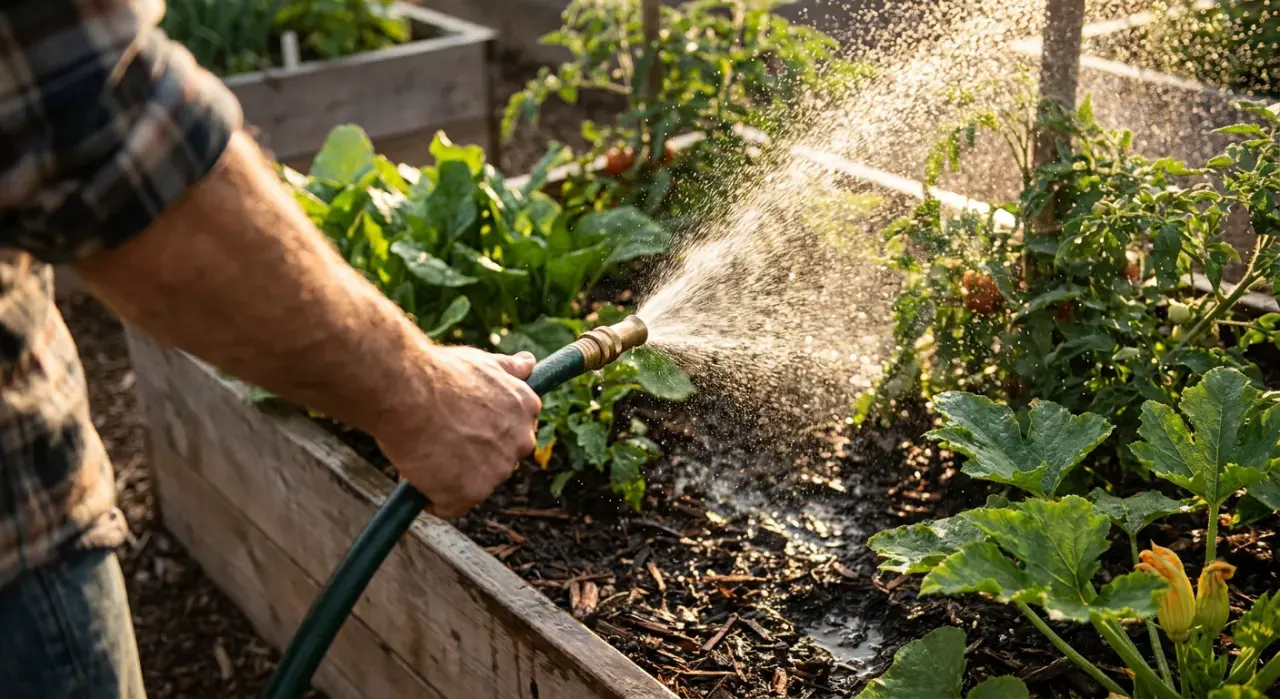
This is the step most often skipped and the one that determines whether your emitters clog in month two. With all the laterals in but the mainline ends still open, turn the water on and let the system run for a minute or two so the plastic shavings from the punch tool and the grit from the tubing wash out the open ends. Then fit end caps or figure-8 clamps.
Now run it for 15 minutes and walk the whole system. Look for spray instead of drip (pressure too high, or a regulator installed backward), a fitting weeping (not fully seated — push it on harder), an emitter that has blown off (nearly always unregulated pressure), and dry spots where a lateral kinked. Fix everything now, before mulch goes down.
Finally, cover the tubing with 2 to 3 inches of mulch. Mulch, not soil.
Step 6: Set a run time that actually wets the root zone
Drip runs longer and less often than a sprinkler. A 1 GPH emitter delivers about a quart in 15 minutes, so established beds typically want 45 to 90 minutes twice a week rather than ten minutes daily. The goal is water reaching 6 to 8 inches down, which is what builds deep roots and drought tolerance.
Check it mechanically rather than trusting the arithmetic: an hour after a cycle, push a long screwdriver into the soil near an emitter. If it slides in easily to six inches, the run time is right. If it stops at two, run longer. If water is standing at the surface, you are applying faster than the soil accepts and should split the run into two shorter cycles an hour apart. The sprinkler run time calculator will get you close before you start testing.
The five mistakes that cause almost every failure
- No pressure regulator. Emitters pop off, joints weep, tubing balloons. Ten dollars fixes it permanently.
- No filter. Grit plugs emitters and you spend next spring pulling every one of them.
- Cold tubing forced into position. Half-seated fittings that leak under mulch where you cannot see them.
- One run that is far too long. The far end starves. Split it into two zones instead.
- Leaving the timer, filter and regulator outside over winter. They crack. Bring them in — see how to winterize a sprinkler system.
Done right, drip is the most water-efficient thing you can put in a garden. EPA WaterSense attributes as much as 50 percent of outdoor water use to wind, evaporation and runoff caused by inefficient irrigation methods and systems — losses a drip line under mulch simply does not incur.
Next: drip irrigation vs sprinkler · do you need a filter for drip irrigation · best drip irrigation kits · hub: watering and irrigation · how we rank.