 Garden

Affiliate Disclosure
Some links on this page are affiliate links. As an Amazon Associate, we earn from qualifying purchases — at no extra cost to you. We do not buy, test, or physically handle the products we cover; our rankings come from aggregated owner reviews, ratings and expert consensus. Commissions never change our verdicts. How we rank · full disclosure.
Fill a sturdy plastic bag with enough distilled white vinegar to submerge the nozzle face, lift it over the head, and secure it to the shower arm with a rubber band or zip tie. Soak 30 minutes for light scale, 2 to 4 hours for moderate, up to 8 hours for heavy. Remove the bag, run hot water for 2 minutes, then scrub the nozzles with an old toothbrush. That is the whole method, it needs no tools, and it restores flow in the large majority of cases where a shower has gradually weakened.
We never buy or physically handle the products we rank; recommendations come from aggregated owner reviews and manufacturer care guidance, described in how we rank. More at the bathroom hub.
What You Are Dissolving
The white or greenish crust around shower nozzles is mineral scale — mostly calcium carbonate with some magnesium, precipitated out of hard water as it evaporates on the face of the head. It builds inside the nozzle openings as well as on them, which is why a head can look fine and still have lost a third of its flow.
Acetic acid in white vinegar (typically 5 percent) reacts with calcium carbonate and dissolves it. That is the whole chemistry, and it is why alkaline cleaners such as baking soda, bleach and most bathroom sprays do nothing for this particular problem. Bleach in particular is worth avoiding here: it does not touch scale, and it degrades rubber nozzle inserts and some plated finishes.
The Bag Method, Step by Step
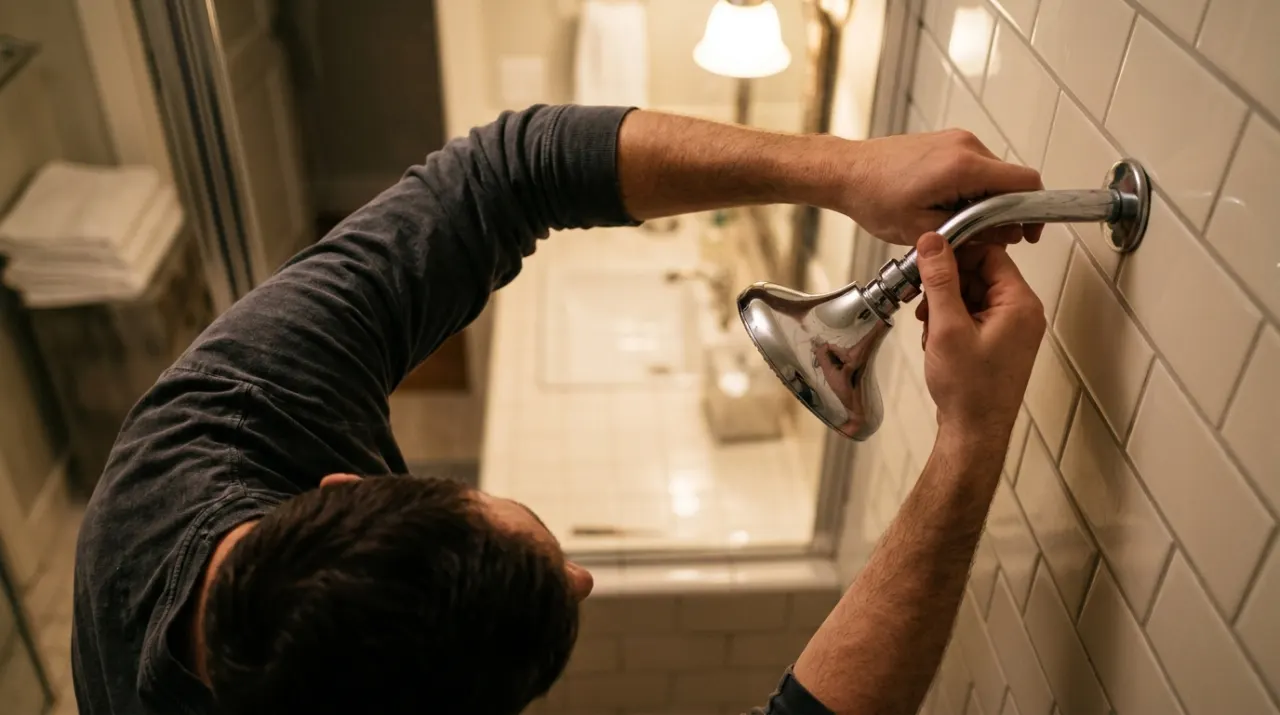
- Choose the bag. A quart or gallon freezer bag for most fixed heads. Double-bag if the plastic is thin — a bag failing mid-soak is the classic annoyance. Sturdy produce bags fail; freezer bags do not.
- Fill it with distilled white vinegar. Enough to fully cover the nozzle face when the bag is lifted into place, usually 1 to 2 cups. Undiluted works best. For plated or specialty finishes, dilute 1 part vinegar to 1 part warm water and shorten the soak.
- Lift and secure. Raise the bag over the head so the face is submerged, then wrap a heavy rubber band, zip tie or twist tie around the neck of the bag and the shower arm. Check it holds before letting go — support the bag from underneath with a hand while you tighten.
- Soak. 30 minutes to 8 hours, per the table below. Overnight is fine on chrome and stainless.
- Remove carefully. Hold a bucket or old towel underneath — the vinegar will contain grit and it stains grout lightly if left. Pour it down the drain.
- Flush hot water for 2 minutes. This pushes loosened scale out of the nozzles from the inside. Do this before scrubbing, not after.
- Scrub the face. An old toothbrush on the nozzle openings, and a thumb or fingertip rubbed firmly across rubber nozzles to pop the remaining deposits out. A straightened paperclip or a toothpick clears individual stubborn holes — go gently, since gouging a rubber nozzle ruins the spray pattern permanently.
- Run hot water another minute and check the spray. If several nozzles still spray sideways or not at all, repeat with a longer soak.
- Wipe the housing dry with a soft cloth. Water left to evaporate on the finish is where the next round of spotting starts.
Soak Time by Buildup and Finish
| Situation | Solution | Soak time |
|---|---|---|
| Light spotting, chrome | Undiluted vinegar | 30 to 60 min |
| Moderate scale, chrome or stainless | Undiluted vinegar | 2 to 4 hours |
| Heavy crust, chrome or stainless | Undiluted vinegar, warmed | 6 to 8 hours or overnight |
| Brushed nickel | 1:1 vinegar and water | 30 min max, rinse well |
| Oil-rubbed bronze / unlacquered brass | 1:1, or avoid — check the manual | 15 to 30 min max |
| Matte black coated | 1:1 | 30 min max |
| Gold or PVD finish | Manufacturer instruction only | Often not recommended |
Warming the vinegar to about 100 to 120 degrees F before filling the bag speeds the reaction noticeably. Do not boil it — hot vinegar fumes are unpleasant in a closed bathroom, and heat is harder on finishes.
If a Bag Will Not Work
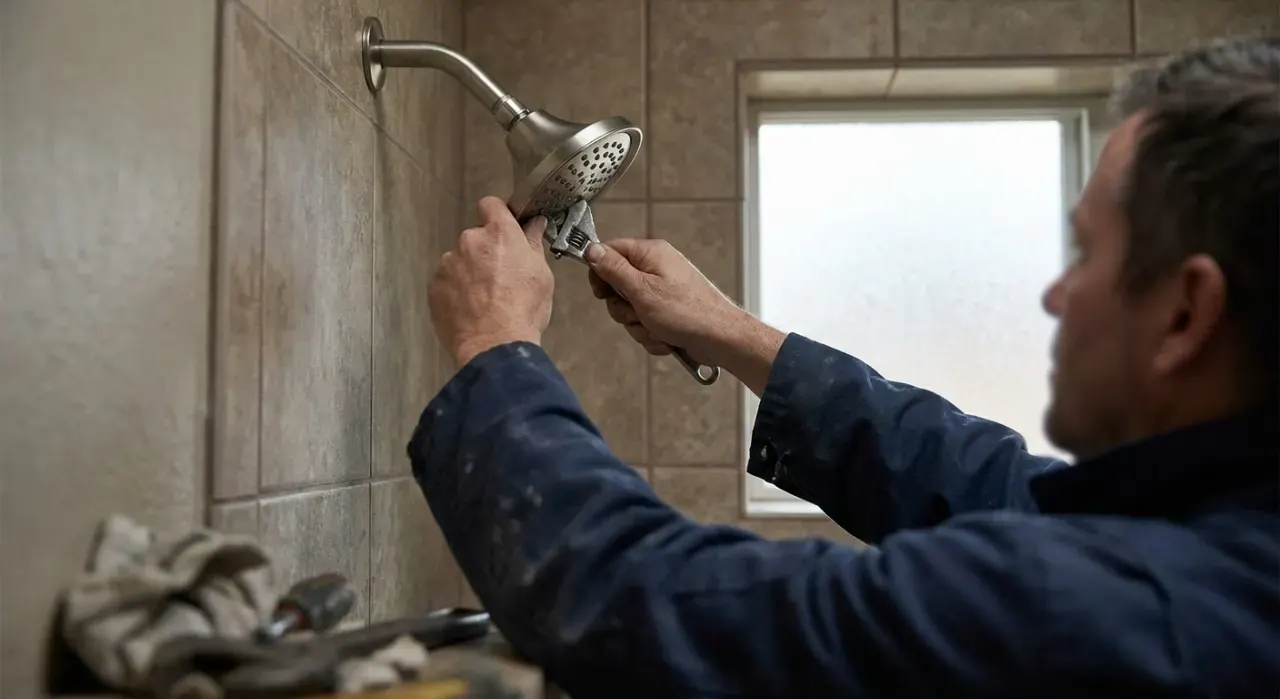
Ceiling rain heads and large square heads. Press cling film up around the perimeter of the face to form a shallow basin, tape it to the arm, and pour vinegar in through a gap. Or saturate paper towels or a washcloth in vinegar, hold them against the face, and wrap the whole assembly in cling film to keep them wet. Both need a top-up on a long soak.
Handheld heads. Easiest of all — drop the head into a bowl or bucket of vinegar with the hose still attached, and let it sit. Check the hose is not kinked sharply while it soaks.
Body sprays and small wall jets. Vinegar-soaked cotton balls held on with tape, replaced once or twice.
Very heavy mineral crust. A commercial descaler based on sulfamic or citric acid works faster than vinegar. Follow the pack instructions exactly, ventilate the room, wear gloves and eye protection, and confirm the product is approved for your finish. Do not mix any cleaning products with each other.
What Not to Use
- Bleach. Does nothing to limescale, degrades rubber nozzle inserts, and can discolor plated finishes. It also must never be combined with an acid — mixing bleach with vinegar or with an acidic descaler releases chlorine gas, which is genuinely dangerous in a small enclosed bathroom.
- Baking soda as the descaler. Alkaline, so chemically incapable of dissolving calcium carbonate. Fine on soap scum on the housing.
- Abrasive powders and scouring pads. They scratch chrome and strip coated finishes permanently, and the scratches then hold mineral deposits better than the smooth surface did.
- Metal picks driven hard into nozzles. Rubber nozzles are the easiest part to damage and the spray pattern never recovers.
- Boiling the head in vinegar on the stove. Recommended in various places and a bad idea — heat distorts plastic internals and destroys rubber seals. Warm vinegar is enough.
- Any two cleaning products together. Even when both are individually safe on the finish.
Ventilate the bathroom while any acid is soaking, run the extractor fan if there is one, and wear gloves if you have sensitive skin. Vinegar is mild, but an eight-hour soak means a bathroom that smells strongly for a while.
Keeping It Clear
- Weekly: wipe rubber nozzles with a thumb. Ten seconds, and it prevents most consolidation.
- Monthly: wipe the whole head dry after the last shower of the day.
- Every 3 to 6 months on hard water: a full vinegar soak.
- Consider a filter if buildup returns within weeks — see do shower filters help with hard water for the honest limits, and best shower filter for the current picks.
- Squeegee the enclosure while you are at it. The same minerals cause the glass spotting.
When Cleaning Does Not Fix It
If flow is still weak after a thorough descale, the restriction is elsewhere: the inlet screen inside the head, the flow restrictor, the shower arm, the mixing valve cartridge, or house pressure. Work through those in order at how to increase shower head water pressure and how to fix low water pressure in a shower.
Anything past the fixture — supply piping, the pressure-reducing valve, the main — is licensed plumber territory, and permit requirements for altering supply piping are jurisdiction-specific. Replacing a shower head is not.
Related: how to descale a shower head with vinegar for the removed-head method and stronger buildup, why a new shower head has low pressure, and our current rankings at best shower head.