 Garden
Affiliate Disclosure
Some links on this page are affiliate links. As an Amazon Associate, we earn from qualifying purchases — at no extra cost to you. We do not buy, test, or physically handle the products we cover; our rankings come from aggregated owner reviews, ratings and expert consensus. Commissions never change our verdicts. How we rank · full disclosure.
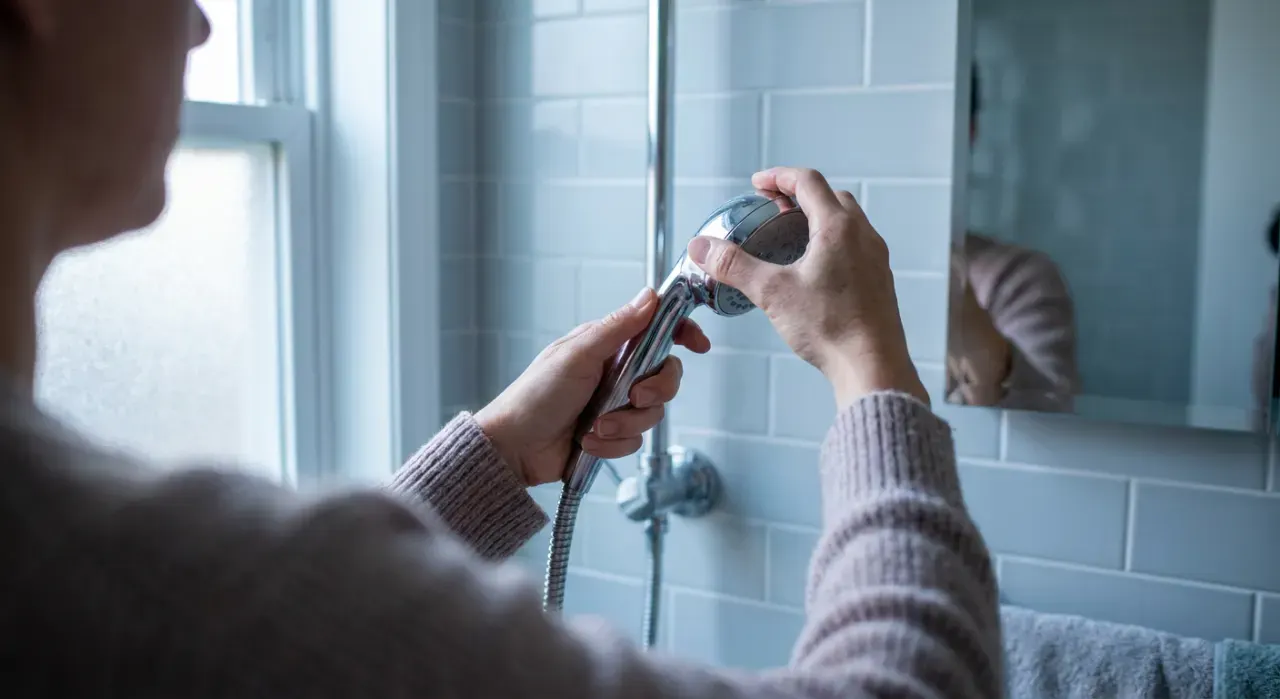
To remove a shower head, hold the shower arm steady with one hand and turn the head counterclockwise (to the left) with the other; standard threads are right-hand, so lefty-loosey applies. Most hand-installed heads come off by hand with a rubber-glove grip. If it is seized with mineral scale, soak the connection in white vinegar or warm the nut with a hair dryer, then use cloth-wrapped pliers to protect the finish. You do not need to shut off the house water, just turn the shower off at the handle.
The whole job takes a couple of minutes on a head that came off cleanly, and maybe fifteen on a corroded one. The two things that go wrong are twisting the arm out of the wall instead of the head off the arm, and scratching the finish with bare pliers. Both are easy to avoid, and this guide walks through the stuck-head case in detail because that is the one that trips people up.
What you need to remove a shower head
| Item | When you need it |
|---|---|
| Rubber gloves or jar-opener pad | Grip for hand removal |
| Adjustable pliers or a wrench | If it will not turn by hand |
| Cloth rag or masking tape | Protects the finish from the pliers |
| White vinegar and a plastic bag | Dissolves mineral seizing |
| Hair dryer (optional) | Heat to break a corroded bond |
| PTFE plumber's tape | Sealing the threads on reinstall |
Which way to turn (and why it matters)
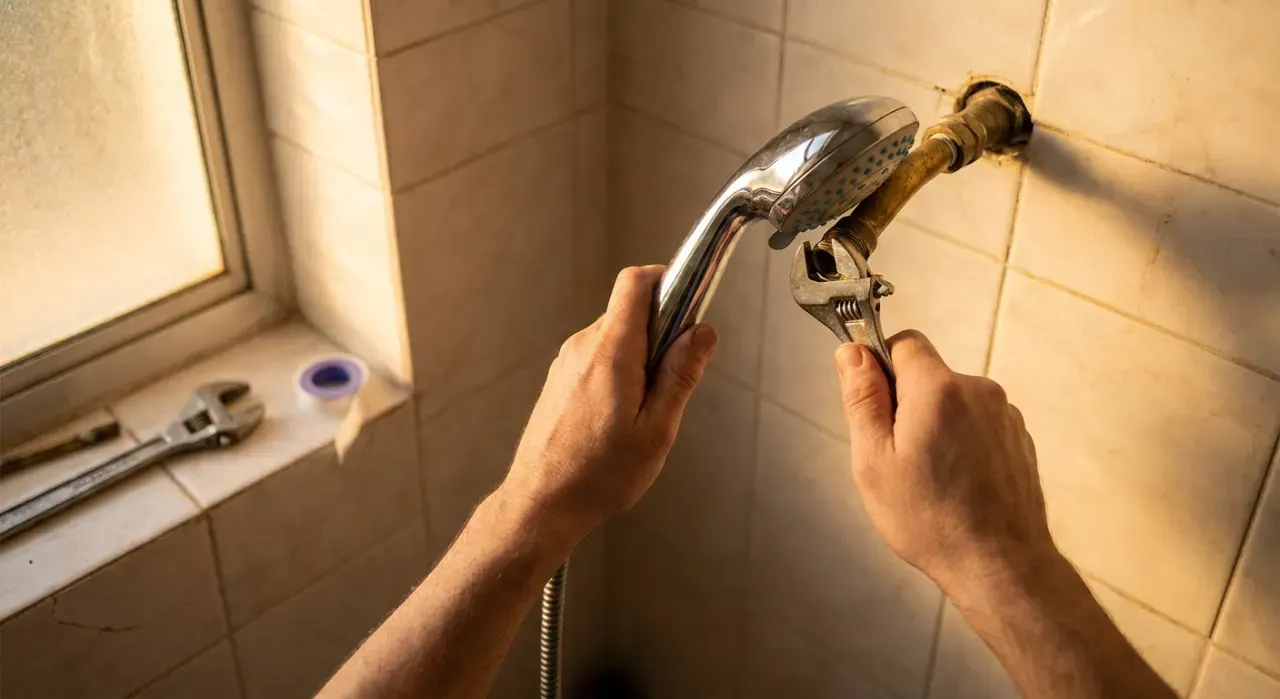
Shower heads use standard right-hand threads, so you loosen counterclockwise, looking at the head. The catch is torque on the arm. The shower arm is a curved pipe threaded into a fitting inside the wall, and if you just crank the head, you can unscrew the arm from that fitting instead, which risks a leak inside the wall. So the rule is: hold the arm still, turn the head. One hand or a second wrench keeps the arm from rotating while the other backs the head off to the left.
Removing a shower head by hand
- Turn the shower off at the handle. No need to shut off the house water.
- Dry the connection and put on a rubber glove or hold a rubber jar-opener pad for grip.
- Hold the shower arm steady where it exits the wall.
- Twist the head counterclockwise. A head installed hand-tight usually breaks free with a firm turn.
- Unscrew it the rest of the way and catch any trapped water in a towel.

Using pliers without wrecking the finish
If hand grip is not enough, step up to tools, but protect the chrome. A bare wrench or pliers will scratch or dent the connector nut, which matters if you plan to reuse the head or fixture.
- Wrap the connector nut in a cloth rag or three or four layers of masking tape.
- Grip the wrapped nut with adjustable pliers, and use a second wrench or your hand on the shower arm.
- Apply steady counterclockwise pressure, not sudden jerks. Steady force is less likely to crack a fitting.
- Once it breaks free, finish by hand.
Freeing a stuck or corroded shower head
Hard-water scale is what cements an old head in place. Force alone risks cracking the arm inside the wall, so dissolve or expand the bond first:
- Vinegar soak: fill a plastic bag with white vinegar, tie it around the connection so the joint is submerged, and leave it an hour or more. Vinegar dissolves the mineral scale that is seizing the threads.
- Heat: run a hair dryer on the metal connector nut for a minute or two. The metal expands slightly and can break the corrosion bond. Do not use an open flame near tile, caulk, or wall material.
- Penetrating oil: a drop of penetrating lubricant at the thread line, given time to wick in, can help on a badly corroded joint.
- Then retry with taped pliers and steady pressure, always holding the arm.
If the arm itself twists loose or the fitting inside the wall feels like it is turning, stop and reconsider; forcing it can crack the drop-ear fitting and turn a five-minute job into an in-wall repair.
Removing different types of shower head
The counterclockwise-and-hold-the-arm method covers standard fixed heads, but a few configurations have their own quirks:
| Type | What is different |
|---|---|
| Fixed wall-mount head | The standard case; unscrew the head from the arm, hold the arm steady |
| Handheld on a slide bar | The hose unscrews from the head and from the wall elbow; there are two connections, each with its own washer |
| Rain head on a ceiling arm | Same threads, but the arm drops from the ceiling; support the head so it does not fall as it frees |
| Combo dual head (fixed plus handheld) | Remove the diverter or splitter first, then each head; note the order for reassembly |
| Head with a swivel ball joint | Unscrew at the connector nut, not at the ball joint, so you do not lose the swivel |
With a handheld unit, remember there are two joints: the hose meets the head at one end and the wall elbow at the other. If you are only replacing the head, undo the hose-to-head connection; if you are replacing the hose too, undo both. Each connection has a small rubber washer, so keep track of them.
Common mistakes to avoid
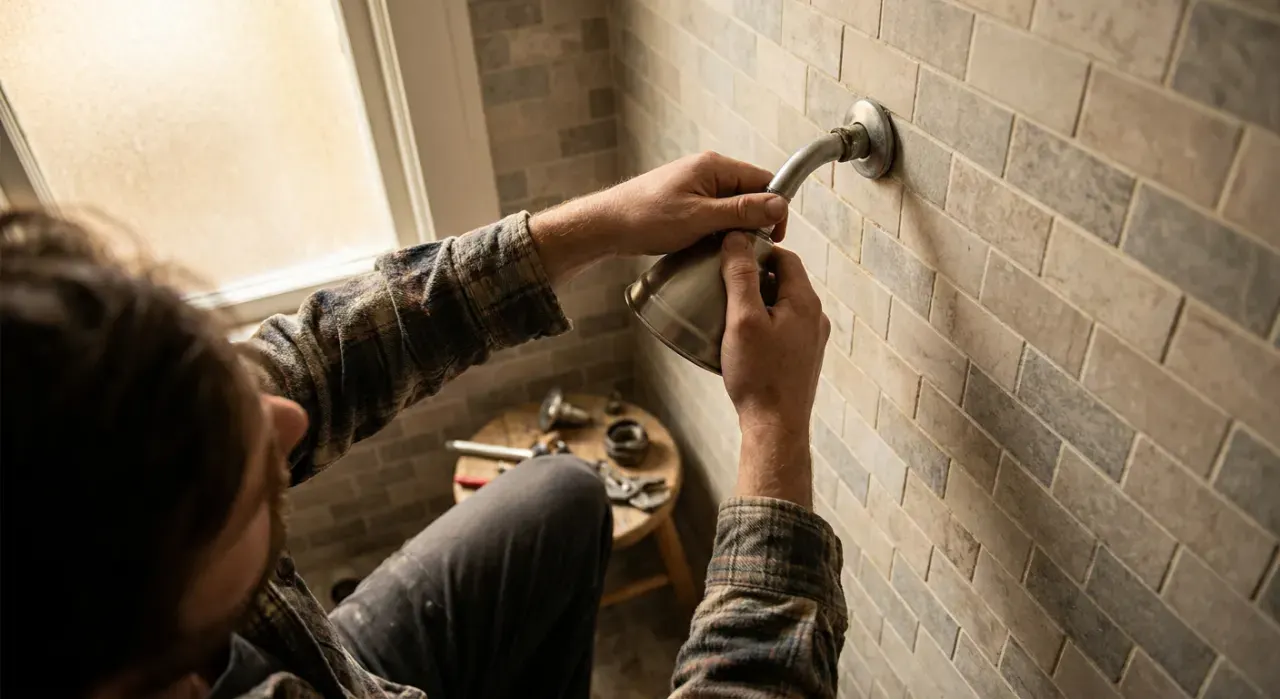
- Turning the head without holding the arm — the most common error, and it can unscrew the arm from the in-wall fitting and cause a leak inside the wall.
- Using bare pliers on a chrome nut — leaves permanent dents and scratches; always wrap the nut in cloth or tape.
- Forcing a corroded head with brute torque — risks cracking the arm or the drop-ear fitting; dissolve the scale with vinegar first.
- Skipping thread cleanup — old tape and mineral crust keep the new head from sealing and cause a nagging leak.
- Overtightening on reinstall — cracks plastic connectors and strips threads; hand-tight plus a gentle quarter turn is enough.
Cleaning the threads before reinstalling
With the head off, take the moment to clean up the arm threads. Old plumber's tape and mineral crust will keep the new head from sealing. Wipe the threads clean, pick out any old tape with a fingernail or a small brush, and dry them. If there is heavy scale on the arm, a quick vinegar wipe clears it. Clean threads are what let a new head seal on the first try.
Installing the new head
- Wrap the arm threads with two to three clockwise turns of PTFE plumber's tape. Clockwise so it stays put as you thread the head on.
- Thread the new head on by hand until snug.
- Snug it a final quarter turn with a taped wrench if needed. Do not overtighten; that cracks plastic connectors and strips threads.
- Turn the shower on and check the connection for drips. A small leak usually means more tape or a slightly firmer turn.
Removing the head is often the first step in a bigger upgrade or a cleaning. For descaling instead of replacing, see how to clean a shower head and how to descale a shower head with vinegar. If pressure is the reason you are swapping heads, how to increase shower head water pressure helps, and our ranked field is in best shower head. More at the bathroom hub; our method is in how we rank.