 Garden
Affiliate Disclosure
Some links on this page are affiliate links. As an Amazon Associate, we earn from qualifying purchases — at no extra cost to you. We do not buy, test, or physically handle the products we cover; our rankings come from aggregated owner reviews, ratings and expert consensus. Commissions never change our verdicts. How we rank · full disclosure.
Replacing a framed sliding shower door is an approachable DIY project of about 2 to 4 hours, with framed kits costing $100 to $400. The work is measuring, cutting the bottom track to your opening, and setting the frame level and plumb, then sealing it watertight. A framed door is DIY-friendly. A heavy frameless glass door is a different animal, demanding precise hardware and often studs or blocking, and is frequently worth having installed professionally. The only tool skill needed is drilling tile cleanly for the jamb anchors.
Step-by-step: swapping a framed sliding door
- Remove the old door. Lift the panels out of the top track, unscrew the top track from the jambs, remove the side jamb screws and pry the jambs off, then free the silicone-bedded bottom track with a putty knife.
- Clean the opening. Scrape all old silicone and residue off the tub ledge and walls, fill old anchor holes, and let everything dry. A clean surface is essential for the new seal.
- Measure and cut the bottom track. Measure the opening width per the manufacturer's instructions (usually the narrowest of top and bottom), and cut the bottom track to length with a hacksaw, deburring the ends.
- Set the bottom track. Dry-fit the track centered on the ledge, mark it, then bed it in a bead of silicone and press it down. Do not screw the bottom track; it floats on silicone.
- Plumb and mark the jambs. Stand a side jamb over the track end, hold it plumb with a level, and mark the screw holes on the tiled wall.
- Drill the tile and anchor the jambs. Tape the marks, drill with a carbide or diamond tile bit at low speed and light pressure, seal the holes with silicone, set anchors, and screw the jambs on plumb. Repeat on the other side.
- Fit the top track and panels. Set the top track into the jambs, secure per the instructions, then hang the sliding panels on their rollers into the top track and check they glide freely.
- Seal it watertight. Silicone the outside of the bottom track and both jambs, inside and out where the frame meets the walls, but leave the inside of the bottom track and its weep holes open so trapped water drains into the tub. Let it cure before use.
Tools and materials
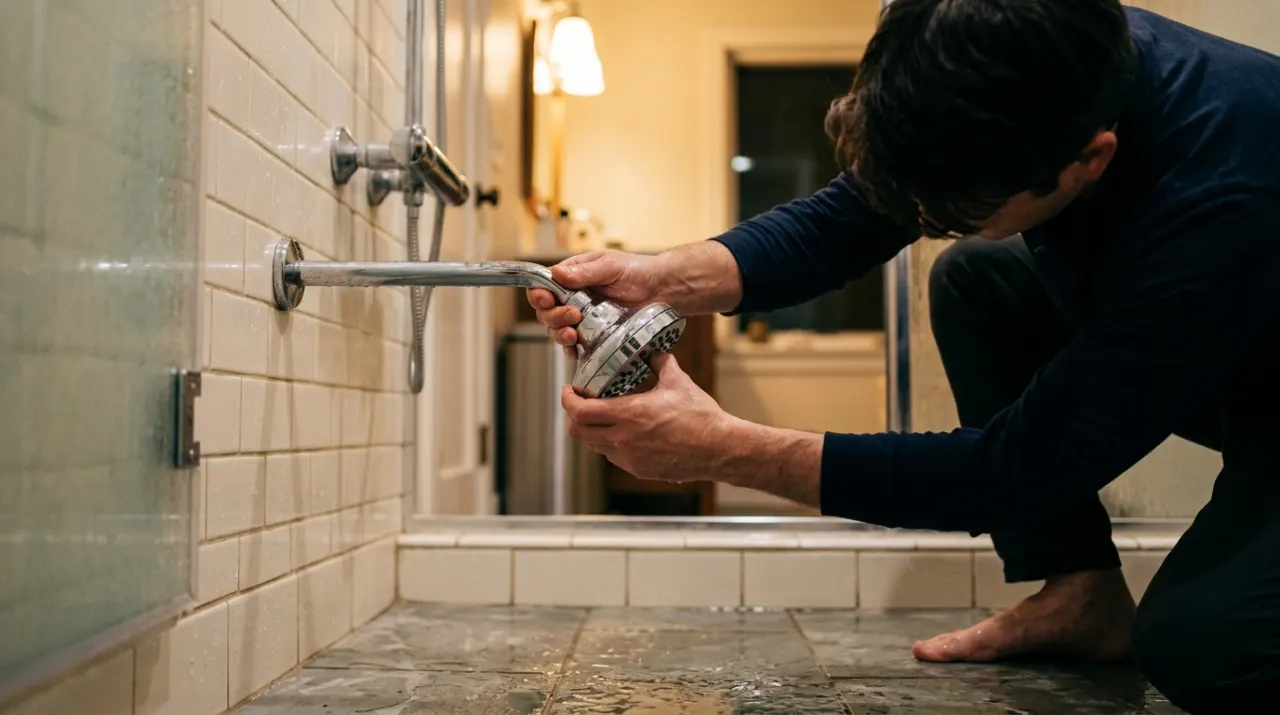
You need a hacksaw, a drill/driver, a carbide or diamond tile bit, a level, a caulk gun and 100% silicone, wall anchors, painter's tape, and a putty knife. A door swap is often part of a wider shower refresh, so it pairs with the other wet-area jobs in this hub; see our shower resealing guide for the sealing technique, and upgrading the fixtures at the same time with a model from the shower head roundup or a shower filter to cut the scale that clouds new glass rounds out the job.
Mistakes to avoid
- Sealing the inside of the bottom track. It traps water and molds. Silicone the outside; keep the inside weep holes clear.
- Not measuring top and bottom. Walls are rarely parallel. Use the correct measurement per the brand or the door binds.
- Hammer-drilling the tile. Impact cracks the glaze. Tile bit, low speed, light pressure, tape over the mark.
- Skipping the plumb check on jambs. An out-of-plumb jamb makes the door drift open or shut. Level each side.
- Screwing down the bottom track. It should float on silicone; screwing it creates leak paths through the ledge.
We never buy, test or physically handle the products we rank. Recommendations come from aggregated owner reviews, star ratings, review volume and expert consensus — see how we rank.
More from this hub: Bathroom · Resealing a shower · Regrouting tile · Installing a shower niche · Best shower heads · How we rank