 Garden


Affiliate Disclosure
Some links on this page are affiliate links. As an Amazon Associate, we earn from qualifying purchases — at no extra cost to you. We do not buy, test, or physically handle the products we cover; our rankings come from aggregated owner reviews, ratings and expert consensus. Commissions never change our verdicts. How we rank · full disclosure.
Four methods work. Migration is the least labor: move fresh bedding and food to one side or a new tray, and the worms walk over within two to four weeks, leaving finished castings behind. Light-cone sorting takes an afternoon and gets you castings today. Screening through quarter-inch hardware cloth is fastest for volume. Dump-and-sort is the fallback for a small bin. Harvest when 60 to 80 percent of the bin looks like dark uniform crumbs rather than recognizable bedding, which is usually every three to six months.
We never buy or physically handle the products we rank; recommendations come from aggregated owner reviews and expert consensus, described in how we rank. More at the composting and soil hub.
Telling When They Are Ready
Finished vermicompost is dark brown to nearly black, uniformly crumbly at roughly the texture of used coffee grounds, and smells like rich forest soil. Original bedding — shredded cardboard, paper, coconut coir — should be mostly gone, and food scraps unrecognizable.
Do not wait for 100 percent conversion. Castings that sit in the bin too long concentrate salts and ammonia, and the worms will start avoiding them, cluster at the surface or the walls, and eventually decline. A bin that has become uniformly dark and dense with worms crowding the lid is overdue.
Practical schedule: stacked tray systems every two to three months, since the design does the migration for you. Single-bin systems every three to six months.
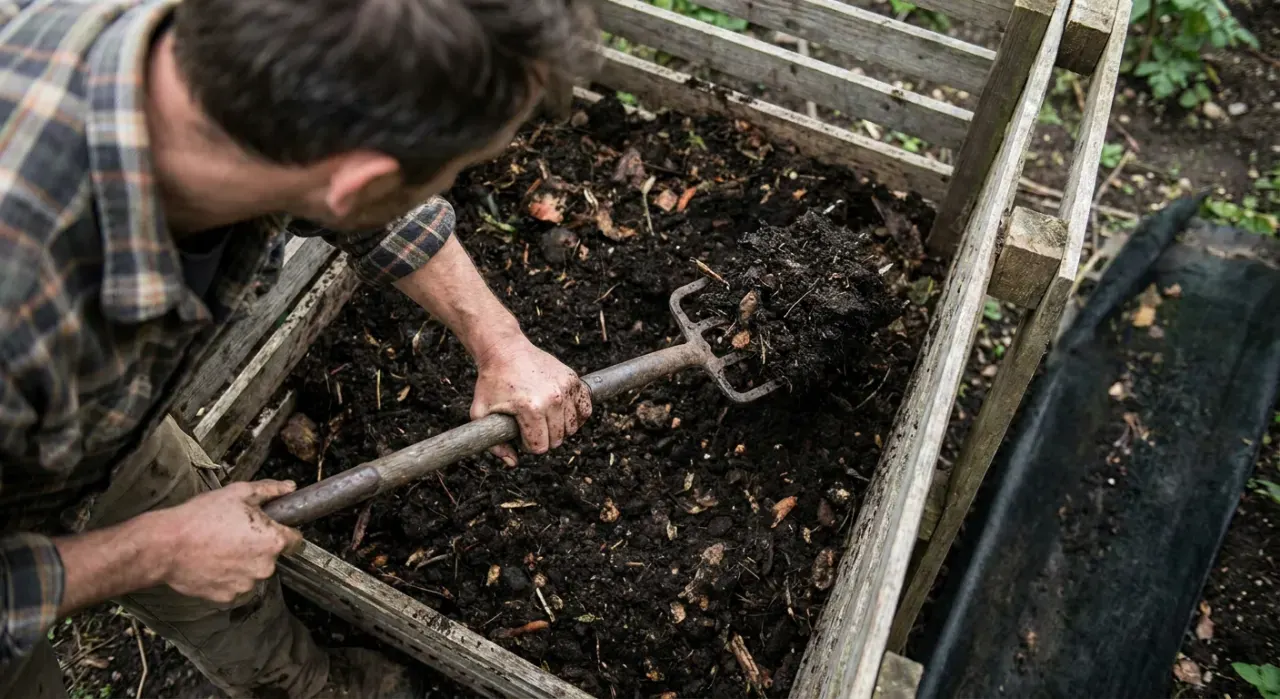
The Four Methods
1. Migration — least work, takes weeks
Worms move toward food and away from finished castings, so let them do the sorting.
- In a stacked tray system: add a new tray on top with fresh damp bedding and food. Over two to four weeks the worms migrate upward through the mesh floor. Remove the bottom tray and harvest it whole.
- In a single bin: push all the contents to one half. Fill the empty half with fresh damp bedding and bury food scraps only in that side. Cover only the new side (worms move toward dark and moisture). After three to four weeks, scoop the old side out — expect a few stragglers, which you return.
- Vertical variant: put fresh bedding and food in a mesh bag or perforated container buried in the top of the bin, and lift it out full of worms after two weeks, leaving castings behind.
Effort: about ten minutes total. Waiting: two to four weeks. This is the method to use if you are not in a hurry.
2. Light cone — an afternoon, castings today
Worms are photophobic and burrow away from light. On a tarp or a large tray under bright light (a shop lamp works; direct summer sun overheats them and can kill them):
- Tip out the bin contents and build several cone-shaped piles about 8 inches tall.
- Wait 5 to 10 minutes. Worms retreat to the bottom center of each cone.
- Scrape the top inch or two off each cone into your harvest container.
- Wait another 5 to 10 minutes and repeat.
- Continue until each cone is a squirming ball of worms with almost no castings left. Return them to the bin with fresh bedding.
Effort: 45 to 90 minutes. Yield: clean castings and a healthy accounting of your worm population. Watch the temperature — a lamp too close will cook them, so keep it a foot or more away and check the pile is not warming.
3. Screening — fastest for volume
A frame of quarter-inch or eighth-inch hardware cloth over a wheelbarrow or tote. Work in small batches, rubbing material through with a gloved hand. Finished castings drop through, and worms, cocoons and unfinished material stay on top and go back into the bin.
Screening works best on slightly dry material — castings at high moisture smear and clog the mesh rather than passing through. Letting the harvested material sit uncovered for a day first makes a large difference. Effort: 20 to 40 minutes for a bin. It is dustier than the other methods; a dust mask is sensible, since dried castings and bedding produce fine airborne particles.
4. Dump and sort — small bins only
Tip the bin onto a tarp and pick worms out by hand. Slow, thorough, and reasonable for a small bin or if you want to assess population and look for problems. Expect an hour and to miss cocoons.
Which Method to Use
| Method | Active time | Wait | Worm loss | Best for |
|---|---|---|---|---|
| Migration | 10 min | 2 to 4 weeks | Very low | Tray systems, anyone not in a hurry |
| Light cone | 45 to 90 min | None | Low | Clean castings today, population check |
| Screening | 20 to 40 min | 1 day to dry slightly | Low if careful | Larger volumes, uniform product |
| Dump and sort | 60 min+ | None | Lowest | Small bins, troubleshooting |

After the Harvest
Restart the bin properly. Return the worms with 4 to 6 inches of fresh damp bedding — shredded cardboard and paper, coco coir, aged leaves — at the moisture of a wrung-out sponge, plus a small first feeding. Bury food rather than surface-feeding, and hold off on heavy feeding for a week while the population resettles. Leave one or two handfuls of old castings in as an inoculant.
Store castings damp and breathing. The value of castings is the living microbiology, not just the nutrient content, and both drying out and sealing airtight kill it. A bucket with a loose lid or a fabric bag, out of direct sun, used within about six months.
Use them as a concentrate. A quarter to half inch top-dressed around plants two or three times a season; a generous handful in a planting hole; 10 to 20 percent by volume in a potting mix; or as a compost tea brewed with an aerator and used within a few hours. Do not plant directly into pure castings — they compact and hold too much water for good root aeration.
How Much to Expect
Worm bins produce a concentrate, not bulk compost, and expectations set by bagged-compost volumes lead to disappointment. Red wigglers process roughly half their body weight in food per day under good conditions, and the castings that result are a fraction of the input volume.
| Bin size | Starting worms | Scraps handled | Castings per harvest |
|---|---|---|---|
| Small tote (10 gal) | 0.5 lb | About 1.5 lb per week | 5 to 10 lb every 4 months |
| Standard tray system | 1 lb | About 3 lb per week | 10 to 15 lb per tray, every 2 to 3 months |
| Large tote (18 gal) | 1 to 2 lb | 4 to 6 lb per week | 15 to 25 lb every 3 to 4 months |
| Outdoor flow-through | 2 lb+ | 8 lb+ per week | 30 lb+ every 3 months |
In garden terms, 15 pounds of castings top-dresses roughly 60 to 100 square feet at a quarter inch, or amends about 8 cubic feet of potting mix at 15 percent. That is a meaningful boost to a vegetable garden and nowhere near enough to replace bulk compost — most people run a worm bin alongside a compost bin or tumbler rather than instead of one.
Populations roughly double every 60 to 90 days in a healthy bin until they self-limit at the carrying capacity of the container, so yields climb over the first year and then plateau.
Common Harvest Problems
- Castings too wet to screen. Spread them on a tarp for 12 to 24 hours in shade first.
- Too many cocoons lost. Return the screenings to the bin rather than discarding them, and let a screened batch sit in a covered bin for three weeks so any cocoons hatch and the babies can be recovered.
- Population looks thin. Usually overfeeding (acidic, anaerobic conditions), too wet, or temperature outside the 55 to 77 degrees F band worms prefer. See how many worms you need to start a worm bin.
- Fruit flies during harvest. Bury food deeper and keep a sheet of damp cardboard over the surface. It does not affect the castings.
Related: our picks at best worm composting bin, plus compost vs topsoil, how to make compost for the hot-composting alternative, and how to improve clay soil, which is where most gardeners end up putting the output.