 Garden

Affiliate Disclosure
Some links on this page are affiliate links. As an Amazon Associate, we earn from qualifying purchases — at no extra cost to you. We do not buy, test, or physically handle the products we cover; our rankings come from aggregated owner reviews, ratings and expert consensus. Commissions never change our verdicts. How we rank · full disclosure.
The short answer: mix roughly 2 to 3 parts browns to 1 part greens by volume, build it at least 3 by 3 by 3 feet, wet it to the dampness of a wrung-out sponge, and turn it whenever the center cools below about 110°F. A pile managed that way runs at 130 to 160°F and finishes in six to eight weeks plus a month of curing. Everything else is detail.
Composting is managed decomposition, and it runs on four variables: carbon, nitrogen, moisture and oxygen. Get those roughly right and the pile does the work. Get any one badly wrong and it either stinks or sits there.
We never buy or physically handle the products we rank; recommendations come from aggregated owner reviews and expert consensus, described in how we rank. The full system is at the composting and soil hub.
The Four Variables
| Variable | Target | How to check it |
|---|---|---|
| Carbon to nitrogen | 25:1 to 30:1 by weight, or 2 to 3 parts browns to 1 part greens by volume | Smell — ammonia means too green; no activity means too brown |
| Moisture | 40 to 60 percent | Squeeze a handful: damp, holds together, a drop or two at most |
| Oxygen | Air reaching the center | The pile heats after turning; a sour smell means it is not getting any |
| Mass | At least 3 x 3 x 3 ft, about 27 cu ft | A smaller pile loses heat faster than it makes it |
A fifth variable, particle size, is not strictly required but changes the timeline more than any other single choice. Decomposition happens on surfaces, so shredding leaves with the mower before bagging them and chopping kitchen scraps to about an inch can halve the time to finished compost.
What Goes In
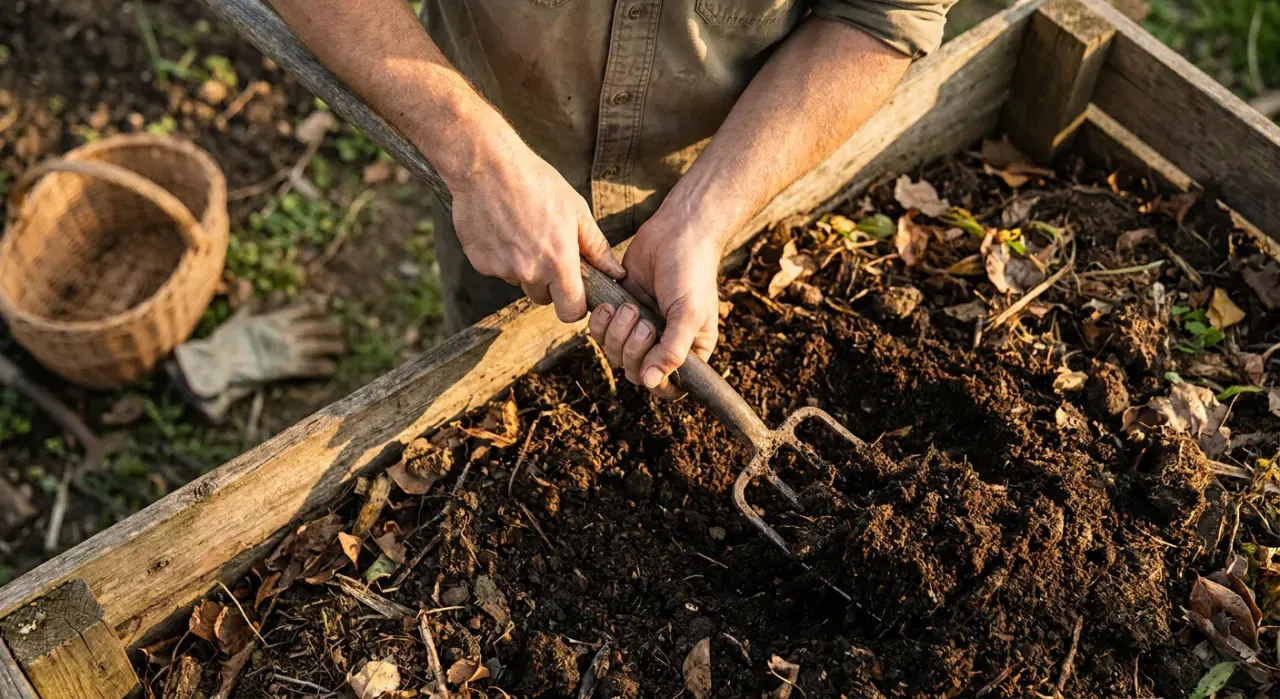
Browns are dry and carbon-rich: fall leaves, straw, shredded cardboard, shredded paper, wood chips, pine needles, dried stems and corn stalks. Greens are wet and nitrogen-rich: fruit and vegetable scraps, coffee grounds and filters, grass clippings, fresh garden waste, aged manure from herbivores.
Leave out meat, fish, bones, dairy and anything oily or greasy — they attract rodents and raccoons, and a home pile rarely holds a high enough temperature long enough to break them down safely. Dog and cat waste should never go anywhere near compost used on food crops. Also avoid diseased plants, weeds that have set seed if your pile does not reliably get hot, coal ash, glossy printed paper, and grass clippings from a lawn treated with a persistent broadleaf herbicide — those compounds can survive composting and damage tomatoes and beans a year later.
The sorted list with real carbon-to-nitrogen numbers for each material is in browns and greens explained. The one habit worth adopting from it: stockpile fall leaves in bags or a wire cage, because greens arrive all year and browns arrive once.
Building a Hot Pile
- Pick a spot. Level ground, on soil rather than paving so worms and soil organisms can move in from below, with partial shade in hot climates so the pile does not dry out. Somewhere you will actually walk to in February.
- Start with a coarse base. Four to six inches of small branches, chopped stems or coarse straw. This lets air enter from underneath and stops the bottom turning into a wet mat.
- Build in thin alternating layers, then mix. Two to three inches of browns, one inch of greens, repeated. Layering helps you keep track of the ratio; mixing as you go is what actually makes it work, because pockets of pure grass clippings go anaerobic on their own.
- Water each layer as you build. Dry browns, especially cardboard and straw, need considerably more water than people expect. Adding it at the end never wets the middle.
- Build it all at once if you can. A hot pile wants its full mass at the start. If you are adding material gradually, the pile will run cooler and slower, which is fine — that is cold composting.
- Cover it loosely. A tarp, an old carpet, or a lid keeps rain from waterlogging the pile in a wet climate and holds moisture in a dry one. Do not seal it airtight.
Within 24 to 72 hours the center should be hot enough that you cannot hold your hand in it. That is thermophilic bacteria multiplying, and it is the sign the ratio and moisture are right.
Temperature Is the Instrument Panel
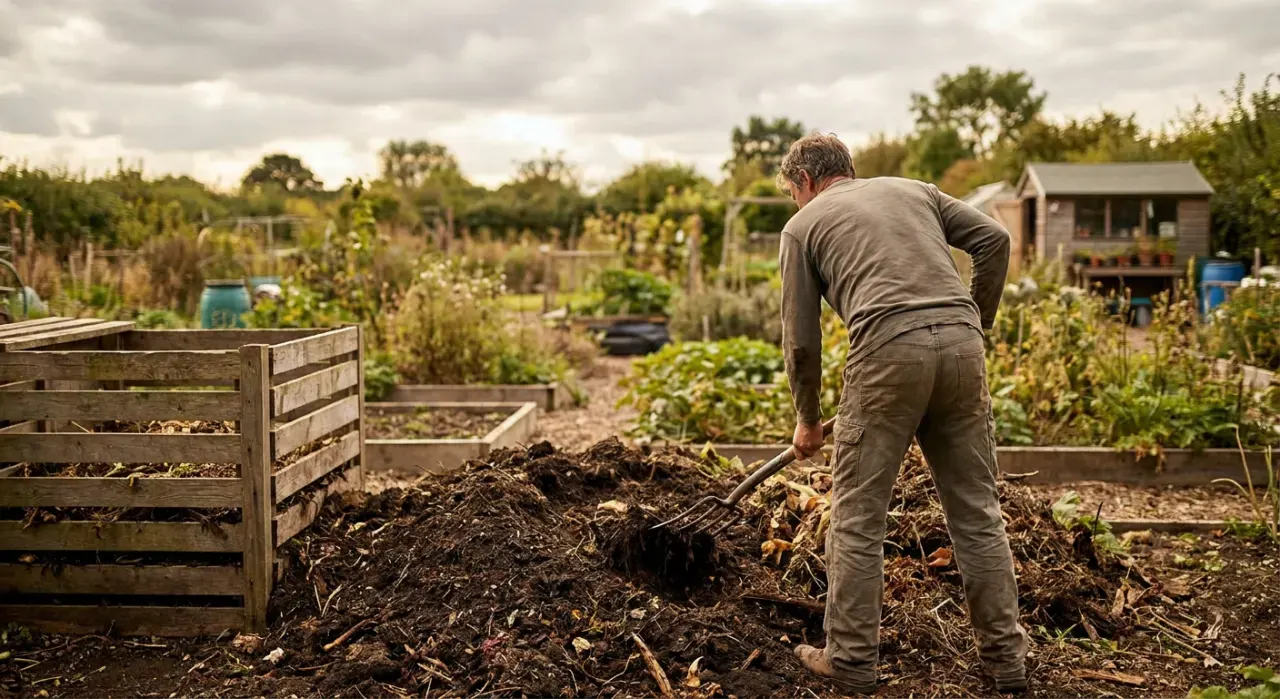
A long-stem compost thermometer, pushed to the center of the pile, tells you more than any other tool.
| Reading | What it means | Action |
|---|---|---|
| Ambient, never rises | Not enough nitrogen, too dry, or pile too small | Add greens and water; rebuild bigger |
| 90 to 110°F | Mesophilic stage, early or winding down | Normal at the start and near the end |
| 130 to 160°F | The working range | Leave it alone until it starts falling |
| Above 160°F | Hot enough to kill the beneficial microbes doing the work | Turn immediately to release heat |
| Falls below 110°F | Oxygen or accessible food exhausted in that zone | Turn, moving outside material to the center |
The 130 to 160°F band matters beyond speed: sustained temperatures in that range kill most weed seeds and plant pathogens, which is what lets you compost weedy garden waste with confidence. Cold piles never do this, so keep seed heads and diseased material out of them.
If your pile refuses to heat at all, the diagnostic runs through pile mass, moisture, nitrogen supply, particle size and aeration in that order — it is stepped out in compost not heating up.
Turning
Turning does two things: it reintroduces oxygen, which the aerobic bacteria consume rapidly, and it moves the cooler, less-processed outer material into the hot center where it will actually break down. Without turning, the outside of a pile stays essentially raw.
Turn when the temperature drops below about 110°F, which in an active pile is roughly every four to seven days at the start and every week or two later on. A useful method is to have two bays and fork the pile from one into the other, since that inverts it completely with no extra effort. Expect four or five turns over a hot pile’s life.
Each turn is also the moment to correct moisture. Dry patches get watered; sodden, matted layers get broken up and mixed with dry browns. Both problems are visible the instant you open the pile and nearly invisible from outside.
If forking a heap is not appealing, a tumbler does the same job with a handle at the cost of capacity — the trade-offs are compared in tumbler vs compost bin, and the ranked field is in best compost tumbler.
The Cold Method, Which Is Also Fine
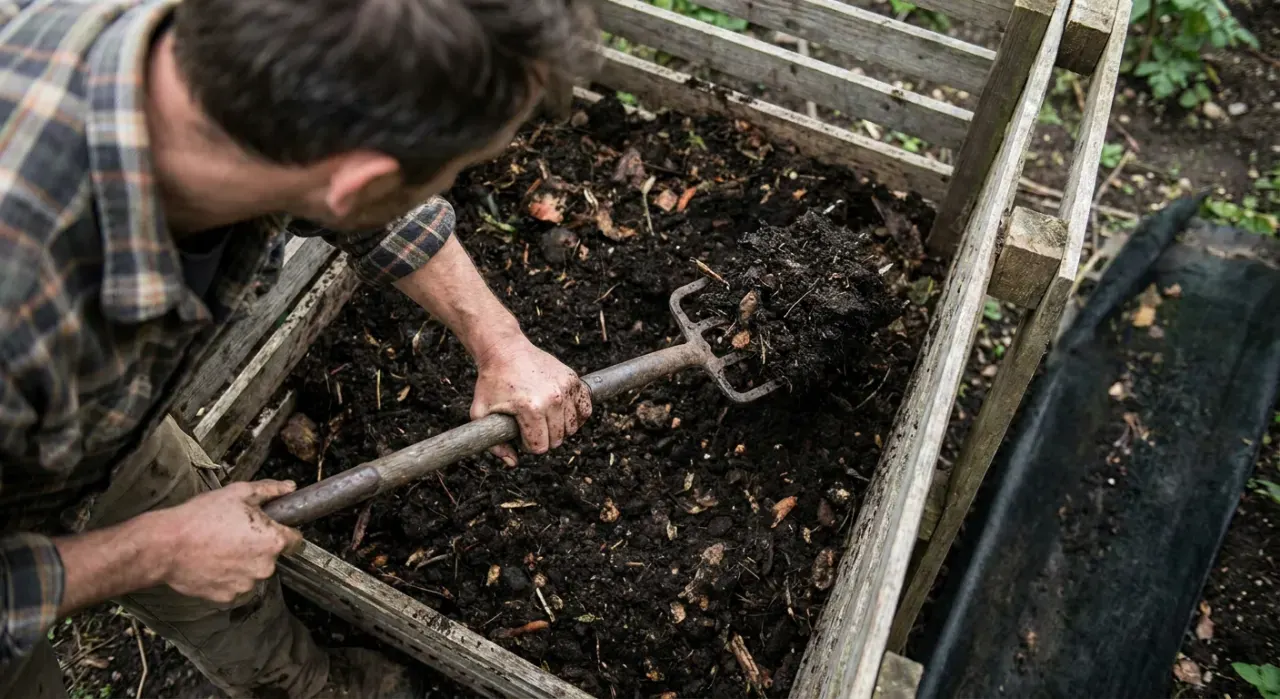
Cold composting is what most people actually do: pile material as it arrives, ignore the ratio loosely, never turn it, and harvest finished compost from the bottom in a year or two. It works. Decomposition is inevitable, and the only thing you lose is speed and the weed-seed kill.
Improve a cold pile with two cheap moves. Cover fresh greens with browns each time you add them, which stops odor and flies. And build it on soil in a bin open at the bottom so worms and soil organisms colonize it from below — a cold pile is really a slow worm-and-fungus system rather than a bacterial one, and it produces excellent compost.
Curing and Knowing When It Is Done
When the pile stops reheating after turning, it is not finished — it is ready to cure. Let it sit for four to six weeks. During curing, fungi and larger organisms break down the tougher remaining material and the chemistry stabilizes, which is what makes compost safe to use around seedlings and in potting mixes.
Finished compost is dark brown to near black, crumbly, roughly half the volume you started with, and smells like the floor of a forest. Original ingredients are unrecognizable apart from a few twigs and eggshell fragments, which you can screen out through half-inch hardware cloth and throw back into the next batch as an inoculant.
If you are unsure, run the bag test: seal a handful of moist compost in a plastic bag for three days, then open it. Earthy smell means it is finished. Sour or ammonia smell means it needs longer. Using unfinished compost around plants temporarily locks up soil nitrogen as microbes finish the job, which shows up as stalled, yellowish seedlings.
Use it three ways: two to three inches mixed into new beds, an inch spread as a top dressing each spring and left for worms to take down, or blended at 20 to 30 percent into a potting mix with an aeration material. Never use pure compost in containers — it compacts and holds too much water. If your soil is heavy clay, compost is the entire long-term answer, and the reasons are set out in how to improve clay soil. To find out what your soil is short of before you start amending, see how to read a soil test and best soil test kit.