 Garden
Affiliate Disclosure
Some links on this page are affiliate links. As an Amazon Associate, we earn from qualifying purchases — at no extra cost to you. We do not buy, test, or physically handle the products we cover; our rankings come from aggregated owner reviews, ratings and expert consensus. Commissions never change our verdicts. How we rank · full disclosure.
The short answer: there are three reliable ways to test soil pH, and which you choose depends on how precise you need to be. For a real number you can act on, mail a sample to your state Cooperative Extension lab — it is the most accurate and usually costs about 7 to 20 dollars. For quick, repeated checks at home, use a chemical test kit or a probe meter. For a rough free read, use the vinegar and baking soda kitchen test. Whatever method, the sample matters more than the tool: a careless sample gives a wrong answer with any test.
Soil pH — how acidic or alkaline your soil is on a scale of 0 to 14 — controls whether plants can actually take up the nutrients that are present. Most garden plants want 6.0 to 7.0, where nutrients are most available. Get pH wrong and you can fertilize all season while plants starve, because locked-up nutrients stay locked. Testing is the cheapest, highest-leverage thing you can do before amending soil.
Why pH matters before you do anything else
Nutrient availability is a curve, not a switch. At the wrong pH, iron, phosphorus, and manganese become chemically unavailable even when the soil is full of them.
| Soil pH | Reading | What happens |
|---|---|---|
| Below 5.5 | Strongly acidic | Aluminum and manganese can reach toxic levels; phosphorus locks up |
| 5.5 to 6.0 | Moderately acidic | Good for blueberries, azaleas, potatoes |
| 6.0 to 7.0 | Slightly acidic to neutral | The sweet spot for most vegetables, lawns, and flowers |
| 7.0 to 7.5 | Slightly alkaline | Iron and manganese start to lock up; some yellowing |
| Above 7.5 | Alkaline | Iron chlorosis common; many plants struggle |
If your test comes back off-target, our guides on how to make soil more acidic and how to lower soil pH quickly cover the fix. The point of testing is to know which direction to push, and by how much.
Take the sample right — this decides accuracy
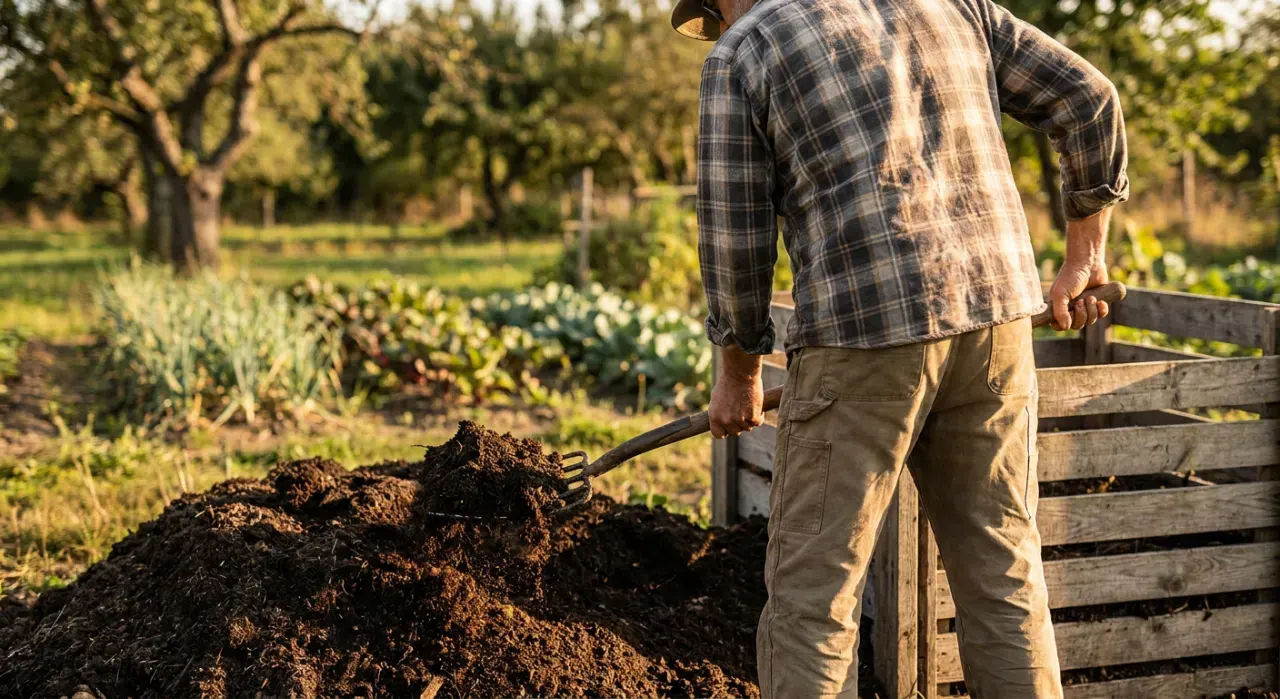
Every method is only as good as the soil you feed it. A single scoop from one spot can be misleading; soil pH varies across a yard.
- Collect from 6 to 10 spots across the area you are testing, in a zigzag pattern.
- Dig 4 to 6 inches deep for garden beds and lawns — the root zone — using a clean stainless or plastic tool, not galvanized metal, which can skew results.
- Remove roots, stones, mulch, and thatch from each core.
- Mix all the cores together in a clean plastic bucket to make one composite sample.
- Test separate areas separately. A vegetable bed, a lawn, and a flower border should each get their own composite — do not blend them.
- Let the sample air-dry before a lab or strip test if the soil is wet.
Detailed sampling steps are in how to collect a soil sample for testing. Skipping this step is the single biggest cause of a bad reading.
Method 1: mail-in lab test (most accurate)
For any decision that involves buying and applying lime or sulfur, this is the method to use. A lab measures pH electronically on a prepared slurry and gives you far more than a number.
- What you get: exact pH, buffer pH (which tells you how much lime it will actually take to move the number), major nutrients, organic matter, and specific amendment recommendations for your crop.
- How: request a kit or bag from your state Cooperative Extension office, fill in the crop you are growing, mail the composite sample, and get results in one to two weeks.
- Cost: commonly 7 to 20 dollars per sample as of 2026, varying by state.
- Best for: a new garden, a problem area, or any time you plan to amend pH.
The buffer pH number is the hidden value of a lab test: two soils can read the same pH but need very different amounts of lime to change, and only a lab tells you which yours is. Find your lab through your county extension office.
Method 2: home test kits and meters (fast and repeatable)
Home tools trade some accuracy for instant, unlimited checks. They are ideal for monitoring between lab tests and for comparing spots in your yard.
| Tool | How it works | Accuracy | Best for |
|---|---|---|---|
| Chemical color kit | Reagent changes color, matched to a chart | Fair, within ~0.5 pH | Cheap multi-nutrient checks |
| Test strips | Paper strip in a soil-water slurry | Rough | Quick yes/no acidity read |
| Probe meter | Electrode read straight in moist soil | Variable; needs care | Repeated spot checks |
To use a chemical kit or strips, mix one part soil with one part distilled water — never tap water, which has its own pH — let it settle, and test the liquid. For a probe meter, insert it into moist (not soaked) soil, wait a minute, and clean the probe between readings. Cheap probe meters are notorious for drift, so treat their absolute number with caution and use them mainly to compare areas. For the ranked field, see best soil pH tester and best soil test kit; we rank on aggregated owner reviews rather than in-house testing, as explained in how we rank.
Method 3: the vinegar and baking soda test (free, rough)
This kitchen test costs nothing and takes five minutes. It cannot give a number, but it sorts your soil into acidic, neutral, or alkaline — enough to know which way you might need to go.
- Take two small samples of the same soil in separate containers.
- Test for alkaline: add half a cup of white vinegar to the first sample. Fizzing means the soil is alkaline, roughly above 7.5.
- Test for acidic: moisten the second sample with distilled water and add half a cup of baking soda. Fizzing means the soil is acidic, roughly below 5.5.
- Read the result: no reaction in either means your soil is roughly neutral, in the 6 to 7.5 range where most plants are happy.
Use this as a first hint only. Because it cannot distinguish, say, pH 5.8 from 6.5 — a difference that matters a lot to a blueberry — never base a lime or sulfur purchase on it.
Reading and acting on your result
A number alone is not the goal; matching it to your plants is. Most vegetables, lawns, and ornamentals want 6.0 to 7.0. Acid-lovers like blueberries, azaleas, rhododendrons, and camellias want 4.5 to 5.5.
- Too acidic (below target): raise pH with garden lime, applied in fall so it has time to react.
- Too alkaline (above target): lower pH with elemental sulfur or, for a faster nudge, an acidifying amendment — see how to make soil more acidic.
- Wait to retest: give any amendment two to three months to work before checking again.
- Once is not forever: retest every two to three years, because rainfall, fertilizer, and organic matter slowly shift pH back.
Understanding the full picture of a report is worth it — see how to read a soil test and what a soil test tells you. Everything else on building healthy soil lives at the composting and soil hub.
Mistakes that ruin a pH reading
| Mistake | Effect |
|---|---|
| Sampling one spot only | Misses natural variation across the yard |
| Using tap water in a home test | Tap water pH skews the reading |
| Testing right after liming or fertilizing | Reads the amendment, not the soil |
| Galvanized tools or dirty containers | Metal and residue contaminate the sample |
| Trusting a cheap probe meter absolutely | Drift gives a confident wrong number |
Test carefully once and you will make every fertilizer and amendment decision for the next few years on real information instead of guesswork. It is the least glamorous job in the garden and quietly the most valuable.