 Garden

Affiliate Disclosure
Some links on this page are affiliate links. As an Amazon Associate, we earn from qualifying purchases — at no extra cost to you. We do not buy, test, or physically handle the products we cover; our rankings come from aggregated owner reviews, ratings and expert consensus. Commissions never change our verdicts. How we rank · full disclosure.
Changing a whole house water filter is a 20 to 30 minute job, needs one tool, and costs $25 to $60 in cartridges. No permit, no licensed trade, no soldering — you are unscrewing a canister that was designed to be unscrewed. The two steps that separate a clean swap from a wet utility room are relieving the pressure before you touch the sump, and greasing the O-ring before you put it back. Everything else is straightforward, and the whole sequence is below.
When to Change It
Cartridge intervals printed on a box assume clean municipal water. Real intervals depend on what your water carries.
| Cartridge type | Typical interval | Change it early when |
|---|---|---|
| Spun or string-wound sediment | 3–6 months | Well water, post-main-break grit, visible discoloration |
| Pleated sediment (washable) | 3–6 months, rinse between | The pleats stay brown after rinsing |
| Carbon block (CTO) | 6–12 months | Chlorine taste returns — that is saturation, and it is a hard deadline |
| Iron and manganese media | 3–6 months | Staining reappears in toilets and tubs |
| Combination sediment and carbon | 6 months | Either symptom shows up |
The professional method is a pair of pressure gauges, one before the housing and one after. A clean cartridge shows a differential of a few psi; when it reaches roughly 10 to 15 psi, the cartridge is spent. That is far more reliable than a date on a sticker, and it costs about $20 to set up. Falling shower pressure is the same message arriving weeks late. For the full schedule across every filter type in the house, see how often to change a water filter.
Carbon carries an extra rule worth stating on its own. A saturated carbon block keeps passing water at full flow while adsorbing nothing, so flow rate will never tell you it is finished. Change carbon on time.
Tools and Materials
- The correct replacement cartridge — match the physical size and the micron rating. Standard 10 x 2.5 inch, Big Blue 10 x 4.5 inch and 20 x 4.5 inch are the three common formats; measure the old one if you are unsure. Combination sediment-and-carbon cartridges (paid link) in the 10 x 4.5 inch size fit most residential Big Blue housings, and plain sediment cartridges (paid link) are the cheaper option where taste is not the issue.
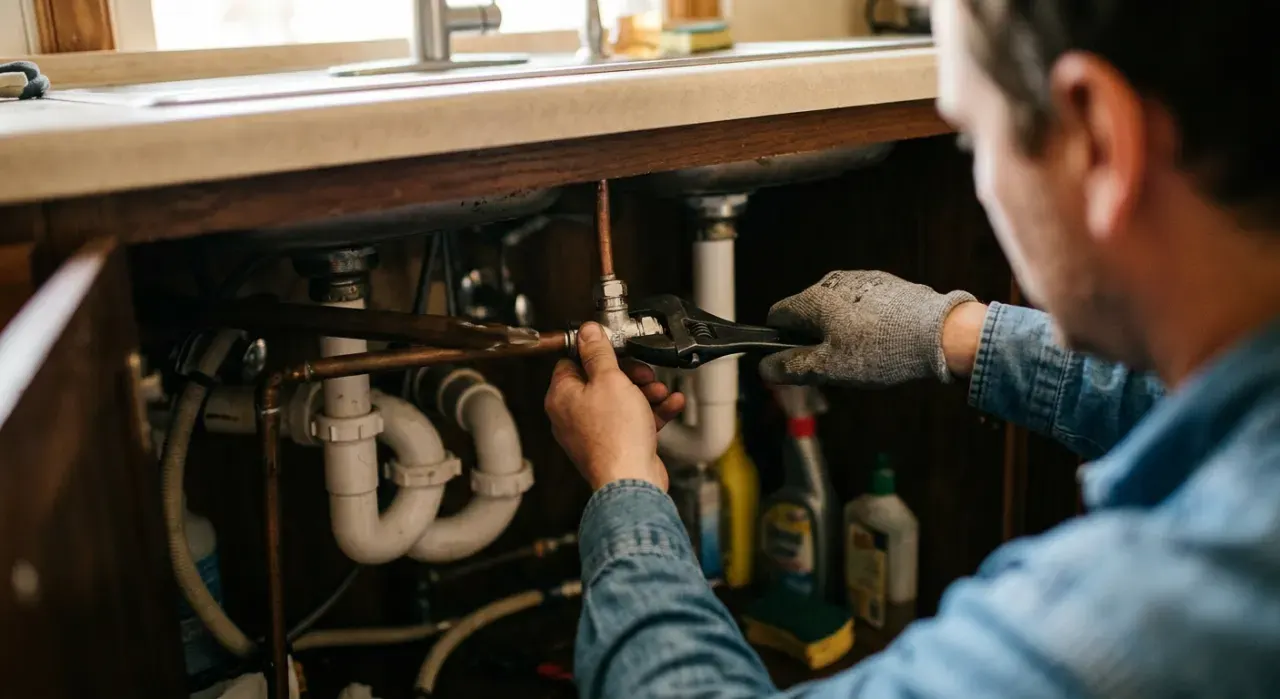
- The strap or spanner wrench that came with the system. Housing wrenches are model-specific; a generic strap wrench works but a pipe wrench will crack the sump.
- Food-grade silicone grease. Not petroleum jelly, which degrades rubber, and not plumber's grease unless it is rated for potable water. A small tube lasts years.
- A bucket and old towels. A Big Blue sump holds most of a gallon and it goes on the floor.
- A permanent marker to write the date on the new cartridge or the housing.
- Nitrile gloves — a spent cartridge is unpleasant and the sludge stains.
If you are choosing a micron rating rather than replacing like for like, best sediment filter explains what 1, 5, 20 and 50 micron each actually catch and why fitting the finest one you can buy is usually a mistake.
The Step Sequence
- Close the inlet valve. Most systems have isolation valves either side of the housing, or a three-valve bypass. If yours has neither, shut off the main — and note that fitting isolation valves is a worthwhile upgrade next time the wall is open.
- Relieve the pressure. Press and hold the red relief button on top of the filter head until air hisses and stops. No button? Close the outlet valve too and open a cold faucet downstream until it stops running. Do not skip this. A pressurized sump will not turn, and when it does move it sprays.
- Put the bucket under the housing and lay towels around it. Water will come out; the question is only how much.
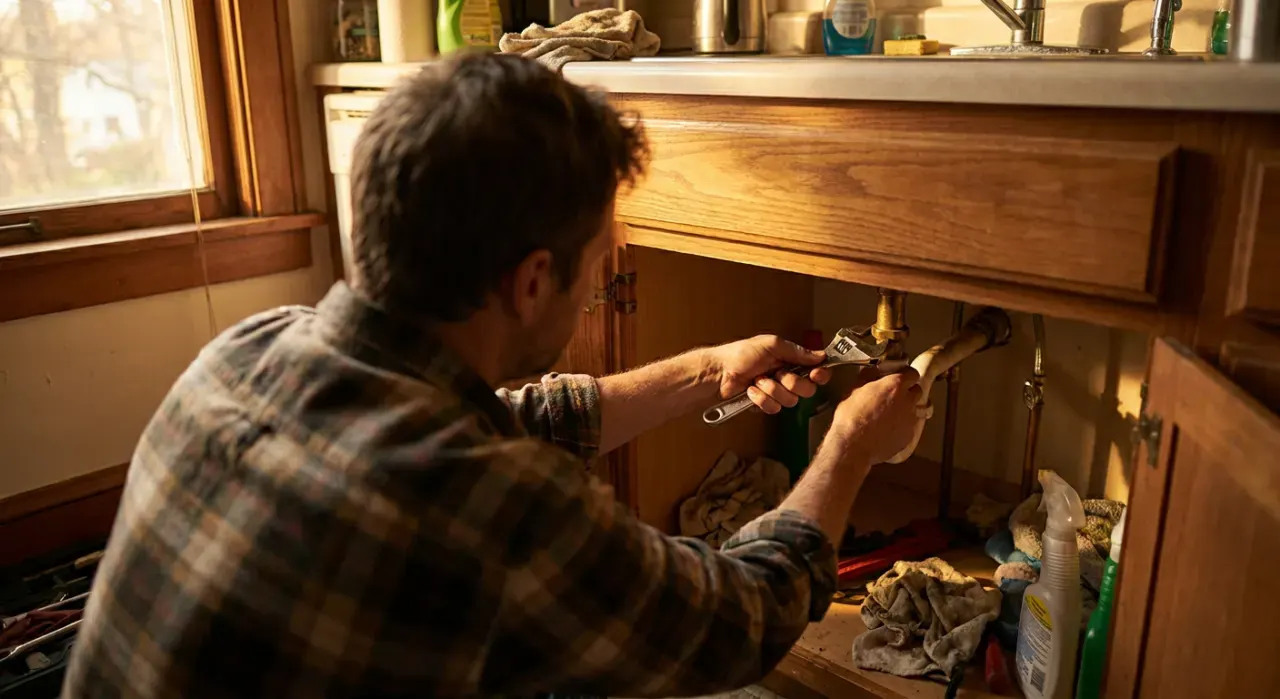
- Unscrew the sump counterclockwise as you look up at it from below. Seat the wrench squarely and use steady force rather than a jerk. If it will not budge, check the pressure is truly relieved before applying more muscle.
- Lower the sump carefully — it is heavy and full — and tip the water into the bucket. Lift the old cartridge off the standpipe and bag it.
- Wash the sump. Warm water and dish soap, a bottle brush, and a rinse. For a housing that has been in service a while, a tablespoon of unscented household bleach in a full sump for a couple of minutes sanitizes it — rinse thoroughly afterward.
- Deal with the O-ring properly. This is the step that decides whether it leaks. Find the large O-ring in the groove at the top of the sump. Confirm there is exactly one — a stuck old ring hiding under a new one is a classic cause of a slow drip. Wipe the groove clean, run a thin film of food-grade silicone grease around the ring, and seat it evenly all the way round with no twists.
- Fit the new cartridge. Slide it down onto the standpipe and make sure it sits fully home. Some cartridges have a specific orientation — an arrow, or a gasket only at one end. Look before you drop it in.
- Thread the sump back on by hand until it stops. Hand-tight plus a modest pull on the wrench is correct. Overtightening distorts the O-ring, and on a plastic sump it cracks the threads — that is a flood, not a drip.
- Reopen the inlet slowly. A quarter turn, wait, listen for the housing filling, then open the rest of the way over several seconds. Opening fast slams the cartridge with a pressure surge and can collapse a pleated element.
- Purge the air. Open a cold faucet downstream — the utility sink or an outside spigot is ideal — and let it spit and cough until it runs smooth. Then keep it running for five to ten minutes to flush loose carbon fines, which come out as harmless black specks and gray water.
- Check for leaks now and again in an hour. Dry the housing with a towel and lay a sheet of paper towel underneath. A slow weep that is invisible while you watch will be obvious on paper by dinner.
- Write the date on the housing with the marker. You will not remember, and the next person to own the house certainly will not.
The Mistakes That Cause Callbacks
Not relieving the pressure. The single most common cause of a soaked utility room. Closing the inlet does not empty the housing.
The dry O-ring. A dry ring drags as the sump turns, rolls out of its groove and pinches. Grease is not optional; it is what lets the ring slide into place and seal evenly.
Two O-rings. When the old ring stays stuck in the groove and the new one goes on top, the seal looks fine and weeps within a day. Always account for the old one.
Overtightening. People reach for the wrench because it leaked last time, and the extra force is what caused the leak. Hand-tight plus a nudge.
No support bracket. A full Big Blue housing weighs a lot, and a system hanging on the pipework alone stresses the fittings until something gives. The mounting bracket exists for a reason — screw it to a stud.
The wrong micron rating. Fitting a 1 micron cartridge where a 5 micron was specified drops your house pressure and clogs the cartridge in a month. Finer is not better; it is a trade against flow.
Skipping the flush. New carbon sheds fines. Run the water until it is clear, or the first person to fill a glass gets black specks and blames the filter.
When to Stop and Call a Plumber
A cartridge swap is homeowner work. These are not:
- The housing head is leaking where it joins the pipework, or the threads on the head are damaged. That is a plumbing repair, not a cartridge change.
- There is no shut-off anywhere and the main valve does not close properly. A seized main shut-off is a genuine emergency waiting to happen — get it replaced before you need it.
- The sump is cracked or the plastic has gone chalky and brittle. Replace the housing rather than risk it failing under pressure with nobody home.
- You are adding a system rather than servicing one. Cutting into the main, and any change to how the system connects to a drain, is governed by local plumbing code and codes vary by jurisdiction. Check with your local building department before you cut.
The Short Version
Close the inlet, relieve the pressure, bucket underneath, unscrew counterclockwise. Wash the sump, find the O-ring, confirm there is only one, grease it and reseat it. Drop the new cartridge on the standpipe the right way up, hand-tighten the sump plus a nudge, reopen the inlet slowly, and run a cold faucet for five to ten minutes to purge air and carbon fines. Date the housing, lay a paper towel under it, and check again in an hour. Twenty minutes, one wrench, and the only real skill involved is respecting the O-ring.
More from this hub: DIY plumbing · best whole house water filter · best sediment filter · how often to change a water filter · how to install an under sink water filter · how we rank.