 Garden
Affiliate Disclosure
Some links on this page are affiliate links. As an Amazon Associate, we earn from qualifying purchases — at no extra cost to you. We do not buy, test, or physically handle the products we cover; our rankings come from aggregated owner reviews, ratings and expert consensus. Commissions never change our verdicts. How we rank · full disclosure.
Replacing an under-sink shut-off valve is a DIY job on copper or PEX — about 30 minutes, $8 to $20 for the valve, no permit — as long as the old valve is compression or push-fit, not soldered. You shut off the main, drain the line, remove the old valve, and fit a new quarter-turn compression or push-fit valve. Push-fit valves need no tools and are the easiest choice. The job crosses into plumber territory when the existing valve is sweated (soldered) onto copper or sits on old galvanized steel pipe that may crumble.
We never buy, test or physically handle the products we rank; recommendations come from aggregated owner reviews and expert consensus, described in how we rank. More at the DIY plumbing hub.
First, identify the valve and pipe type
Look at how the old valve attaches. A compression valve has a nut and a small brass ring where it meets the copper pipe. A soldered valve is fused directly to the copper with no nut — that one needs a plumber or a torch. Check the pipe too: bright copper or flexible PEX is DIY-friendly; dull gray galvanized steel with threaded fittings is old and often too corroded to work safely without a plumber.
Tools and materials
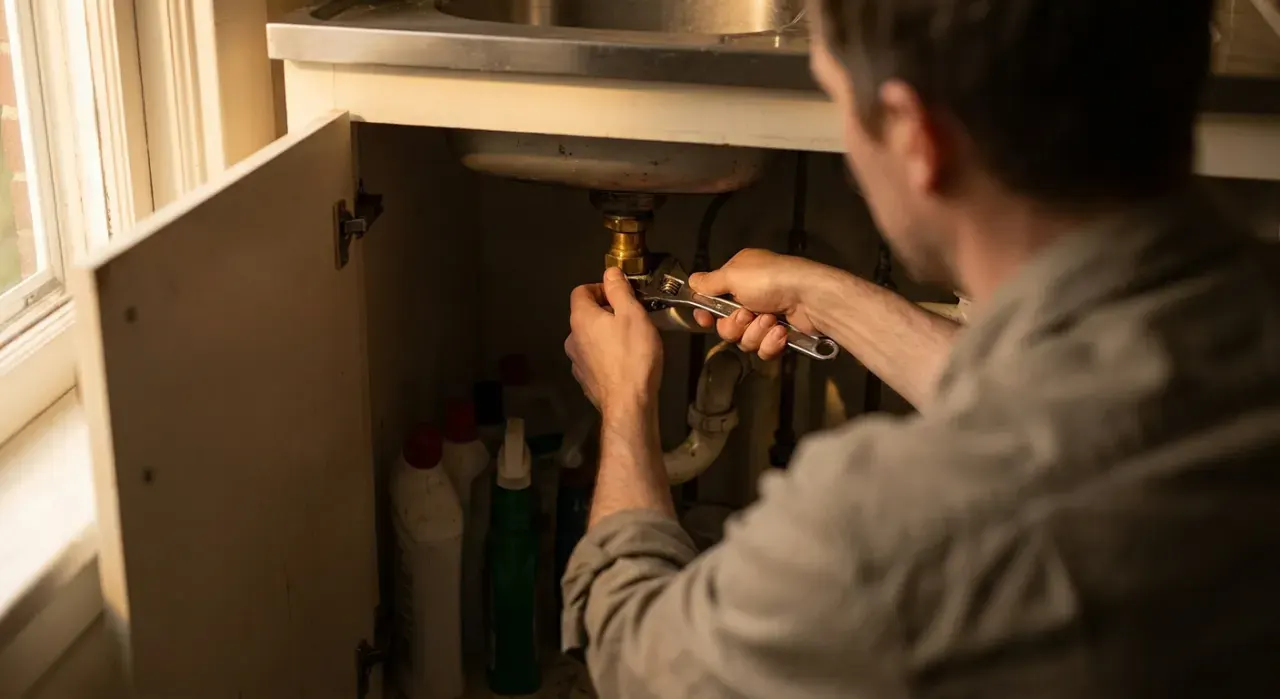
- A new quarter-turn shut-off valve — push-fit for the easiest install, or compression.
- Two adjustable wrenches (to hold the valve and turn the nut), a tubing cutter (if trimming copper), and a deburring tool.
- A bucket, towels, and a rag. Basic hand tools — see best plumbing tools.
Step 1: Shut off the main and drain
Close the main water shut-off for the house (or the branch that feeds this fixture). Open the fixture's faucet and a faucet lower in the house to drain the lines. Keep a bucket under the valve — residual water remains in the pipe. Confirm the flow has stopped before you touch the old valve.
Step 2: Remove the old valve
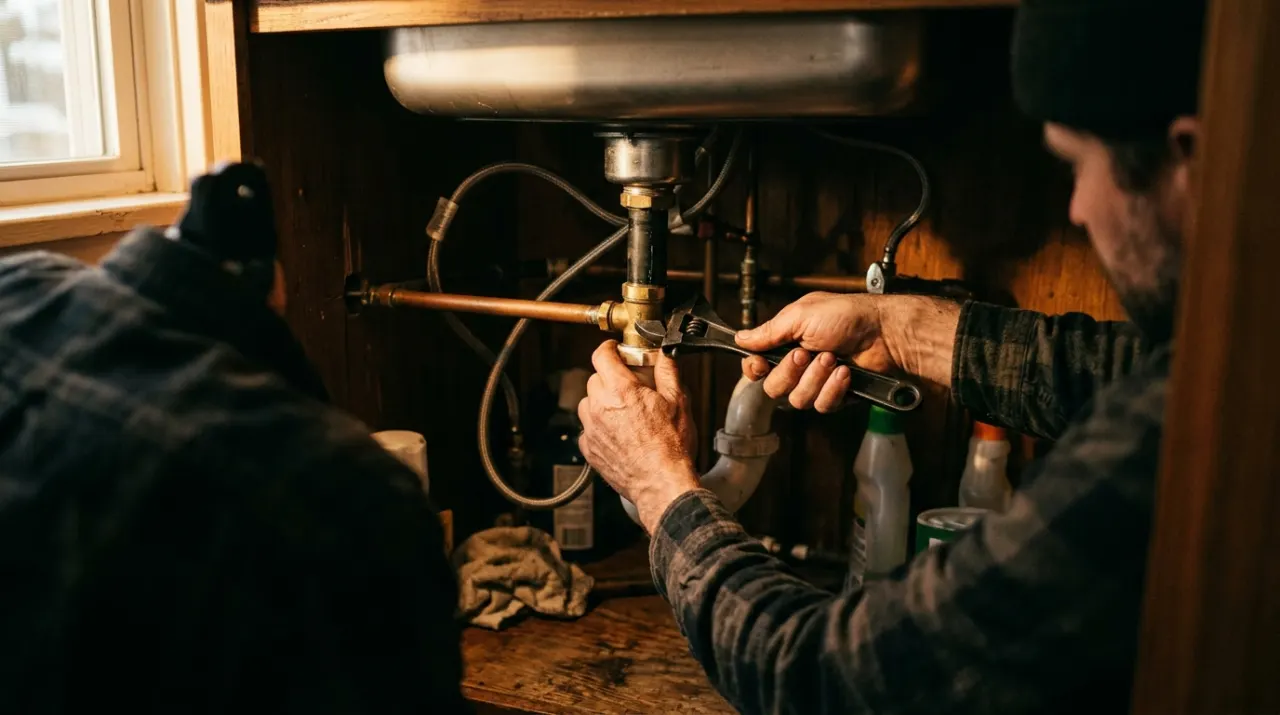
For a compression valve, hold the valve body with one wrench and loosen the compression nut with another, then slide the valve and the old ferring off the pipe (a puller or a careful cut helps if the ring is stuck). For a push-fit valve, use the release tool. Wipe the pipe end clean. If the pipe end is damaged, cut it back square with a tubing cutter and deburr the inside and outside edges — a burr will nick the O-ring on a push-fit valve.
Step 3: Install the new valve
For a push-fit valve, mark the insertion depth on the pipe, then push the valve straight on until it bottoms out at that mark — that is the entire install. For a compression valve, slide the new nut and ferring onto the pipe, seat the valve, and tighten the nut hand-tight, then about one full turn past with a wrench while holding the valve steady. Point the valve outlet toward where the supply line will run.
Step 4: Reconnect the supply line and test
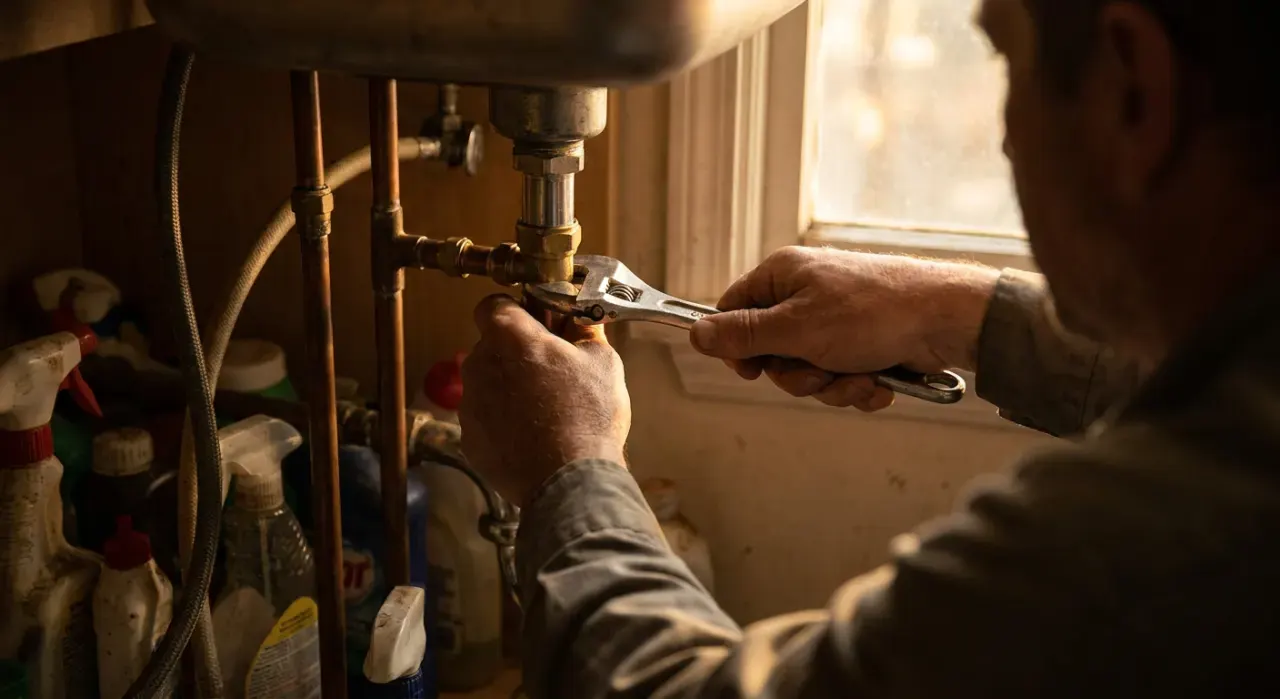
Connect the fixture's supply line to the new valve outlet — hand-tight plus a quarter turn. Turn the main water back on slowly and immediately check the new valve joint and the supply connection for leaks. Open and close the new quarter-turn valve to confirm it seats fully. A compression joint that weeps needs a small additional nudge, not a hard crank.
Common mistakes
- Not shutting the main and getting full house pressure when the valve comes off.
- Overtightening a compression nut, deforming the ferring and causing a leak.
- Leaving a burr on a cut pipe, which nicks a push-fit O-ring.
- Trying to remove a soldered valve with hand tools — that needs a torch or a plumber.
When to call a plumber
Call a plumber if the existing valve is soldered to the copper (open-flame work in a cabinet is a fire risk and a skill), if the supply pipe is old galvanized steel that may crumble or shear when you work it, or if there is no working main shut-off to isolate the line. Replacing a section of galvanized pipe or the main stop is licensed work in many jurisdictions and can require a permit. A simple compression or push-fit swap on copper or PEX does not.
Related: how to replace a toilet supply line, how to replace a kitchen faucet, and how to thaw frozen pipes — knowing your shut-offs matters most in a freeze.