 Garden
Affiliate Disclosure
Some links on this page are affiliate links. As an Amazon Associate, we earn from qualifying purchases — at no extra cost to you. We do not buy, test, or physically handle the products we cover; our rankings come from aggregated owner reviews, ratings and expert consensus. Commissions never change our verdicts. How we rank · full disclosure.
Replacing a kitchen faucet is a genuine DIY job for almost anyone — plan on 60 to 90 minutes, about $80 to $300 for the faucet itself, and no permit. You never touch the pipes in the wall; you only disconnect two flexible supply lines and the mounting nuts under the sink. The single tool that makes it possible is a basin wrench, whose swiveling head reaches the nuts a normal wrench cannot. The job only crosses into plumber territory if a shutoff valve is seized or corroded solid — otherwise, this is a Saturday-morning task.
We never buy, test or physically handle the products we rank; recommendations come from aggregated owner reviews and expert consensus, described in how we rank. More at the DIY plumbing hub.
Tools and materials
Most of what you need is in a basic homeowner kit. The one purchase worth making is a basin wrench.
- Basin wrench — non-negotiable for reaching the mounting nuts at the back of the sink.
- Adjustable wrench and channel-lock pliers — for supply-line and mounting nuts. See our best plumbing tools picks for the eight that cover almost every household repair.
- New braided stainless-steel supply lines — replace the old ones while you are in there.
- PTFE thread tape, a bucket, towels, a headlamp, and a putty knife.
- The faucet itself. If you are shopping, our best kitchen faucet guide ranks pull-down models by owner-reported valve quality and finish durability.
Step 1: Shut off the water and clear the cabinet
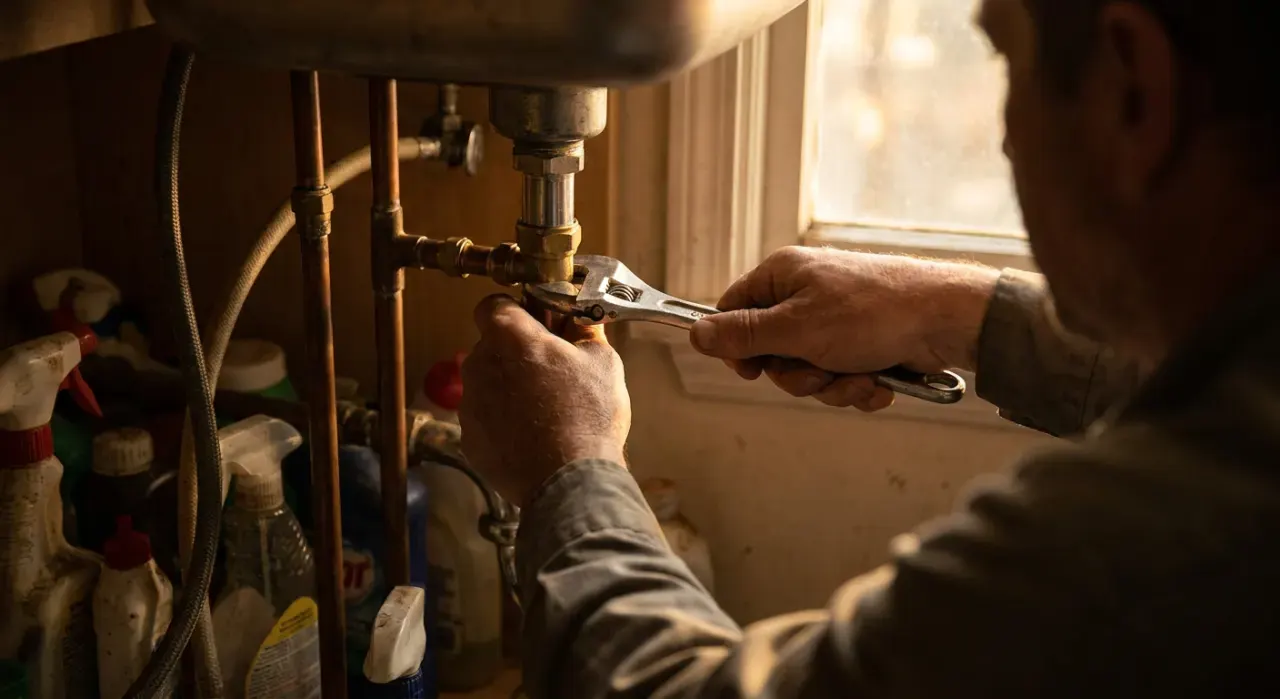
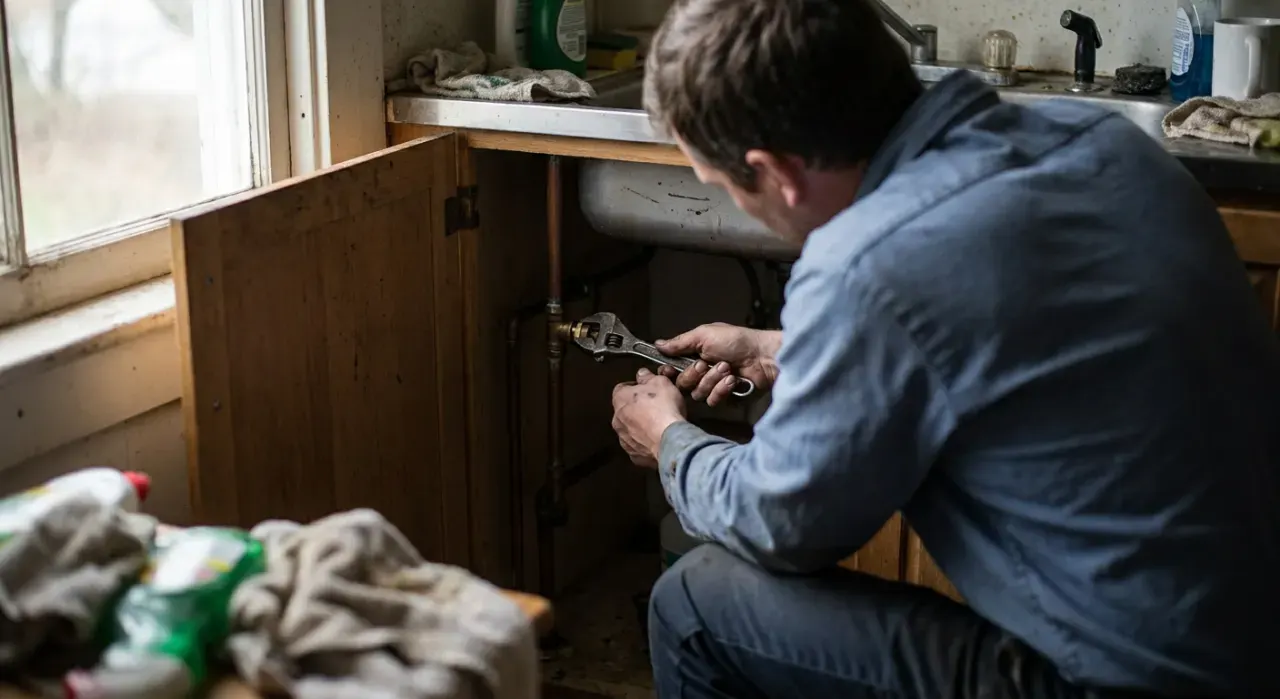
Reach under the sink and close both shutoff valves — turn clockwise until they stop. Open the faucet to release pressure and confirm the water is truly off; a trickle means a valve is not fully seating, in which case shut the main. Clear everything out of the cabinet so you can lie on your back with a light. Put a towel and a shallow bucket under the connections to catch the cupful of water still in the lines.
Step 2: Disconnect the supply lines and sprayer
With the adjustable wrench, loosen the coupling nuts where the supply lines meet the shutoff valves. Hold the valve body steady with a second wrench so you do not twist it and crack the seal at the wall. If your faucet has a pull-down sprayer, disconnect the quick-connect hose from the supply line inside the cabinet. Note which line is hot (left) and which is cold (right).
Step 3: Remove the old faucet
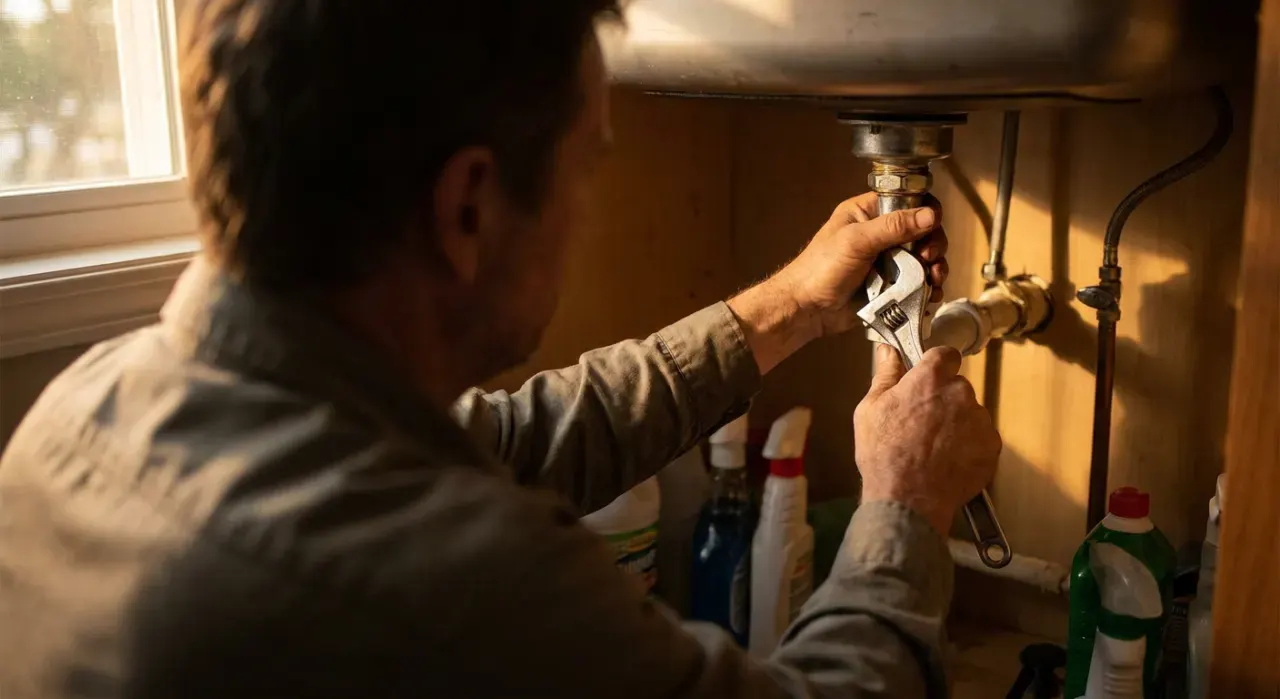
Slide the basin wrench up to the mounting nuts that clamp the faucet to the sink deck — usually one per tailpiece. Turn counterclockwise. Decades-old nuts may be corroded; a squirt of penetrating oil and ten minutes of patience beats forcing them. Once the nuts are off, lift the faucet out from the top and scrape the old gasket, putty or silicone off the sink deck with a putty knife until it is clean and dry.
Step 4: Set and secure the new faucet
Feed the new faucet's supply lines and any sprayer hose down through the mounting hole, seat its base gasket, and hold it square to the sink edge. Underneath, thread on the mounting hardware and snug it by hand, then tighten with the basin wrench — firm, not gorilla-tight. Overtightening a plastic mounting nut cracks it; you want the faucet to not rotate, and no more. Check from above that the faucet is centered and straight before final tightening.
Step 5: Connect supply lines and test
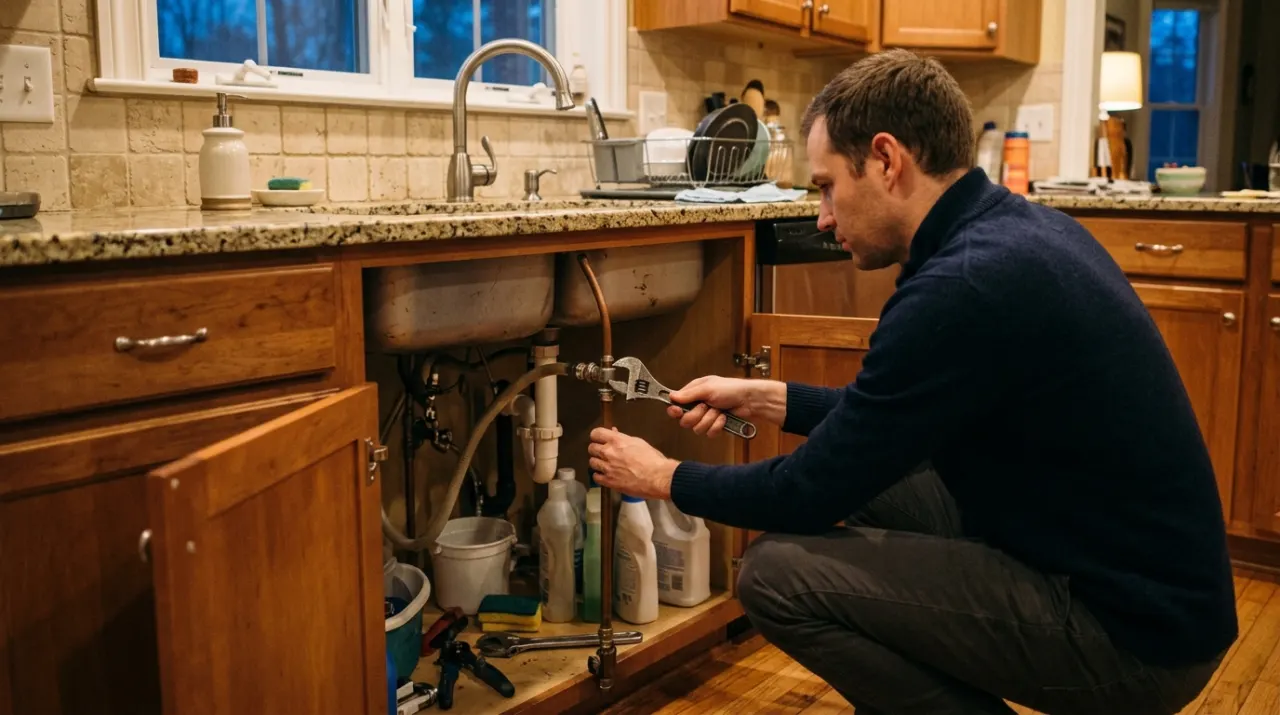
Wrap the male threads on the shutoff valves with three to four turns of PTFE tape in the direction the nut threads on. Connect the new braided supply lines — hot to hot, cold to cold — hand-tight, then a quarter to half turn with the wrench. That is all a rubber-gasketed braided line needs; more crushes the gasket. Reconnect the sprayer hose weight if there is one. Open the shutoff valves slowly, then run the faucet for a full minute while you feel every connection with a dry finger and watch for weeping. Check again after the first day of use.
Common mistakes that cause leaks
- Overtightening supply connections. The number-one call-back. Braided lines seal on rubber; crank them and you deform the gasket. Quarter turn past hand-tight.
- Reusing old, brittle supply lines. False economy — replace them.
- Skipping the deck gasket or misusing putty. Water pooling around the base seeps into the cabinet. Use the gasket the faucet supplies; only use plumber's putty if the instructions call for it.
- Not verifying the water is fully off, then getting a faceful when the line comes loose.
When to call a plumber
Most of this is DIY, but stop and call a pro if a shutoff valve is frozen solid or weeping and will not close, if the copper supply stub at the wall is corroded and you would need to solder or add a valve, or if the old faucet is seized to the sink by rust to the point of risking a cracked sink. Replacing a shutoff valve on a live line is a step up — our guide to replacing a shut-off valve covers it, but if the pipe is old galvanized steel, that is a plumber's job. Faucet swaps need no permit anywhere in the US; anything that alters the supply piping in the wall may.
Related reading: how to replace a bathroom faucet, how to replace a sink sprayer hose, and how to fix a leaky faucet if a swap is not yet necessary.