 Garden
Affiliate Disclosure
Some links on this page are affiliate links. As an Amazon Associate, we earn from qualifying purchases — at no extra cost to you. We do not buy, test, or physically handle the products we cover; our rankings come from aggregated owner reviews, ratings and expert consensus. Commissions never change our verdicts. How we rank · full disclosure.
Fixing a dripping faucet is a beginner repair — 30 to 45 minutes, usually under $15 in parts, no permit and no plumber. A drip means a worn internal part: a cartridge and O-rings on modern single-handle faucets, or a rubber seat washer on old two-handle compression faucets. Identify your type, shut off the water, pull the guts, replace the worn parts and reassemble. It only becomes a bigger job if the valve seat itself is pitted or replacement parts for an old model are gone — then a new faucet may be the smarter call.
We never buy, test or physically handle the products we rank; recommendations come from aggregated owner reviews and expert consensus, described in how we rank. More at the DIY plumbing hub.
Step 1: Identify your faucet type
The repair depends entirely on the mechanism inside:
- Cartridge — a single handle (or two) with a smooth lift/turn action and a straight cylindrical cartridge inside. Most common today.
- Ceramic disc — a single handle over a wide cylinder; very durable, rarely drips, but the seals or the cartridge can wear.
- Ball — a single handle over a rounded cap, common on older kitchen faucets. Leaks from worn springs and rubber seats.
- Compression — two handles you tighten firmly to shut off. The oldest type; the culprit is the rubber seat washer.
Tools and materials
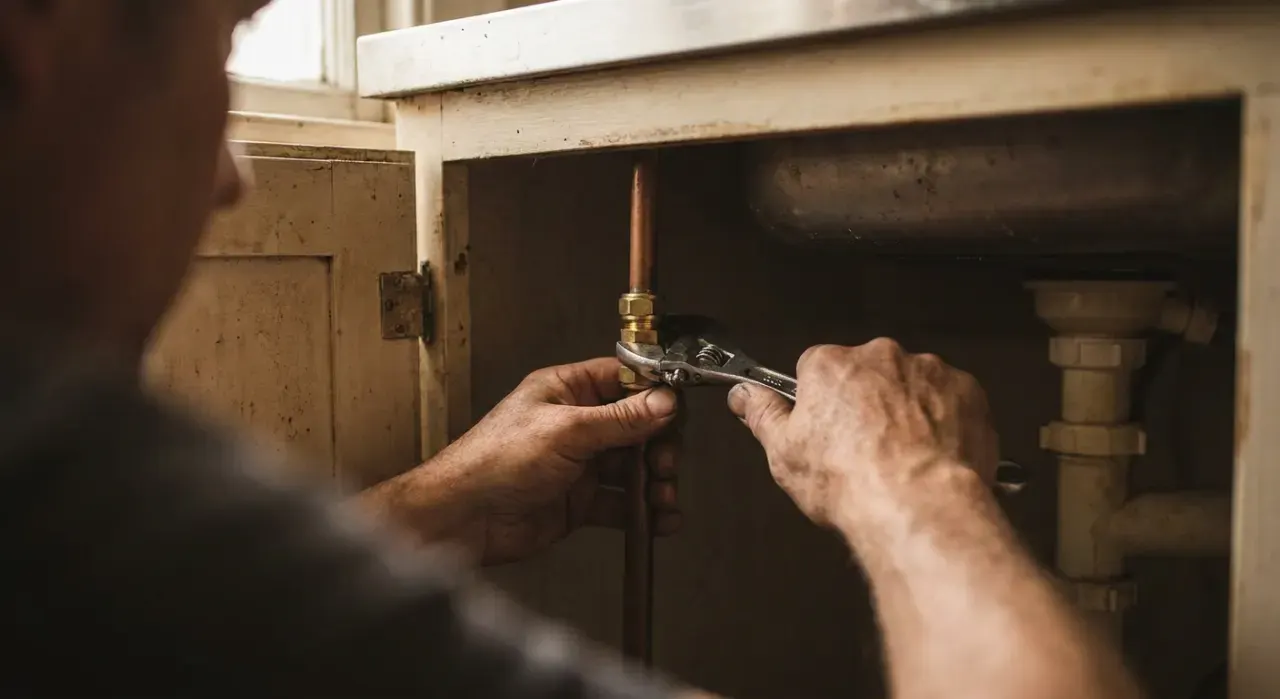
- The correct repair kit or cartridge for your faucet's brand — take the old part to the store to match it exactly.
- Allen wrenches (for the handle setscrew), a Phillips screwdriver, adjustable pliers, and a cartridge-puller if the cartridge is stuck.
- Plumber's grease for O-rings, white vinegar for descaling, a rag, and a small container for parts.
- Basic hand tools — see best plumbing tools.
Step 2: Shut off the water and remove the handle
Close both shutoff valves under the sink, open the faucet to drain it, and close the drain stopper so a dropped screw cannot escape. Pry off the decorative cap on the handle to expose the setscrew, back it out with the right Allen key or screwdriver, and lift the handle off. Under it you will find a retaining nut or clip.
Step 3: Replace the worn parts
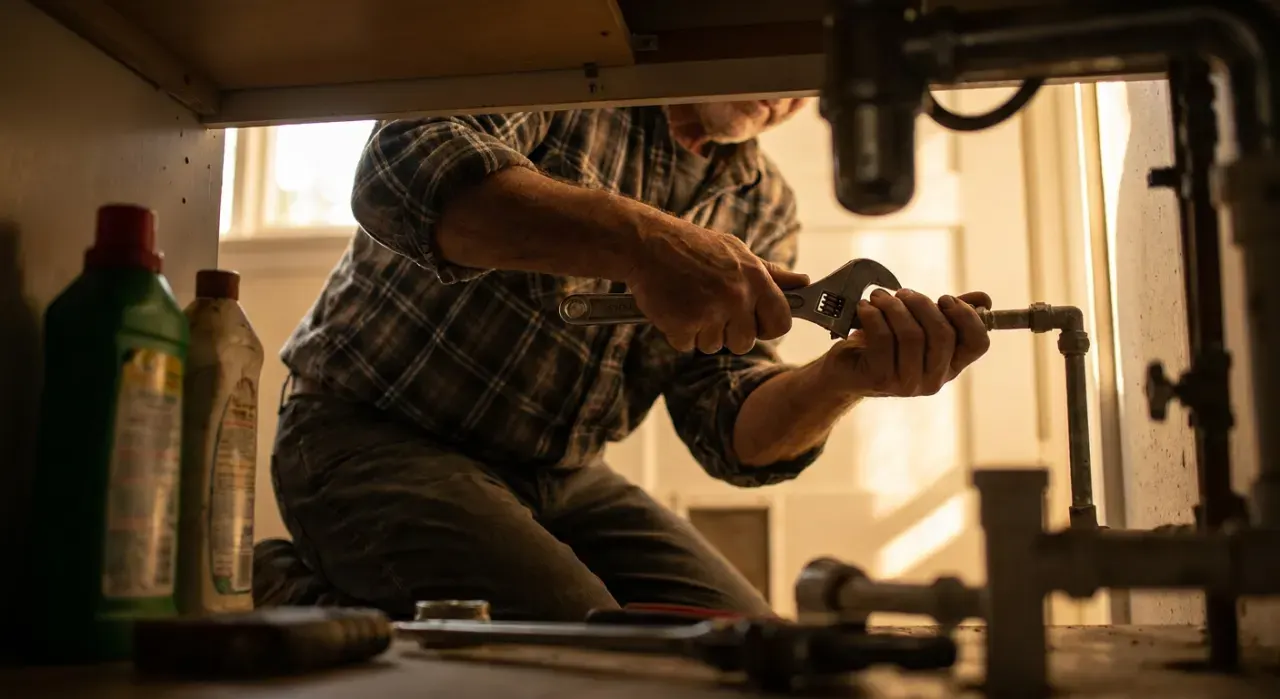
For a cartridge faucet, remove the retaining clip or nut with pliers, then pull the cartridge straight up (a cartridge puller helps if it is scaled in). Note its orientation — many are keyed, and installing one a half-turn off reverses hot and cold or causes a drip. Slide the new cartridge in the same way, lubricating its O-rings with plumber's grease. For a compression faucet, unscrew the stem, remove the brass screw at the bottom holding the seat washer, and replace the washer (and the O-ring on the stem); if the drip persists, the brass valve seat is pitted — dress or replace it with a seat wrench. For a ball faucet, replace the springs, rubber seats, cam and ball from the brand's repair kit.
Step 4: Reassemble and test
Reinstall the retaining nut or clip, seat the handle, and tighten the setscrew. Open the shutoff valves slowly — a sudden surge can dislodge a fresh O-ring. Run both hot and cold, check that the drip is gone, and confirm hot and cold are on the correct sides. Feel under the sink for any weeping at the base. If it still drips from the spout, the valve seat or an O-ring is the remaining suspect.
Common mistakes
- Not shutting off the water first. The one step that soaks the cabinet if skipped.
- Buying a generic cartridge instead of matching the exact brand and model.
- Installing a keyed cartridge misaligned, reversing hot and cold or leaving a drip.
- Ignoring a pitted valve seat on a compression faucet and blaming the new washer.
- Turning the water back on fast and blowing out the new seal.
When to call a plumber
This is squarely DIY, but call a plumber if a shutoff valve will not close or is corroded, if the faucet body itself is cracked, or if you have replaced every internal part and it still leaks — a sign the valve seat or body is beyond repair and the faucet should be replaced. There is no permit involved in a faucet repair. If parts are no longer made for your model, a full faucet replacement is often the better value.
Related: how to replace a kitchen faucet, how to replace a bathroom faucet, and what psi home water pressure should be — high pressure shortens the life of every washer and O-ring in the house.