 Garden
Affiliate Disclosure
Some links on this page are affiliate links. As an Amazon Associate, we earn from qualifying purchases — at no extra cost to you. We do not buy, test, or physically handle the products we cover; our rankings come from aggregated owner reviews, ratings and expert consensus. Commissions never change our verdicts. How we rank · full disclosure.
Replacing a bathroom faucet is a beginner DIY job — about an hour, $50 to $250 for the faucet, no permit and no plumber. You shut off the water, disconnect the two supply lines and the pop-up drain linkage, undo the mounting nuts and reverse the process with the new faucet. A basin wrench reaches the nuts a normal wrench cannot. The one extra step over a kitchen swap is the pop-up drain assembly, which is still hand-tool work. It only needs a pro if a shutoff valve is seized.
We never buy, test or physically handle the products we rank; recommendations come from aggregated owner reviews and expert consensus, described in how we rank. More at the DIY plumbing hub.
Tools and materials
- A basin wrench — the key tool for the mounting nuts under a tight vanity.
- Adjustable wrench, channel-lock pliers, a bucket, towels and a headlamp.
- New braided supply lines, PTFE tape, plumber's putty or silicone for the pop-up drain.
- The new faucet (match your sink's hole configuration). More tools in best plumbing tools.
Step 1: Shut off and disconnect
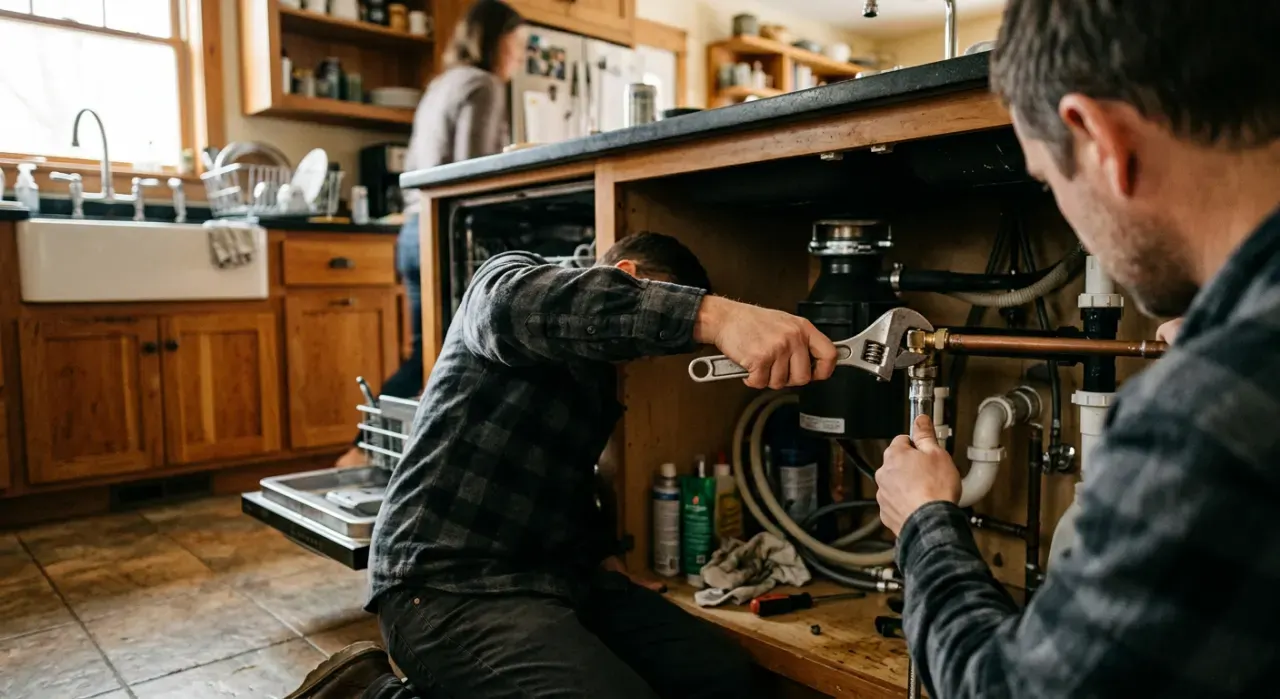
Close both shutoff valves under the vanity, open the faucet to relieve pressure, and put a bucket under the connections. Disconnect the supply lines from the shutoffs, holding the valve body steady with a second wrench. Note hot (left) and cold (right).
Step 2: Disconnect the pop-up drain
Behind the drain tailpiece, unscrew the pivot-rod nut and pull the horizontal pivot rod out so the stopper releases. Disconnect the lift rod that runs down behind the faucet. If you are replacing the pop-up (recommended), also unthread the drain body from the tailpiece under the sink now.
Step 3: Remove the old faucet
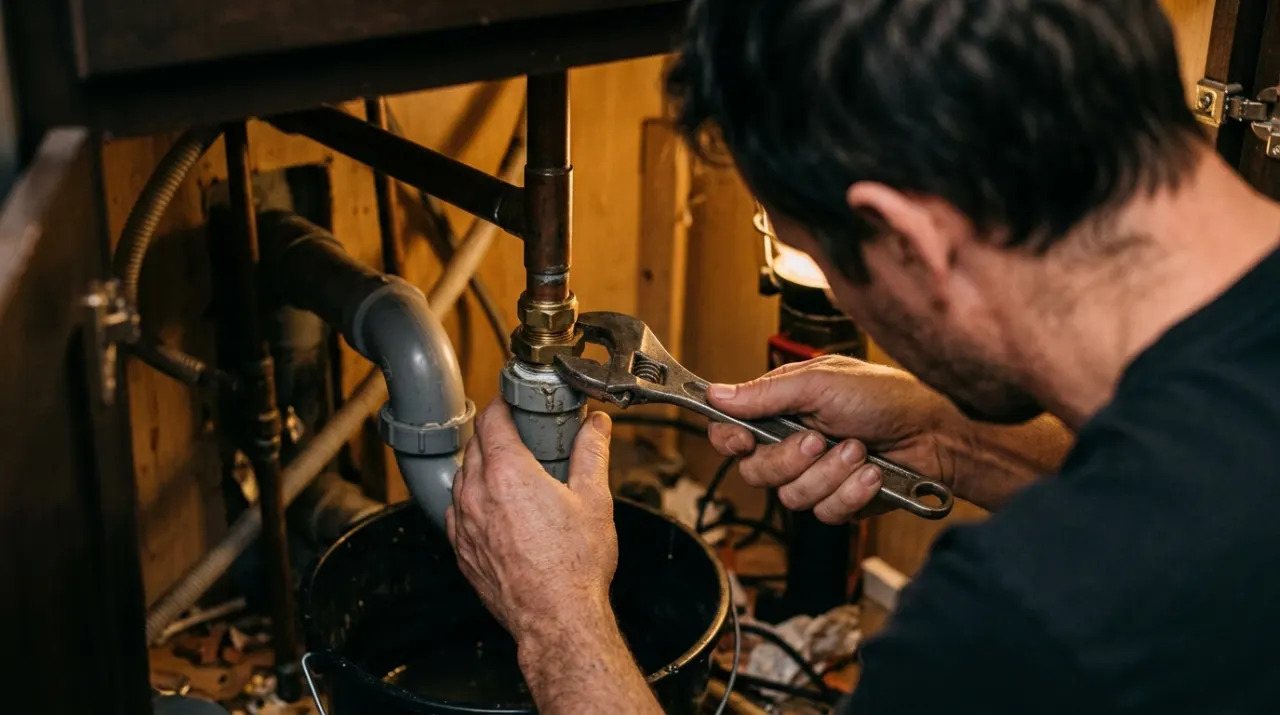
Use the basin wrench to loosen the mounting nuts that clamp the faucet tailpieces to the sink deck. Penetrating oil helps a corroded nut. Once free, lift the faucet out from above and scrape the old gasket, putty or silicone off the sink deck until it is clean and dry.
Step 4: Set the new faucet and pop-up drain
Feed the new faucet's tailpieces and supply lines down through the holes, seat its base gasket, hold it square, and tighten the mounting nuts underneath with the basin wrench — firm, not gorilla-tight, so you do not crack a plastic nut. Then set the new pop-up drain: run a rope of plumber's putty (or a bead of silicone) under the drain flange, drop it into the sink hole, tighten the locknut and gasket underneath, and connect the pivot rod and lift rod so the stopper rises and falls.
Step 5: Connect supply lines and test
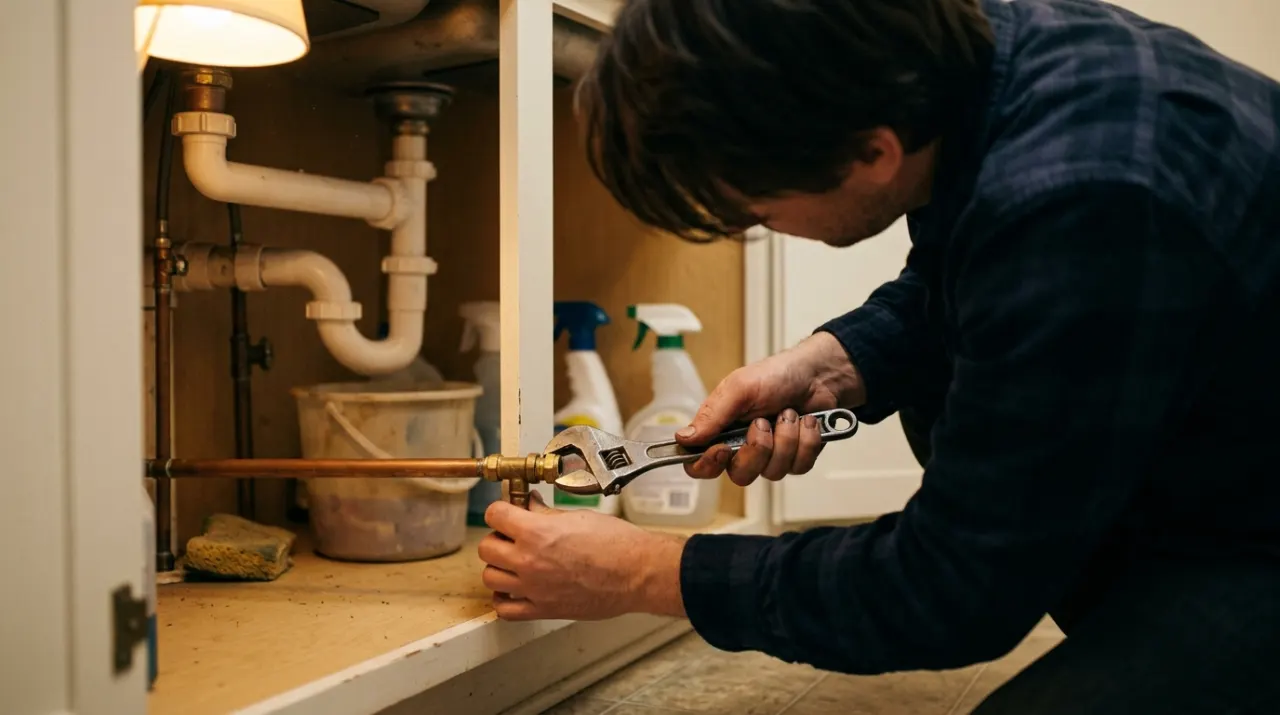
Wrap the shutoff threads with three to four turns of PTFE tape, connect the new braided supply lines hot-to-hot and cold-to-cold, hand-tight plus a quarter to half turn. Open the shutoffs slowly and run the faucet for a full minute, checking every connection and the drain body with a dry finger. Fill and drain the sink to test the pop-up seal. Check again after a day.
Common mistakes
- Overtightening supply connections and deforming the gasket — quarter turn past hand-tight.
- Thin putty under the pop-up flange, causing a slow drain leak.
- Reusing brittle old supply lines.
- Skipping the deck gasket, so water pools around the faucet base and drips into the vanity.
When to call a plumber
Call a pro if a shutoff valve is seized or weeping and will not close, if the supply stub at the wall is corroded and needs a new valve soldered on, or if the old faucet is rusted solid to a fragile sink. Faucet swaps need no permit; altering the supply piping in the wall may. Replacing an old multi-turn stop with a quarter-turn valve is a reasonable DIY step on copper — see how to replace a water shut-off valve — but old galvanized pipe is a plumber's job.
Related: how to replace a kitchen faucet, how to fix a leaky faucet, and how to install a pedestal sink.