 Garden
Affiliate Disclosure
Some links on this page are affiliate links. As an Amazon Associate, we earn from qualifying purchases — at no extra cost to you. We do not buy, test, or physically handle the products we cover; our rankings come from aggregated owner reviews, ratings and expert consensus. Commissions never change our verdicts. How we rank · full disclosure.
Installing a pedestal sink is a half-day DIY job with one real catch — the basin bolts to the wall and needs solid blocking behind the drywall to anchor into. With blocking present, you mount the faucet and drain on the basin, set the pedestal, bolt the sink to the wall, and connect the supply lines and P-trap. Budget 3 to 5 hours and $100 to $400. It crosses into pro territory if the wall is closed with no blocking and you must open it, or if the supply and drain rough-in is not already in the right place.
We never buy, test or physically handle the products we rank; recommendations come from aggregated owner reviews and expert consensus, described in how we rank. More at the DIY plumbing hub.
Tools and materials
- The pedestal sink, faucet, and a P-trap kit and braided supply lines.
- A drill, a level, a stud finder, lag bolts or rated toggle anchors, and shims.
- A basin wrench, adjustable wrench, channel-lock pliers, plumber's putty, PTFE tape, and silicone caulk.
- Basic hand tools — see best plumbing tools; a helper for positioning.
Step 1: Confirm or add wall blocking
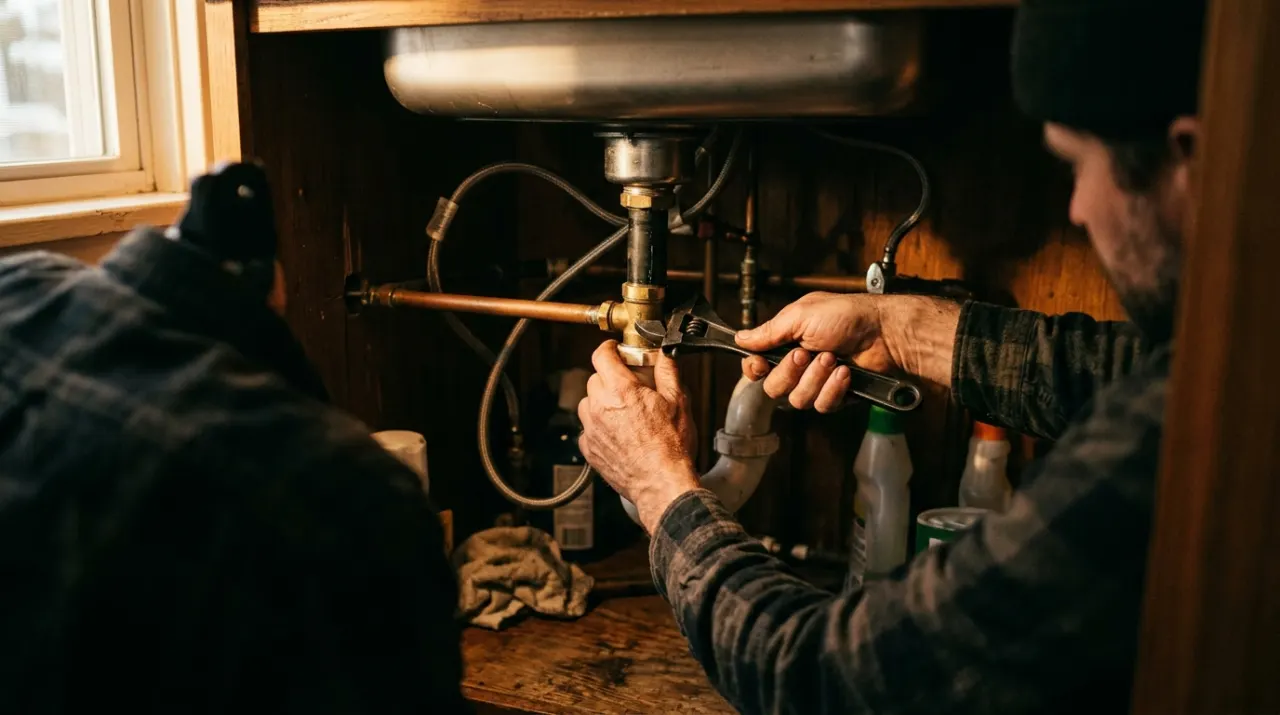
Locate the studs and check for solid blocking behind the drywall at the mounting height. If you are building or the wall is open, fasten a horizontal 2x8 or 2x10 brace between the studs. If the wall is finished with no blocking, either open a section to add the brace or plan to use heavy-duty rated toggle bolts for a light basin. This anchoring is what keeps the sink from pulling off the wall, so do not skip it.
Step 2: Mount the faucet and drain on the basin
With the basin on a padded surface, install the faucet — feed it through the deck holes, seat the gasket, and tighten the mounting nuts with a basin wrench. Fit the drain assembly (pop-up or strainer) with plumber's putty under the flange and tighten the locknut. Doing this now, before the sink is on the wall, saves you fighting the cramped space later.
Step 3: Dry-fit and mark the mounting height
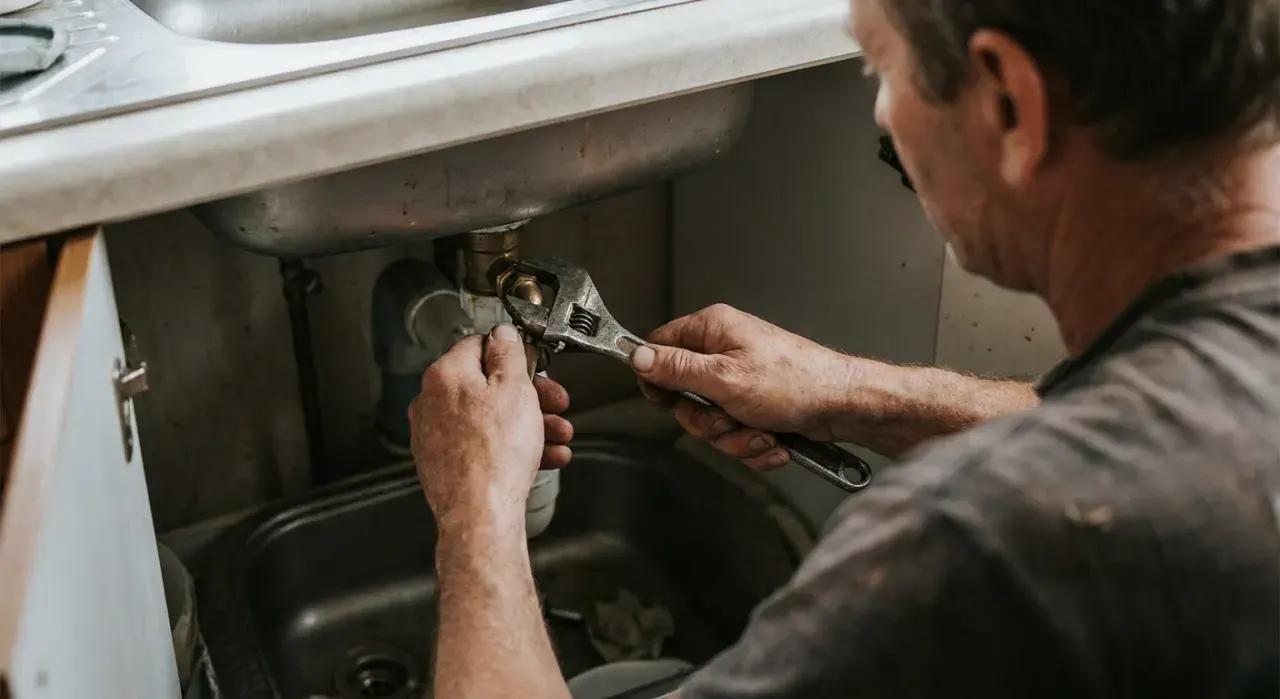
Set the pedestal on the floor and rest the basin on it, positioning it against the wall over the plumbing rough-in. Check that the rim sits at a comfortable 31 to 36 inches and that the basin is level. Mark the wall bolt holes and the pedestal position, then set the assembly aside.
Step 4: Set the pedestal and anchor the basin
Shim the pedestal so it sits level and does not rock on the floor. Set the basin on the pedestal, align the bolt holes with your marks, and drive lag bolts (or rated toggles) through the basin's mounting holes into the blocking — snug and even, enough to hold firm without over-stressing the china. Bolt the basin to the pedestal if the design calls for it. The sink should feel rock-solid.
Step 5: Connect the plumbing and test
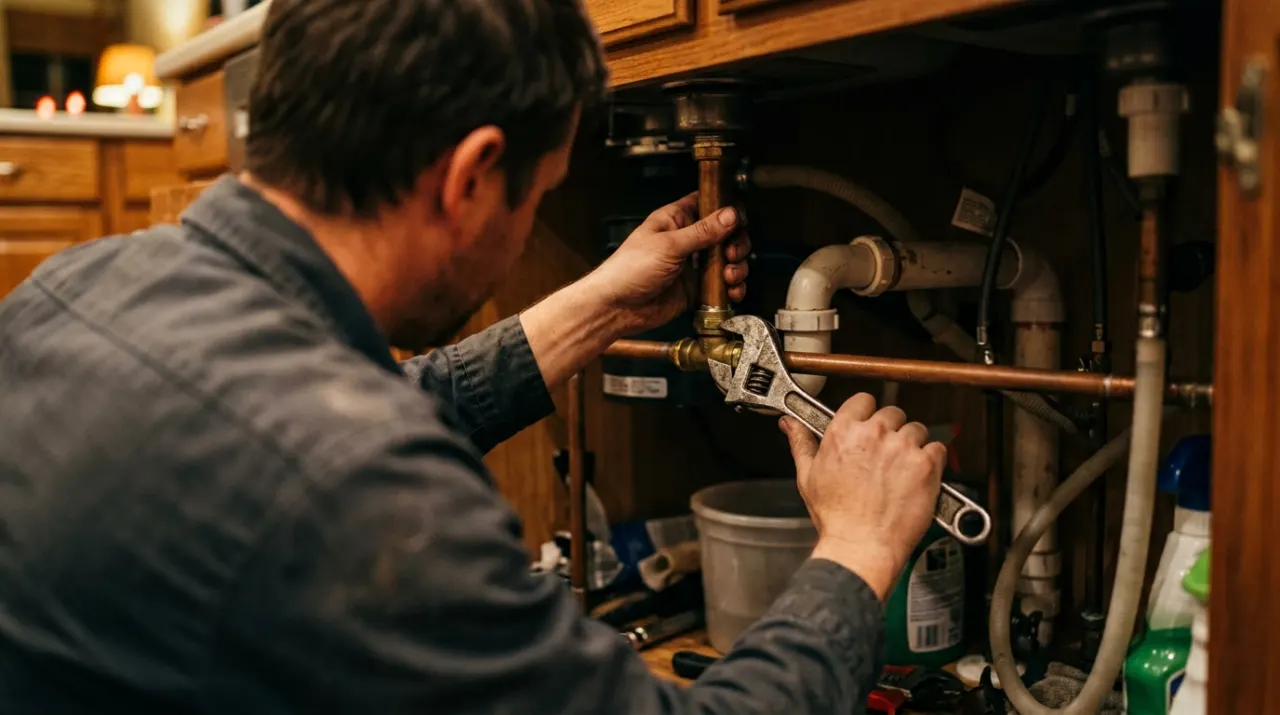
Connect the braided supply lines from the shut-off valves to the faucet — hot to hot, cold to cold, hand-tight plus a quarter turn. Assemble the P-trap between the drain tailpiece and the wall drain, setting the slip-joint washers with their bevels toward the joints and the arm sloping slightly to the drain. Open the water, run the faucet, fill and drain the basin, and check every connection for leaks. Caulk the basin to the wall along the top edge, leaving the underside open.
Common mistakes
- Anchoring into drywall with no blocking, so the sink pulls loose.
- Not leveling or shimming the pedestal, leaving a wobble.
- Installing the faucet after mounting, fighting the cramped space.
- Over-tightening the wall bolts and cracking the china basin.
When to call a plumber
Call a pro if the wall is finished with no blocking and you are not comfortable opening it to add a brace, if the supply and drain rough-in is not already positioned for a pedestal (the exposed plumbing on a pedestal sink must be neat and correctly placed), or if moving those lines is required — relocating supply or drain is regulated work that can need a permit. Anchoring and connecting to an existing, correctly located rough-in with blocking present is DIY.
Related: how to replace a bathroom faucet, how to replace a P-trap, and how to install a utility sink.