 Garden
Affiliate Disclosure
Some links on this page are affiliate links. As an Amazon Associate, we earn from qualifying purchases — at no extra cost to you. We do not buy, test, or physically handle the products we cover; our rankings come from aggregated owner reviews, ratings and expert consensus. Commissions never change our verdicts. How we rank · full disclosure.
Replacing a P-trap is one of the easiest plumbing jobs — about 30 minutes, $8 to $15 for a PVC kit, no special tools, no permit and no plumber. The P-trap is the U-bend under the sink that holds a water seal against sewer gas and is where most sink clogs collect. You loosen the slip nuts by hand, drop the old trap into a bucket, and fit the new one with its washers oriented correctly and a slight slope on the arm. The only harder case is an old corroded metal trap seized onto the tailpiece.
We never buy, test or physically handle the products we rank; recommendations come from aggregated owner reviews and expert consensus, described in how we rank. More at the DIY plumbing hub.
Tools and materials
- A P-trap kit that matches your pipe size (1-1/4 inch for bathroom sinks, 1-1/2 inch for kitchen sinks).
- A bucket and towels — the trap is full of water.
- Channel-lock pliers (for stubborn nuts), and a hacksaw if you need to trim the tailpiece or arm.
- Basic hand tools — see best plumbing tools.
Step 1: Position a bucket and loosen the slip nuts
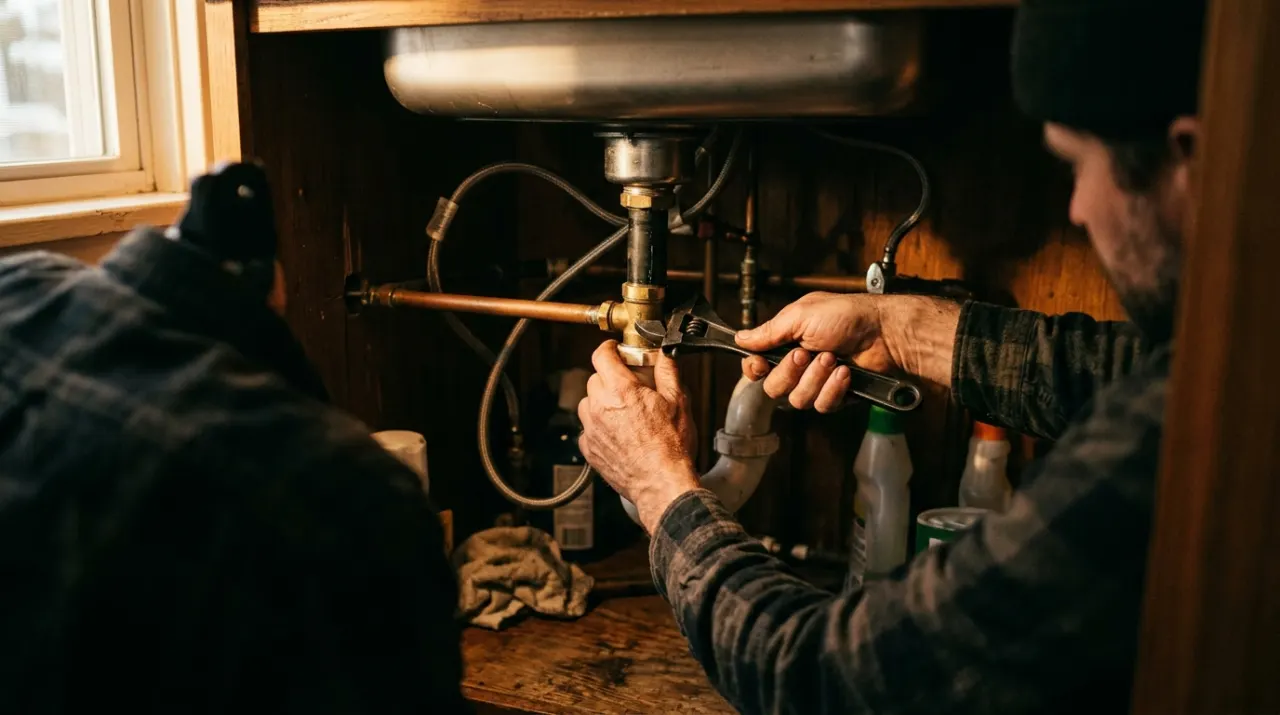
Slide a bucket under the trap — it holds a cup or two of water. Loosen the two slip nuts by hand (or with pliers if they are tight): one where the trap meets the vertical tailpiece from the sink, and one where it meets the horizontal arm going into the wall. Turn them counterclockwise. Water will drain into the bucket.
Step 2: Drop the old trap
Once both nuts are loose, pull the trap free and empty it into the bucket. This is your chance to clear a clog — most sink blockages are sitting right here in the bend. Note how the old trap was assembled: the slip nuts and washers, and how the arm entered the wall. Keep the old parts to match lengths.
Step 3: Fit the new trap with washers oriented correctly
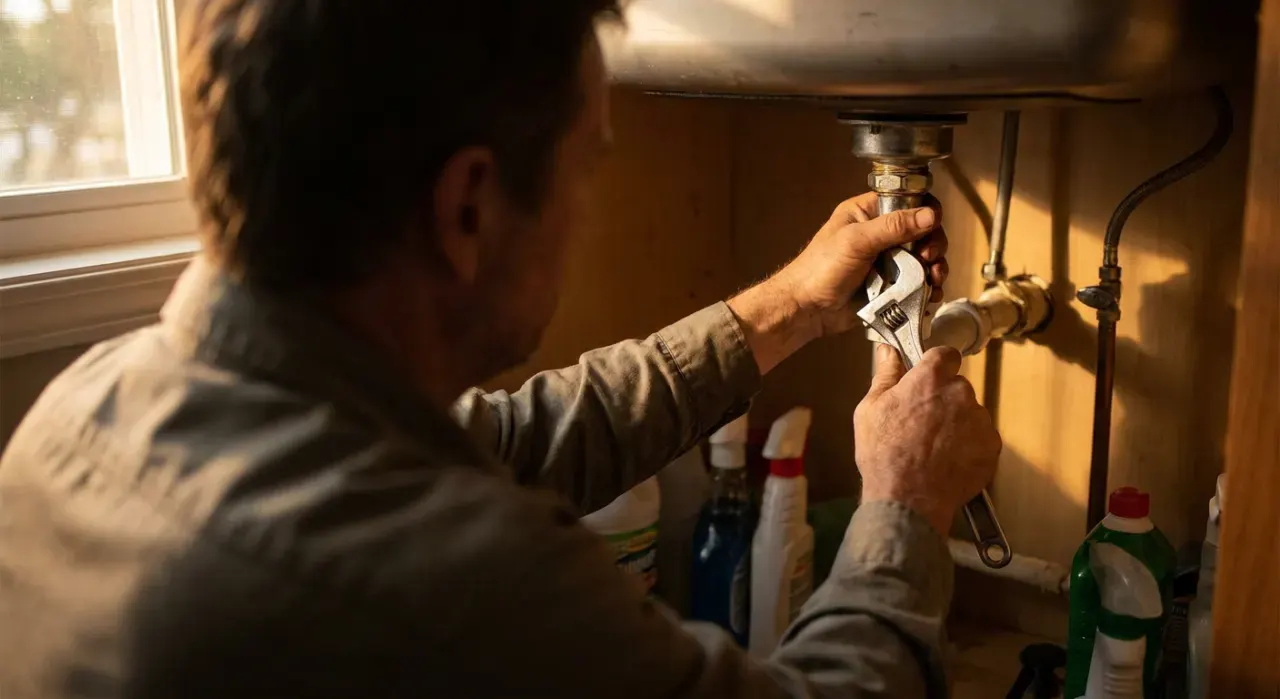
Slide a slip nut and then a nylon washer onto each pipe, with the beveled edge of the washer facing the joint — the taper points into the fitting it seals. Assemble the trap bend to the tailpiece and to the wall arm, keeping everything hand-loose at first so you can align it. Trim the tailpiece or arm with a hacksaw if the kit pipes are too long.
Step 4: Set the slope and tighten
Position the horizontal arm so it slopes slightly downward toward the wall — about 1/4 inch per foot — so water drains fully. Make sure each pipe is seated squarely in its fitting, then hand-tighten the slip nuts plus a small nudge. Do not crank them — these joints seal on the washer, and overtightening cracks the plastic nut and deforms the washer.
Step 5: Test for leaks
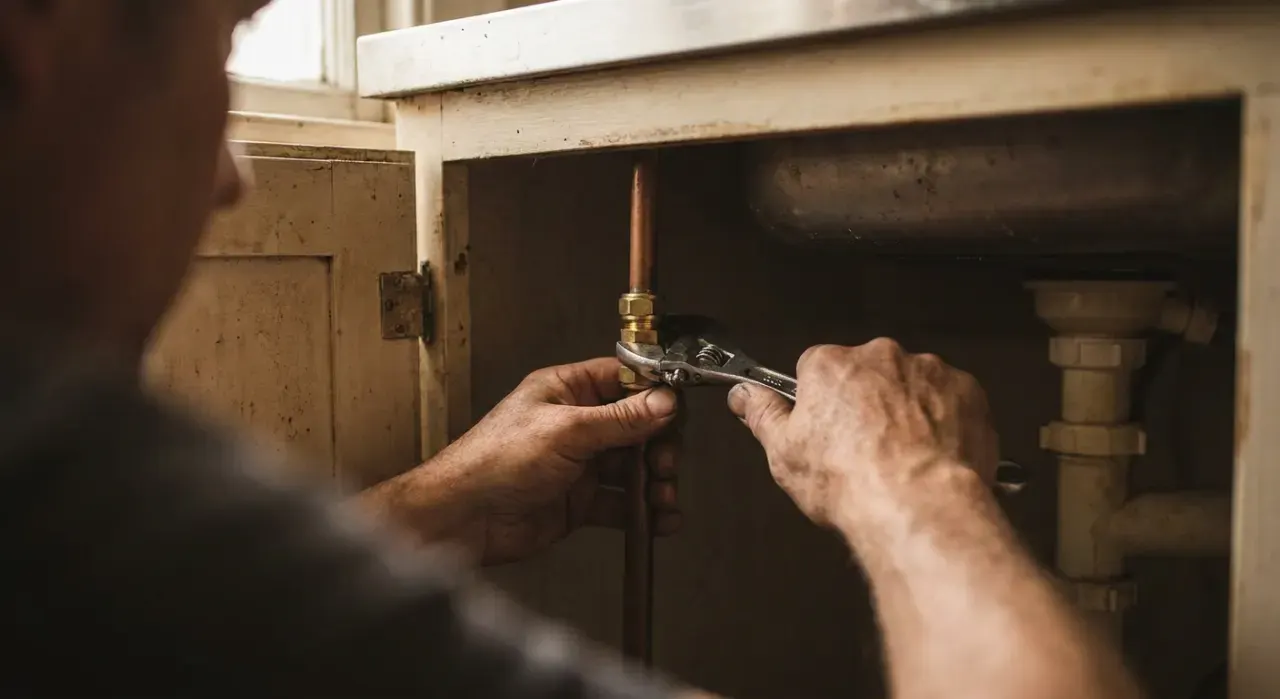
Put a stopper in and fill the sink, then release a full basin of water at once so the trap runs under real flow. Watch every joint with a dry finger or a paper towel underneath. A drip means a backward or pinched washer, or a nut that needs a touch more — or less — tightening. Run water for a minute and check again.
Common mistakes
- Installing a slip washer backward, the top cause of a dripping new trap.
- Overtightening the plastic slip nuts and cracking them.
- Assembling the arm level or tilted back, so water pools and clogs.
- Mismatching pipe sizes — bathroom (1-1/4 inch) versus kitchen (1-1/2 inch).
When to call a plumber
This is DIY for nearly everyone, with no permit. Call a plumber if the pipe going into the wall is old, corroded metal that crumbles when you loosen the nut, if there is no trap arm or the drain stub in the wall is damaged, or if you find the trap was glued solid rather than slip-joint and the connection at the wall will not come apart cleanly. Reworking the drain stub inside the wall is beyond a simple trap swap.
Related: how to clear a clogged kitchen sink, how to snake a clogged drain, and how to install a utility sink.