 Garden
Affiliate Disclosure
Some links on this page are affiliate links. As an Amazon Associate, we earn from qualifying purchases — at no extra cost to you. We do not buy, test, or physically handle the products we cover; our rankings come from aggregated owner reviews, ratings and expert consensus. Commissions never change our verdicts. How we rank · full disclosure.
Installing a freestanding utility sink is a DIY project when the plumbing is already nearby — a half day, $80 to $250 for the sink and faucet, hand tools, and usually no permit for a simple tie-in. You assemble the basin and legs, mount the faucet, connect the drain through a P-trap to an existing vented drain, and hook the supply lines to shut-off valves. It becomes a permitted, plumber-level job only if you must run new supply, drain or vent lines to a location that has none.
We never buy, test or physically handle the products we rank; recommendations come from aggregated owner reviews and expert consensus, described in how we rank. More at the DIY plumbing hub.
Tools and materials
- The utility sink and faucet, a 1-1/2 inch P-trap kit, and braided supply lines.
- An adjustable wrench, channel-lock pliers, a basin wrench (for the faucet nuts), a level and a hacksaw.
- PTFE tape, plumber's putty or a strainer gasket, a bucket and towels.
- Basic hand tools — see best plumbing tools.
Step 1: Assemble the sink and mount the faucet
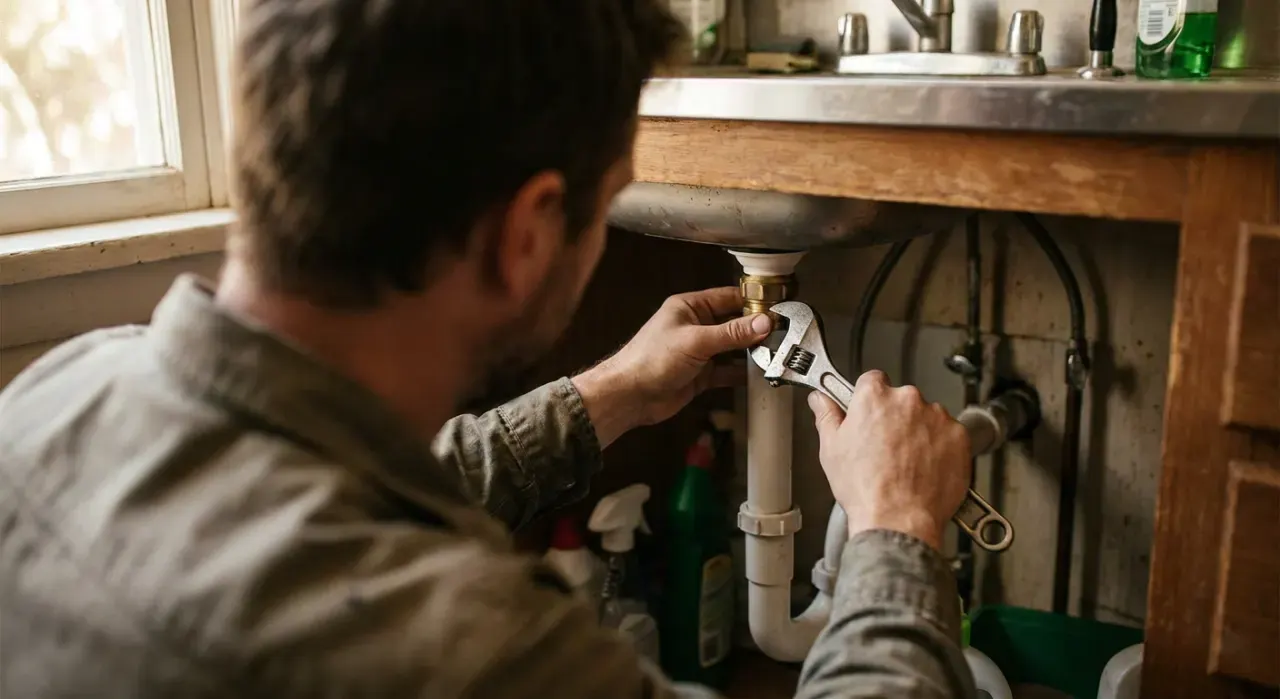
Bolt the basin to its legs and set it in place near the existing plumbing, checking that it is level and stable — adjust the leveling feet if it has them. Mount the faucet before final positioning if access will be tight afterward: feed the faucet through the deck holes, seat its gasket, and tighten the mounting nuts with a basin wrench. Attach the strainer to the drain hole with plumber's putty or the supplied gasket and tighten the locknut underneath.
Step 2: Shut off the water and tap the supply
Close the shut-off valves you will connect to (or the main if there are no local stops). If shut-off valves already exist at the location, you connect straight to them; if not, this is where you either add stops to existing stubs or, if there are no stubs, call a plumber to run supply. Wrap valve threads with PTFE tape.
Step 3: Connect the drain through a P-trap
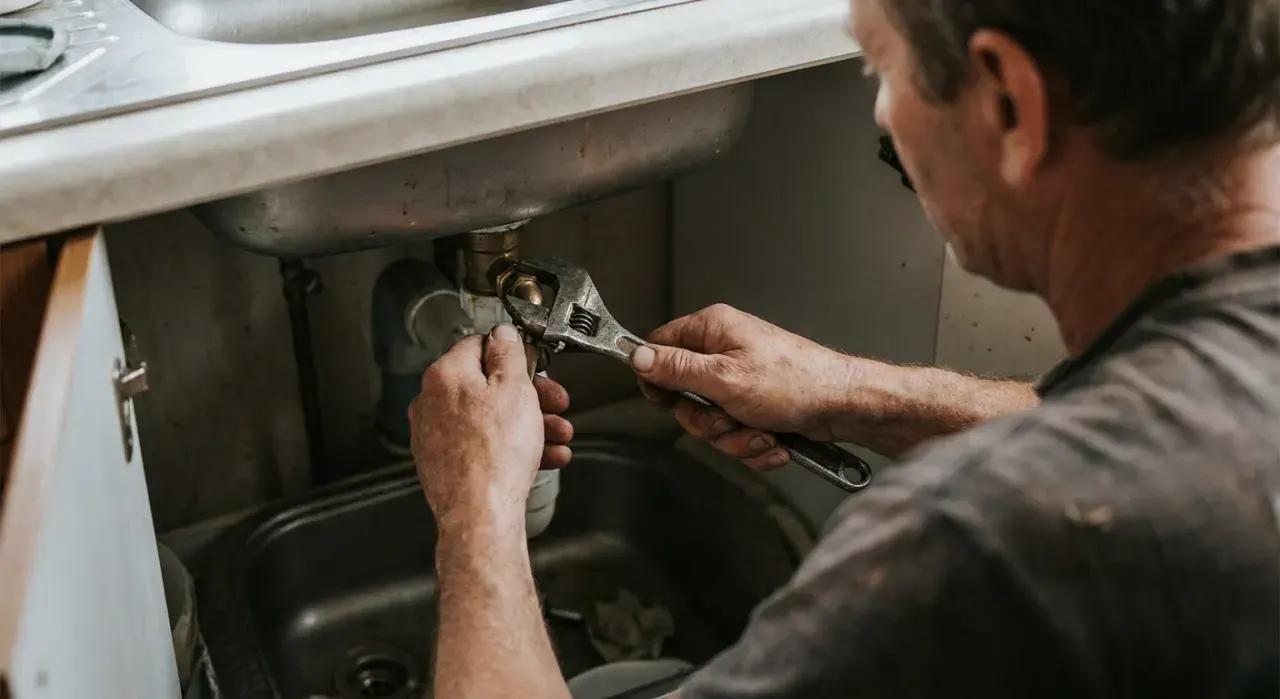
Attach a tailpiece to the sink strainer, then assemble the P-trap below it with slip-joint nuts and washers (bevel of each washer toward the joint). Run the trap arm to the existing drain connection, cutting it to length and setting a 1/4 inch per foot downward slope toward the drain. Confirm the drain you tie into is vented — a trap on an unvented line will siphon dry and let in sewer gas. Hand-tighten slip nuts plus a nudge; do not overtighten plastic.
Step 4: Connect the supply lines
Run braided supply lines from the shut-off valves to the faucet inlets — hot to hot, cold to cold — hand-tight plus a quarter turn. Keep the lines free of kinks.
Step 5: Turn on the water and test
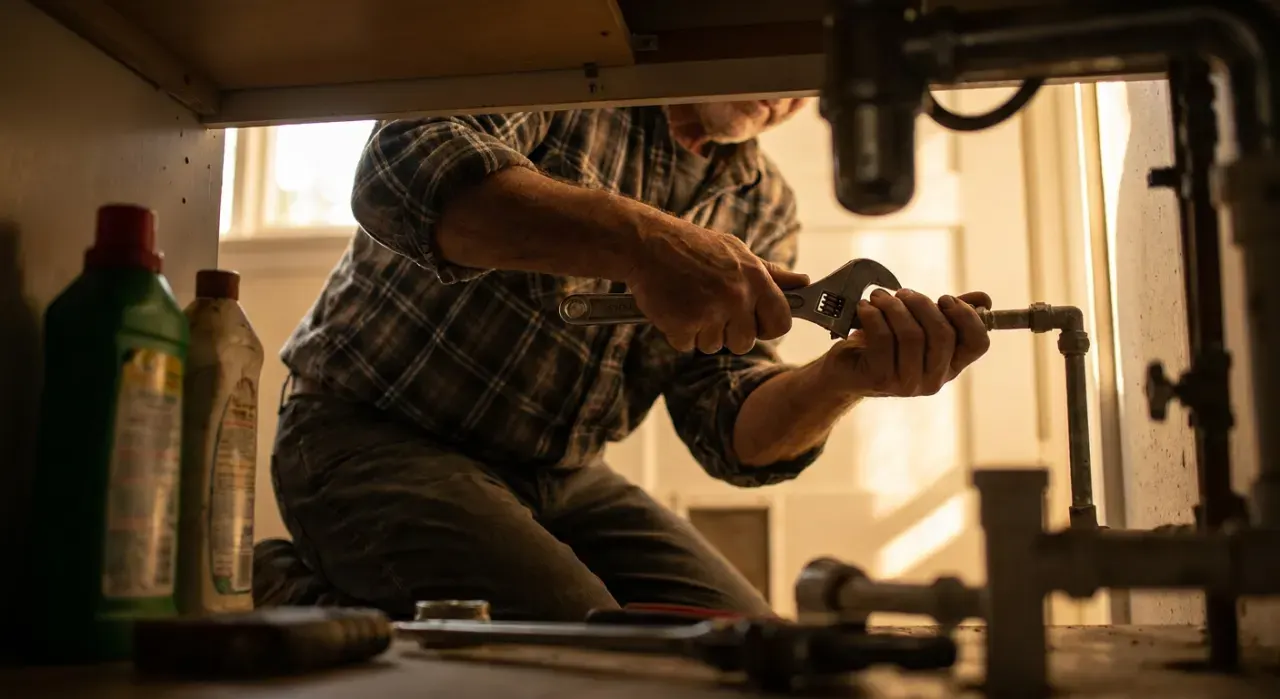
Open the shut-offs slowly and check the supply connections. Run the faucet and fill the basin, then release a full basin at once to test the drain and trap under real flow. Watch every joint — strainer, trap, and arm — for leaks, and confirm the trap holds water afterward (its seal against sewer gas). Tighten anything that weeps.
Common mistakes
- Connecting the drain to an unvented line, so the trap siphons and smells.
- A level or back-sloped trap arm, which pools water and clogs.
- Overtightening slip-joint or supply nuts, cracking plastic and deforming washers.
- Skimping on the strainer seal, leaking at the drain flange.
When to call a plumber
Call a plumber and check permits if you need to run new supply lines, a new drain, or new venting to a location that has none — that is regulated plumbing work almost everywhere. Also get a pro if you are combining the sink drain with the washing-machine standpipe and are unsure of the local sizing and venting rules, or if the only nearby drain is unvented. A simple tie-in to existing, vented plumbing with stops already present is DIY and typically permit-free.
Related: how to replace a P-trap, how to install a pedestal sink, and how to replace a water shut-off valve.