 Garden
Affiliate Disclosure
Some links on this page are affiliate links. As an Amazon Associate, we earn from qualifying purchases — at no extra cost to you. We do not buy, test, or physically handle the products we cover; our rankings come from aggregated owner reviews, ratings and expert consensus. Commissions never change our verdicts. How we rank · full disclosure.
Clearing a clogged kitchen sink is a DIY job in nearly every case — 15 to 45 minutes, under $30 in tools, no permit. The clog is almost always grease and food in the P-trap. Work in order: hot water, then a plunger, then clean the P-trap, then snake the branch line — and skip the chemical cleaners. The one time to call a pro is when multiple fixtures back up together or the clog survives a cleaned trap and a snaked line, both of which point past the kitchen branch into the main.
We never buy, test or physically handle the products we rank; recommendations come from aggregated owner reviews and expert consensus, described in how we rank. More at the DIY plumbing hub.
Tools and materials
- A cup plunger (flat-bottomed, for a sink).
- A bucket and towels for cleaning the P-trap, plus channel-lock pliers.
- A drain snake for clogs past the trap.
- A kettle of hot water and rubber gloves. More tools in best plumbing tools.
Step 1: Hot water (for a slow drain)
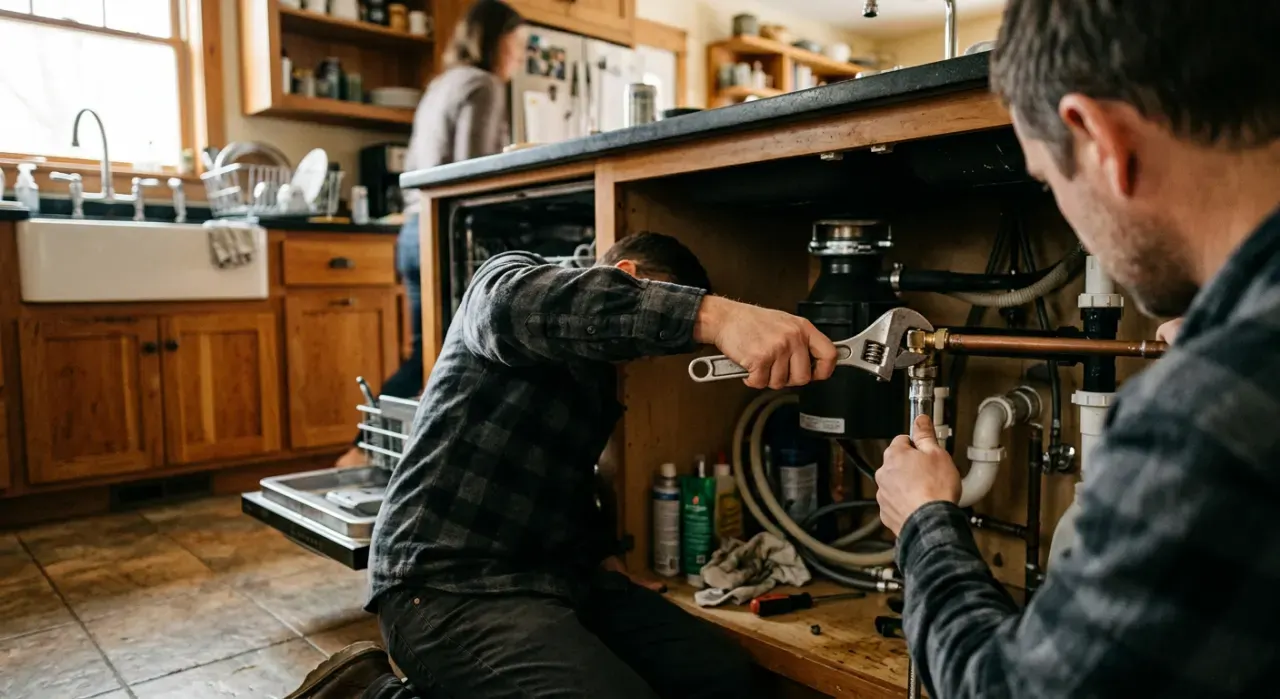
If the sink is draining slowly rather than fully blocked, pour a kettle of near-boiling water down in two or three stages, pausing between. This often melts enough congealed grease to restore flow. Do not do this on a fully blocked sink with standing water — you cannot reach the clog and you risk splashing hot water back — and go gently on older PVC.
Step 2: Plunge
Fill the basin with an inch or two of water to seal the plunger cup. In a double sink, block the other drain with a wet rag or a helper holding a stopper, or your force escapes up the second bowl. Plunge firmly a dozen times keeping the seal; the suction on the up-stroke often breaks a clog the push could not.
Step 3: Clean the P-trap
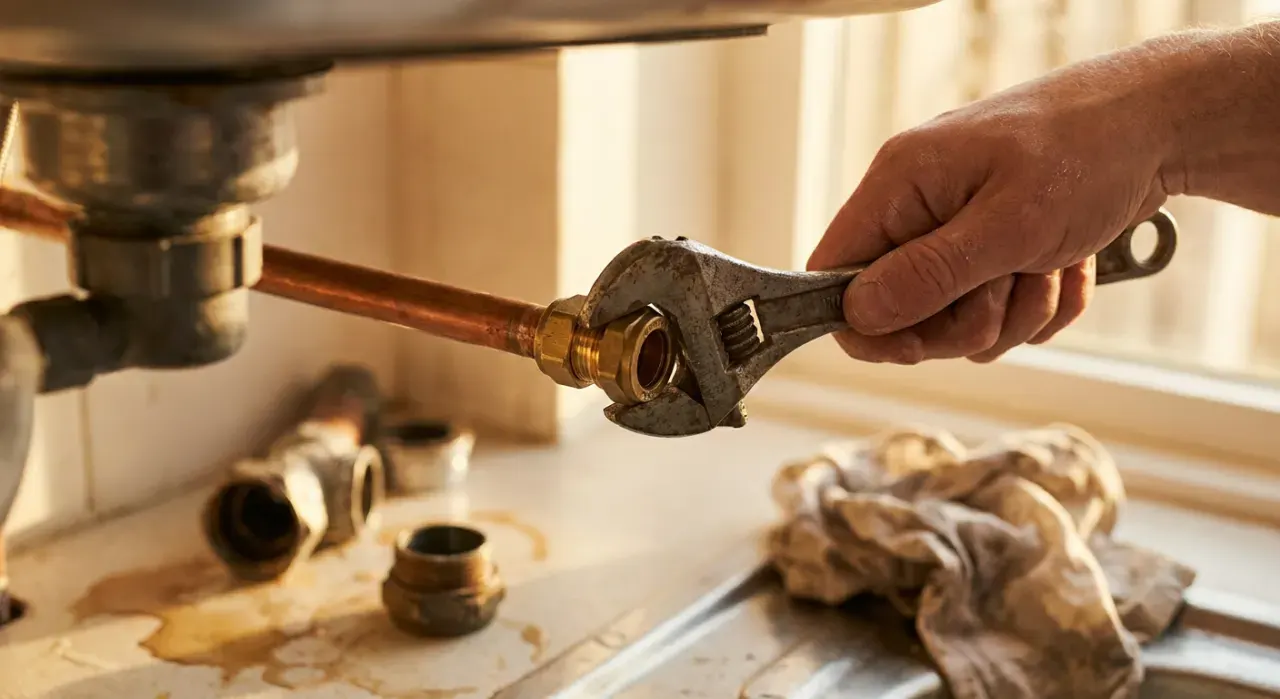
If plunging fails, the clog is likely in the trap. Put a bucket underneath, loosen the two slip nuts, and lower the P-trap into the bucket. Expect it to be packed with grease and food — that is the clog. Clean it out, check the trap arm going into the wall, and reassemble with the washers' bevels toward the joints. Run water to confirm.
Step 4: Snake the branch line
If the trap was clear and it still backs up, the clog is farther down the branch. Remove the trap and feed a drain snake into the wall stub, cranking clockwise with gentle pressure until you break through, then withdraw slowly. Reassemble and flush with plenty of hot water — a grease clog often needs a second pass.
Step 5: Prevent the next one
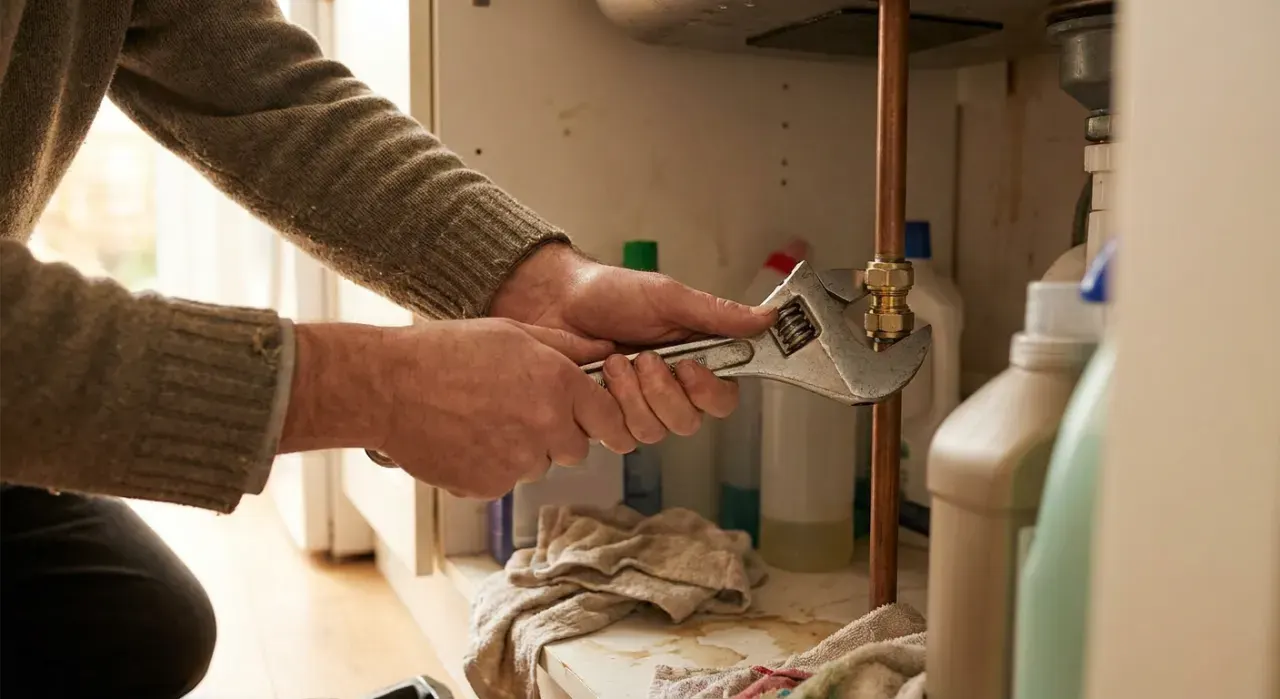
Keep grease, coffee grounds, and fibrous or starchy scraps out of the drain — they are the top causes of kitchen clogs. Wipe greasy pans before washing, run cold water when using a disposal so fats stay solid and get chopped, and flush the drain with hot water periodically. Prevention is far easier than clearing.
Common mistakes
- Reaching for chemicals first, which rarely clear a grease clog and make later steps hazardous.
- Plunging a double sink without blocking the other basin.
- Pouring boiling water into a fully blocked, standing sink.
- Reassembling the P-trap with a washer backward, causing a new leak.
When to call a plumber
Call a pro if the clog survives a cleaned trap and a snaked branch line, if multiple fixtures back up together (a main-line blockage), or if the sink backs up when the dishwasher or washing machine drains. Repeated grease clogs can signal a scaled or partly collapsed line that needs a camera inspection or a powered auger. Clearing a drain needs no permit, but main-line work is a different matter.
Related: how to snake a clogged drain, how to replace a P-trap, and how to unclog a bathtub drain.