 Garden
Affiliate Disclosure
Some links on this page are affiliate links. As an Amazon Associate, we earn from qualifying purchases — at no extra cost to you. We do not buy, test, or physically handle the products we cover; our rankings come from aggregated owner reviews, ratings and expert consensus. Commissions never change our verdicts. How we rank · full disclosure.
Replacing a sink sprayer hose is a quick DIY job — about 20 minutes, $10 to $30 for the hose or head-and-hose unit, no permit and no plumber. A sprayer that leaks under the sink, kinks, or will not spray is usually a bad hose. You shut off the water, disconnect the hose at the faucet nipple, drop the old one out, and thread and route the new one. Side sprayers are the simplest; pull-down sprayers use the faucet's own matched hose, so buy to fit your model.
We never buy, test or physically handle the products we rank; recommendations come from aggregated owner reviews and expert consensus, described in how we rank. More at the DIY plumbing hub.
First, identify your sprayer type
A side sprayer sits in its own hole beside the faucet and connects to a nipple under the faucet body — the easiest to replace, and the head and hose often come as one unit. A pull-down or pull-out sprayer is built into the faucet spout, with a weighted, retracting hose and a quick-connect fitting under the sink; buy the replacement matched to your faucet brand.
Tools and materials
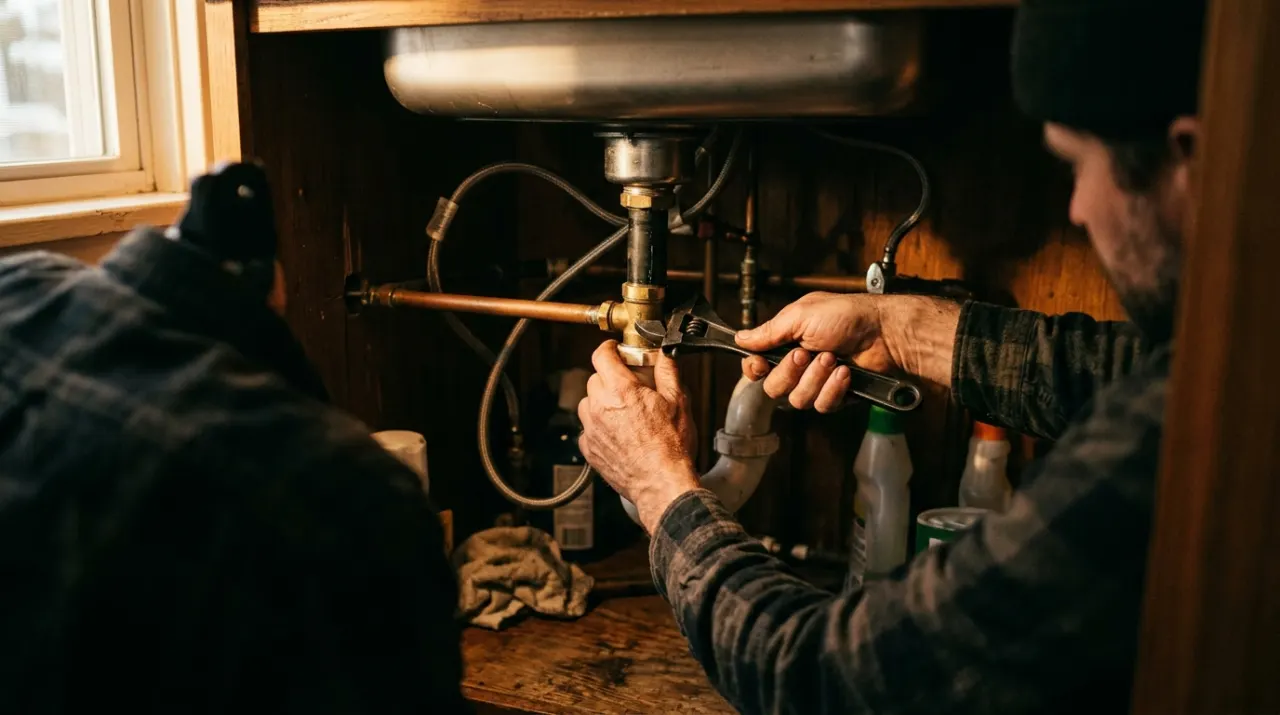
- The replacement hose (or head-and-hose unit) that matches your sprayer type and faucet.
- Channel-lock pliers or an adjustable wrench, a flashlight, and a towel.
- Plumber's putty or a gasket (for a side-sprayer base), and PTFE tape.
- Basic hand tools — see best plumbing tools.
Step 1: Shut off the water and clear the cabinet
Close both shut-off valves under the sink and open the faucet to relieve pressure. Clear the cabinet and get a light on the underside of the faucet. Put a towel down for the small amount of water in the hose.
Step 2: Disconnect the old hose
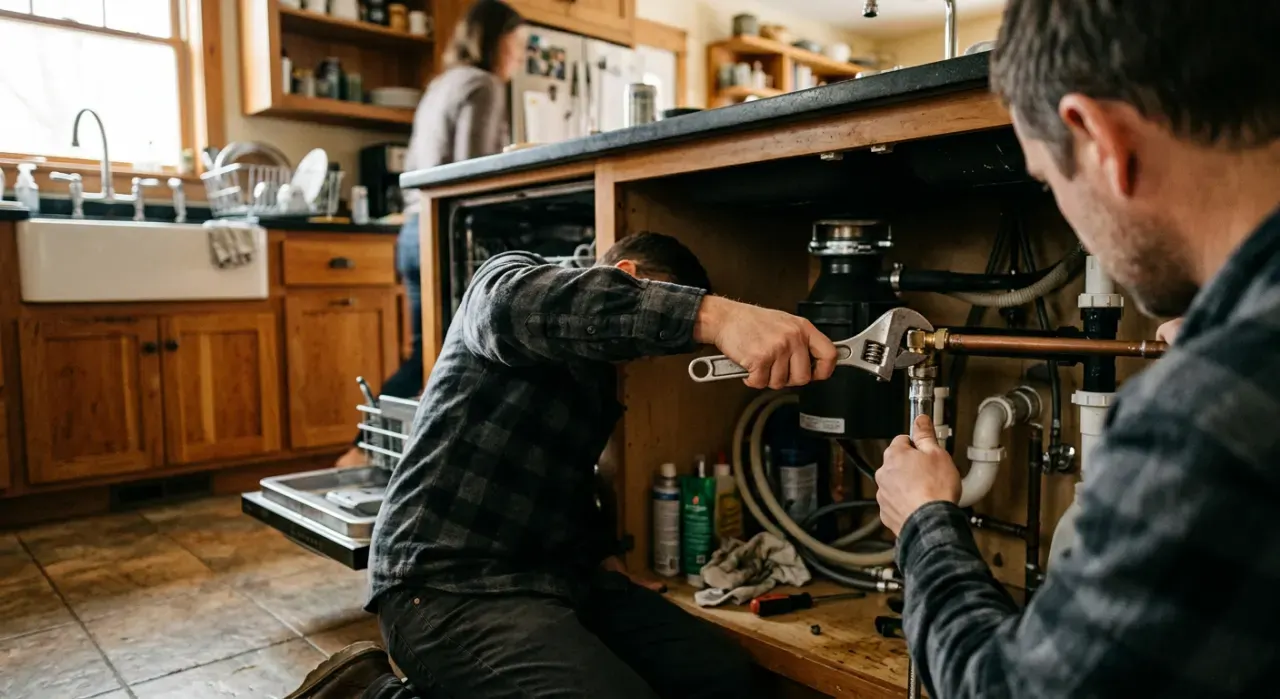
Reach under the sink and unscrew the hose coupling nut from the sprayer nipple on the underside of the faucet body — hold the nipple steady and turn the nut counterclockwise. On a pull-down faucet, disconnect the quick-connect fitting and remove the counterweight clipped to the hose. Then pull the sprayer head and hose up and out through the deck hole.
Step 3: Route the new hose
Feed the new hose down through the sprayer base or the faucet spout, guiding the sprayer head into position on top. Route the hose under the sink so it hangs in a smooth loop with room to extend and retract — no kinks and nothing pinching it against the cabinet or other lines, which is the most common reason a new sprayer fails or leaks.
Step 4: Connect and secure
Thread the hose coupling onto the sprayer nipple — hand-tight plus a small nudge with pliers, with PTFE tape on the threads and the washer seated. On a pull-down faucet, push the quick-connect together until it clicks fully home and re-clip the counterweight at the correct height so the head retracts. For a side sprayer, seal the base to the sink with plumber's putty or its gasket.

Step 5: Turn on the water and test
Open the shut-offs slowly. Run the faucet, then engage the sprayer and check the connection under the sink for leaks while it is under pressure. Confirm the head sprays cleanly and retracts smoothly. Any drip under the sink means the coupling needs a touch more tightening or the washer re-seating; a sputtering head that is otherwise fine can be soaked in vinegar to clear scale.
Common mistakes
- Kinking or pinching the new hose under the sink, causing weak flow or a leak.
- A generic hose that does not match a pull-down faucet brand and fitting.
- Forgetting the counterweight on a pull-down hose, so the head will not retract.
- Overtightening the coupling or leaving out the washer.
When to call a pro
This is DIY for everyone, with no permit. The only reason to consider help is if the problem turns out not to be the hose or head but the diverter valve inside the faucet body — the part that redirects water to the sprayer. Replacing a diverter means opening the faucet, and if parts for an old faucet are unavailable, a full faucet replacement may be the better value.
Related: how to replace a kitchen faucet, how to fix a leaky faucet, and how to replace a bathroom faucet.