 Garden
Affiliate Disclosure
Some links on this page are affiliate links. As an Amazon Associate, we earn from qualifying purchases — at no extra cost to you. We do not buy, test, or physically handle the products we cover; our rankings come from aggregated owner reviews, ratings and expert consensus. Commissions never change our verdicts. How we rank · full disclosure.
Replacing a toilet supply line is one of the quickest plumbing jobs — about 15 minutes, a few dollars for a braided stainless line, no permit and no plumber. If the line is old, corroded, plastic, or weeping, swap it. You shut off the water, drain the tank, disconnect the old line, and connect a new braided line hand-tight plus a quarter turn. The only real error is over-tightening the thin tank-end nut and cracking it. A supply line holds constant house pressure, so a fresh braided one is cheap protection against a flood.
We never buy, test or physically handle the products we rank; recommendations come from aggregated owner reviews and expert consensus, described in how we rank. More at the DIY plumbing hub.
Tools and materials
- A new braided stainless-steel toilet supply line (7/8-inch tank end, 3/8-inch valve end) of the right length.
- An adjustable wrench, a sponge and bucket, and a towel.
- Basic hand tools — see best plumbing tools.
Step 1: Buy the right line
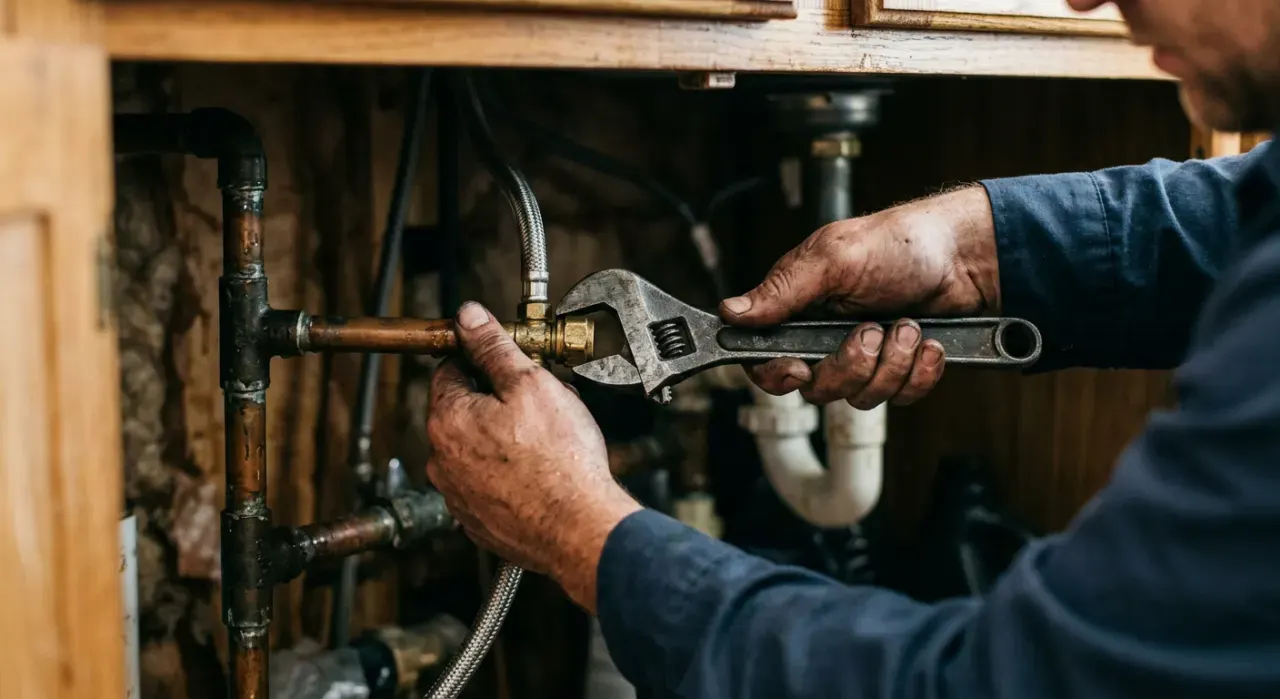
Measure from the shut-off valve up to the tank inlet and add two inches of slack, so the line curves gently rather than pulling taut. Buy a line labeled for a toilet to get the wide 7/8-inch ballcock nut on the tank end and the 3/8-inch compression nut for the valve. A faucet line will not fit the tank.
Step 2: Shut off and drain the tank
Close the shut-off valve behind the toilet (clockwise) and flush, holding the handle to empty the tank. Sponge out the remaining water so nothing spills when you disconnect the line. Keep a towel and bucket under the connections.
Step 3: Disconnect the old line
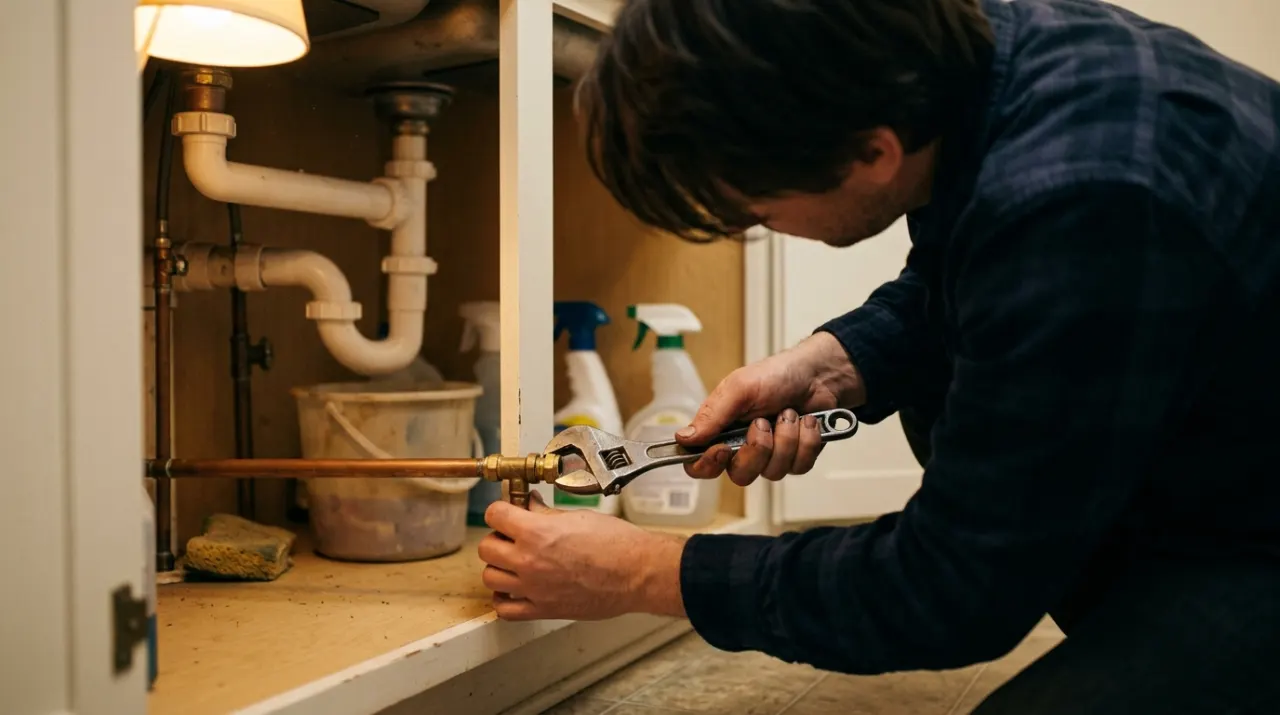
Unscrew the nut at the tank end (the wide 7/8-inch nut on the underside of the tank) and the nut at the shut-off valve. Hold the valve body steady with a second wrench so you do not twist it. Remove the old line and let any water drain into the bucket.
Step 4: Connect the new line
Thread the tank end (7/8-inch nut) onto the fill-valve shank by hand — this thin plastic nut is meant to be hand-snug, so do not put a wrench on it hard. Thread the valve end (3/8-inch nut) onto the shut-off by hand, then a quarter turn with the wrench. Confirm the rubber washers are seated and that neither nut is cross-threaded. Let the line curve gently, not kinked or stretched.
Step 5: Turn on the water and test
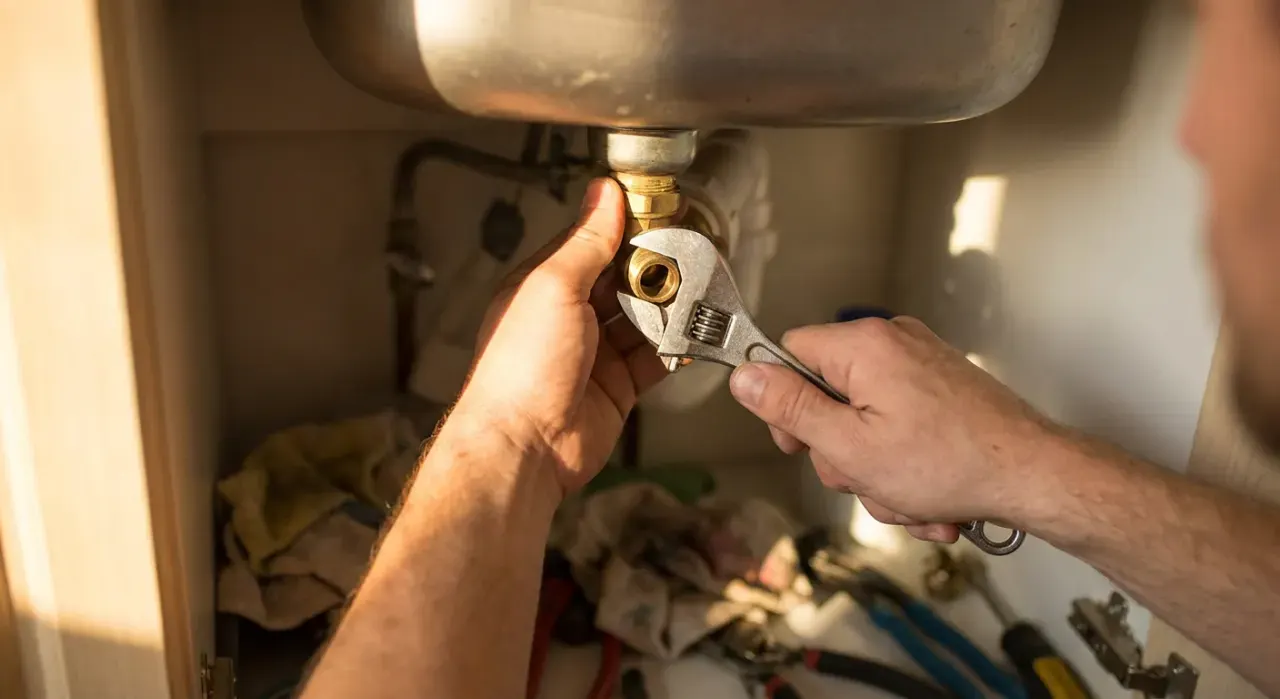
Open the shut-off valve slowly and let the tank fill. Feel both connections with a dry finger and watch for any bead of water. Flush once. Check again after a few minutes under pressure. A weep at the tank end usually means the nut needs to be hand-snugged a touch more or the washer re-seated — not wrenched hard.
Common mistakes
- Over-tightening the plastic tank-end nut, cracking it — hand-tight is correct.
- Buying a faucet line that lacks the 7/8-inch tank connector.
- A line too short and pulled taut, which stresses the connections.
- Reusing an old rubber or plastic line instead of upgrading to braided stainless.
When to call a plumber
This is DIY for everyone, with no permit. The only escalation is if the shut-off valve behind the toilet will not close or weeps at the stem — then replace the valve (see how to replace a water shut-off valve), and if that valve is soldered or on old galvanized pipe, a plumber handles it. A leaking supply line that has already caused soft or discolored flooring may hide subfloor damage worth having assessed.
Related: how to replace a toilet fill valve, how to replace a toilet, and how to replace a water shut-off valve.