 Garden
Affiliate Disclosure
Some links on this page are affiliate links. As an Amazon Associate, we earn from qualifying purchases — at no extra cost to you. We do not buy, test, or physically handle the products we cover; our rankings come from aggregated owner reviews, ratings and expert consensus. Commissions never change our verdicts. How we rank · full disclosure.
Replacing a toilet fill valve is an easy DIY repair — about 20 minutes, $12 to $25 for a universal valve, basic tools, no permit and no plumber. If your toilet runs into the overflow tube, hisses, or fills slowly, the fill valve is the likely cause. You shut off the water, drain and sponge the tank, unscrew the old valve, drop in an adjustable universal replacement, and set the water level about an inch below the overflow tube. The only thing that stops this being DIY is a seized shutoff valve or a cracked tank.
We never buy, test or physically handle the products we rank; recommendations come from aggregated owner reviews and expert consensus, described in how we rank. More at the DIY plumbing hub.
First, confirm it is the fill valve
Take off the tank lid and look at the overflow tube — the open vertical pipe in the middle. If water is spilling over its rim, the valve is not shutting off or the level is too high (a fill-valve or adjustment issue). If the overflow tube is dry but water trickles into the bowl, the flapper is leaking instead. Fix the right part.
Tools and materials
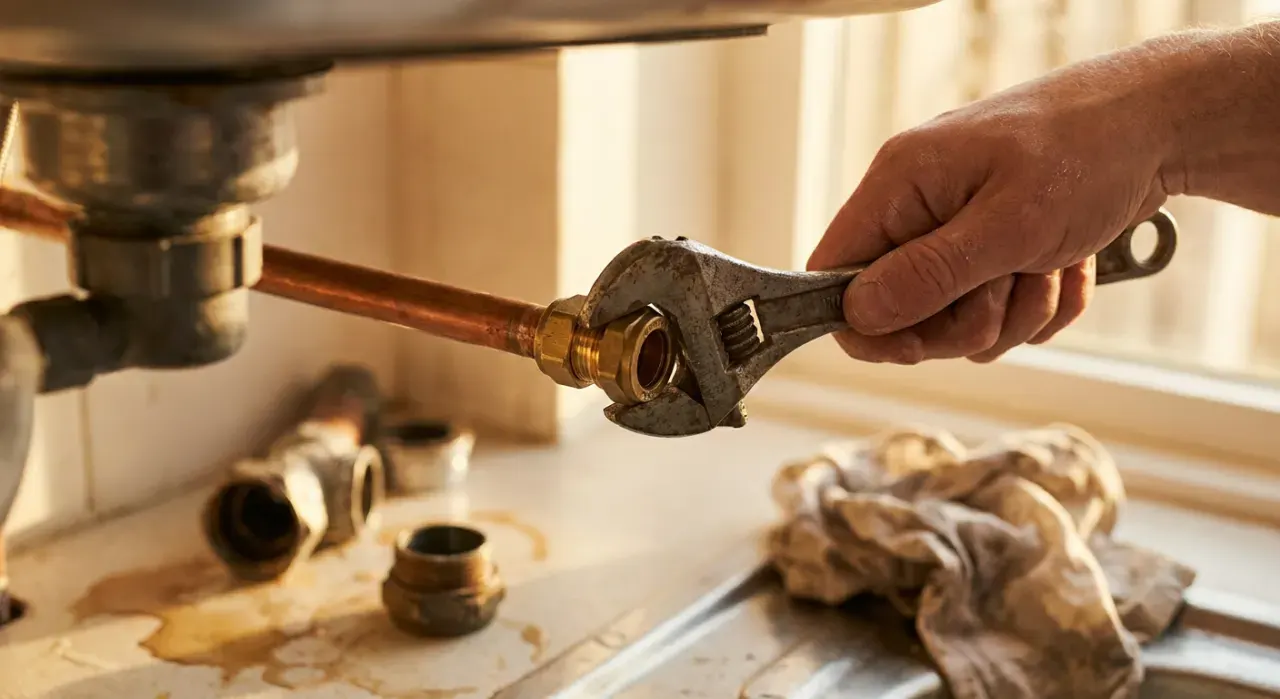
- A universal adjustable-height fill valve.
- Adjustable pliers or a wrench, a sponge, a small bucket and towels.
- Optional: a new braided supply line while the water is off.
- Basic hand tools — see best plumbing tools.
Step 1: Shut off and empty the tank
Close the shutoff valve behind the toilet and flush, holding the handle to drain the tank. Sponge out the last inch of water so nothing spills when you disconnect the valve. Disconnect the supply line from the bottom of the tank.
Step 2: Remove the old fill valve
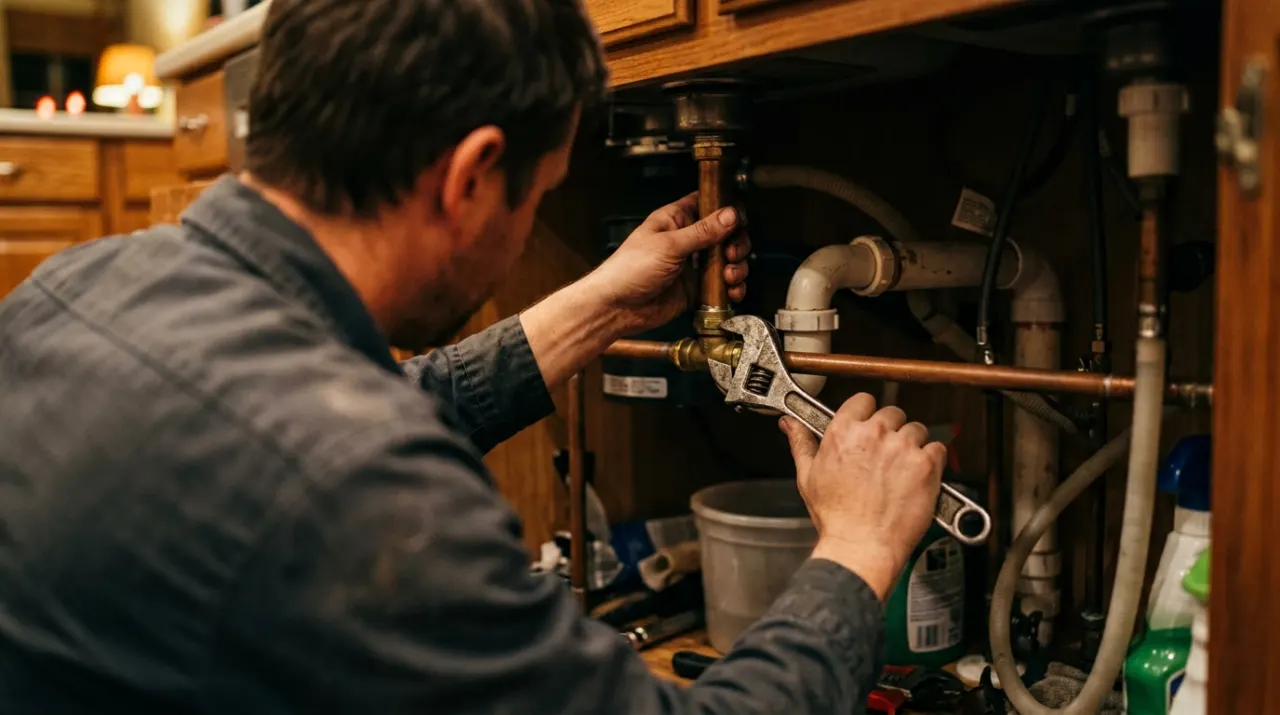
Under the tank, unscrew the locknut that secures the fill valve shank (where the supply line attached). Hold the valve inside the tank so it does not spin. Lift the old valve straight out of the tank. Wipe the area around the shank hole clean.
Step 3: Set the new valve height and install it
Before installing, adjust the new valve's height so the top of it will sit at least one inch above the overflow tube — cup-style valves telescope or twist to set this. Drop the valve through the tank hole, seat its base washer, and hand-tighten the locknut underneath, then a quarter to half turn with pliers. Do not overtighten — the shank is plastic and cracks. Clip or connect the refill tube to the overflow tube rim, not deep inside it, to prevent siphoning.
Step 4: Reconnect water and set the level
Reconnect the supply line — hand-tight plus a quarter turn. Open the shutoff slowly and let the tank fill. Set the water level about one inch below the top of the overflow tube using the float clip or adjustment screw. Flush and watch: the tank should refill and shut off cleanly, with no water entering the overflow tube.
Step 5: Check for leaks and running
Feel the shank connection under the tank for weeping and watch the valve shut off completely. Come back after 20 to 30 minutes — if the toilet cycles on by itself, the flapper is leaking (run a dye test) or the refill tube is siphoning. A correctly set valve shuts off silently and stays off.
Common mistakes
- Setting the water level above the overflow tube, so the toilet runs continuously.
- Pushing the refill tube deep into the overflow tube, which siphons and causes phantom running.
- Overtightening the plastic shank nut and cracking it.
- Replacing the fill valve when the flapper was the real problem — always diagnose first.
When to call a plumber
This is DIY for nearly everyone; there is no permit. Call a plumber only if the shutoff valve behind the toilet is corroded and will not close or weeps when you try, or if you find a crack in the tank china — a cracked tank is not repairable and the toilet should be replaced. A wasted, continuously running toilet is worth fixing quickly: the EPA puts a leaking toilet at up to 200 gallons a day.
Related: how to replace a toilet flapper, how to adjust the toilet water level, and how to stop a toilet from running.