 Garden
Affiliate Disclosure
Some links on this page are affiliate links. As an Amazon Associate, we earn from qualifying purchases — at no extra cost to you. We do not buy, test, or physically handle the products we cover; our rankings come from aggregated owner reviews, ratings and expert consensus. Commissions never change our verdicts. How we rank · full disclosure.
Installing an under-sink water filter is an achievable DIY job — about an hour, $60 to $300 for the system, no permit and usually no plumber. You mount the filter housing inside the cabinet, tap the cold-water supply with an included T-fitting, and run tubing to the filter and out to your faucet or a dedicated spout. Push-fit connections make it tool-light. The only step that gives some homeowners pause is drilling a hole for a dedicated faucet — and many sinks have an unused knockout that avoids it.
We never buy, test or physically handle the products we rank; recommendations come from aggregated owner reviews and expert consensus, described in how we rank. More at the DIY plumbing hub.
Tools and materials
- The filter system with its T-adapter, tubing and mounting bracket.
- An adjustable wrench, a drill and step bit or hole saw (only if drilling for a dedicated faucet), and PTFE tape.
- A bucket, towels, and a marker for cutting tubing to length.
- Basic hand tools — see best plumbing tools.
Step 1: Plan the layout and shut off the cold water
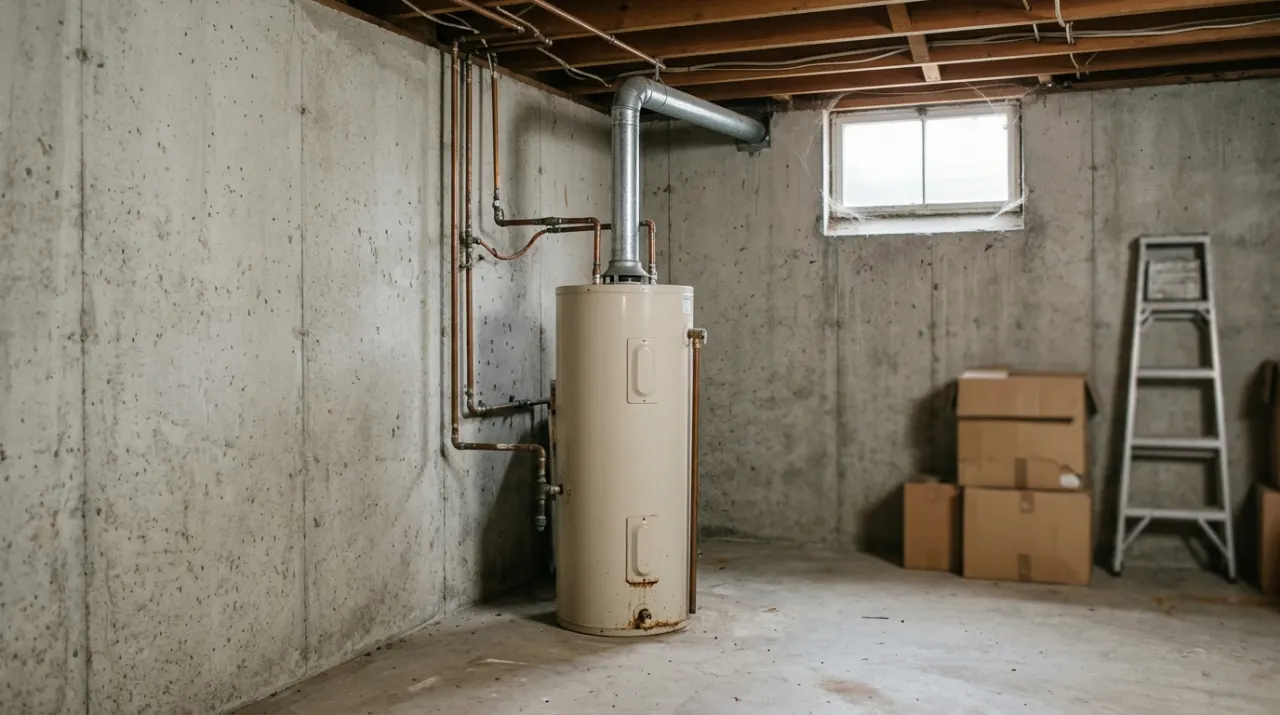
Decide where the housing will hang inside the cabinet — leave clearance below it to unscrew the cartridge later. Close the cold shutoff valve under the sink and open the faucet to relieve pressure. Put a towel and bucket underneath, since the cold line still holds water.
Step 2: Install the T-adapter on the cold line
Disconnect the cold-water supply line at the shutoff or the faucet inlet. Thread the included T-fitting into the connection — this taps a branch off the cold supply for the filter. Use PTFE tape on threaded joints and confirm any rubber washers are in place. Reconnect the original supply line to the T so your faucet still gets water.
Step 3: Mount the filter housing
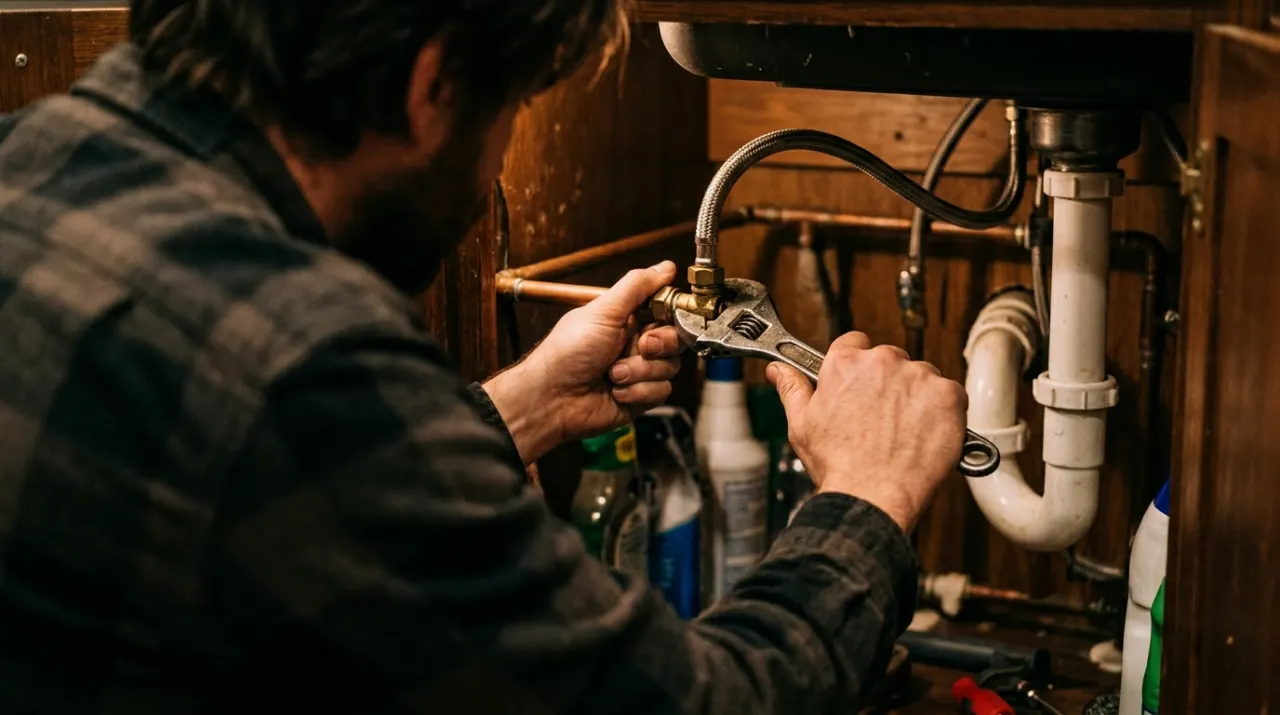
Screw the mounting bracket to the inside wall of the cabinet at a height that leaves room to remove the cartridge below. Note the IN and OUT arrows on the filter head — getting the flow direction wrong sends water backward through the cartridge and it will not filter properly. Hang the housing on the bracket.
Step 4: Run the tubing
Cut the supplied tubing to length with a clean square cut. Push each tube fully into its push-fit fitting until it bottoms out and you feel it seat — a partially seated tube is the main cause of leaks. Run one tube from the T-adapter to the filter IN port, and another from the OUT port to either your faucet inlet or a dedicated spout. If installing a dedicated faucet, mount it in an existing sink knockout or drill a hole with the appropriate bit.
Step 5: Turn on the water, flush, and test
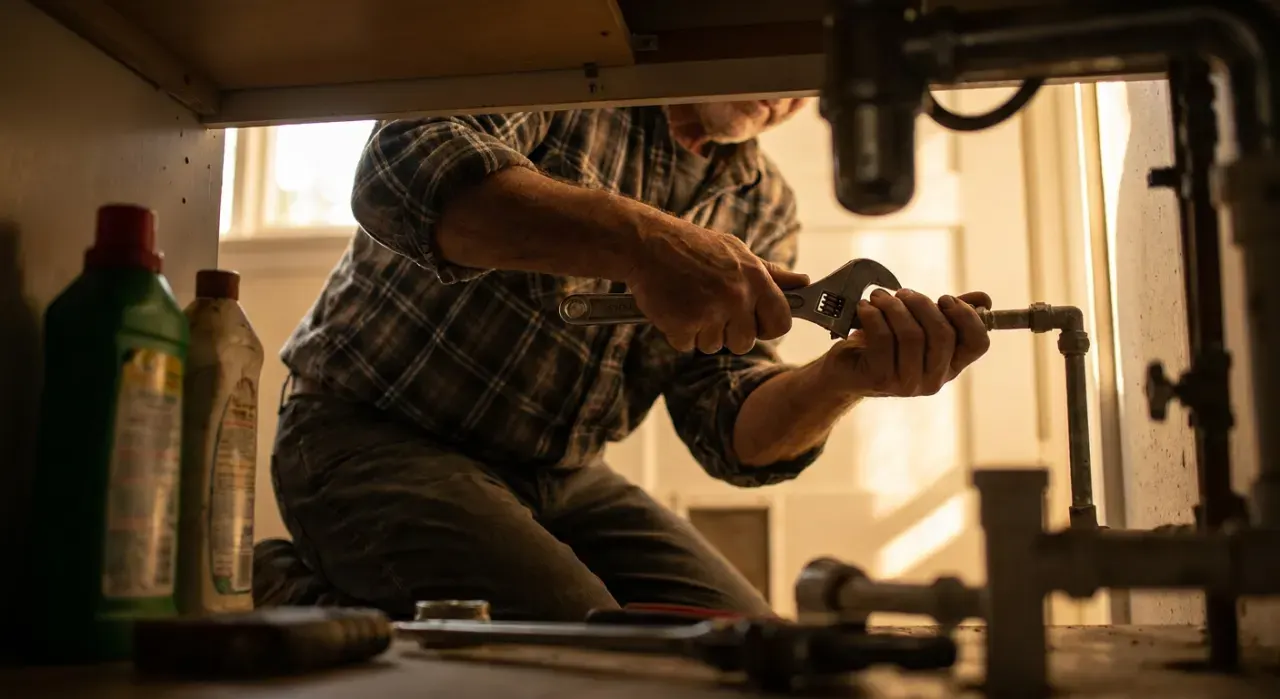
Open the cold shutoff slowly. Watch every fitting for leaks — the T-adapter, both filter ports, and each push-fit joint. Then run the filtered water for several minutes (or the gallons the maker specifies) to flush carbon fines and air from the new cartridge before you drink it. Re-check all connections after the system has been under pressure for a few minutes.
Common mistakes
- Push-fit tubing not fully seated, which weeps or blows off — the top cause of leaks.
- Reversing the IN and OUT ports, so the filter does not work.
- Tapping the hot line instead of cold, which damages the cartridge.
- Not flushing the new cartridge before drinking, leaving gray carbon water.
When to call a pro
This is DIY for most people, with no permit for a standard filter. Consider hiring help if you need to drill a dedicated-faucet hole through a granite or quartz countertop (a diamond hole saw and a mistake is expensive), if you are installing a reverse-osmosis system that also needs a drain-line saddle connection, or if the existing shutoff valve is seized. A drain saddle for RO systems ties into the sink drain and, in some jurisdictions, has code requirements worth checking.
Related: how to replace a water shut-off valve, how to install a garbage disposal, and how to replace a kitchen faucet.