 Garden
Affiliate Disclosure
Some links on this page are affiliate links. As an Amazon Associate, we earn from qualifying purchases — at no extra cost to you. We do not buy, test, or physically handle the products we cover; our rankings come from aggregated owner reviews, ratings and expert consensus. Commissions never change our verdicts. How we rank · full disclosure.
Installing a garbage disposal is a manageable DIY job — 1 to 2 hours, $80 to $250 for the unit, and no permit for a straight replacement. You mount the ring assembly to the sink flange, make a simple wiring connection, hang the disposal, and connect the drain and dishwasher hose. Replacing an old disposal is fully DIY. Adding one where none existed is DIY on the plumbing but needs an existing switched, GFCI-protected circuit — if that power is not there, an electrician runs it, and that part may need a permit.
We never buy, test or physically handle the products we rank; recommendations come from aggregated owner reviews and expert consensus, described in how we rank. More at the DIY plumbing hub.
Tools and materials
- The disposal, plumber's putty, and the discharge tube and gaskets (usually included).
- Screwdrivers, channel-lock pliers, a hacksaw (to trim the discharge tube), a wire nut or the included connector, and a voltage tester.
- A bucket and towel, and the hex wrench that ships with the unit.
- Basic hand tools — see best plumbing tools.
Step 1: Kill the power and remove the old unit
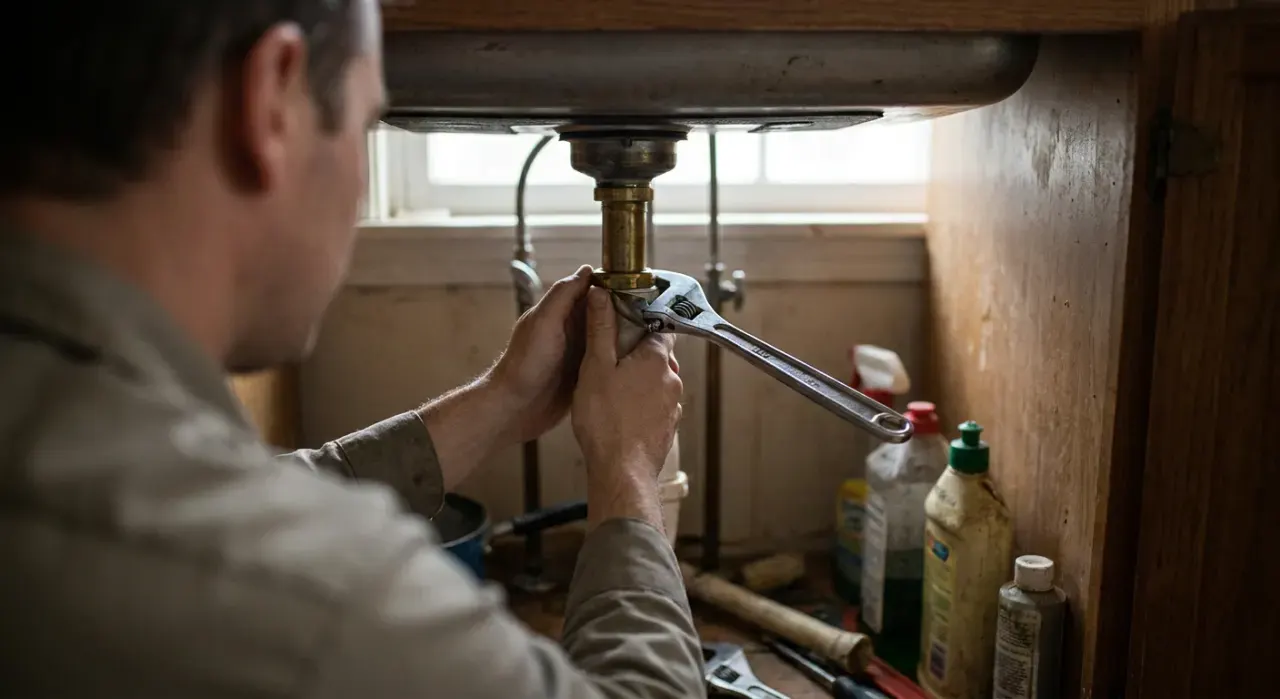
Turn off the breaker to the disposal circuit and verify with a voltage tester — this is the safety step you never skip. If replacing an old disposal, disconnect its drain and dishwasher hose, support the unit, and twist its mounting ring to drop it free. Disconnect the wiring inside the old unit's base plate. Remove the old sink flange and scrape off the old putty.
Step 2: Mount the new sink flange
Roll a rope of plumber's putty about a quarter-inch thick and press it under the lip of the new sink flange. Drop the flange into the sink drain hole and press it down so putty squeezes out evenly. From below, slide on the gasket, backup ring and mounting ring, and tighten the three screws evenly so the flange is pulled down snug and level. Wipe away the squeeze-out.
Step 3: Wire the disposal
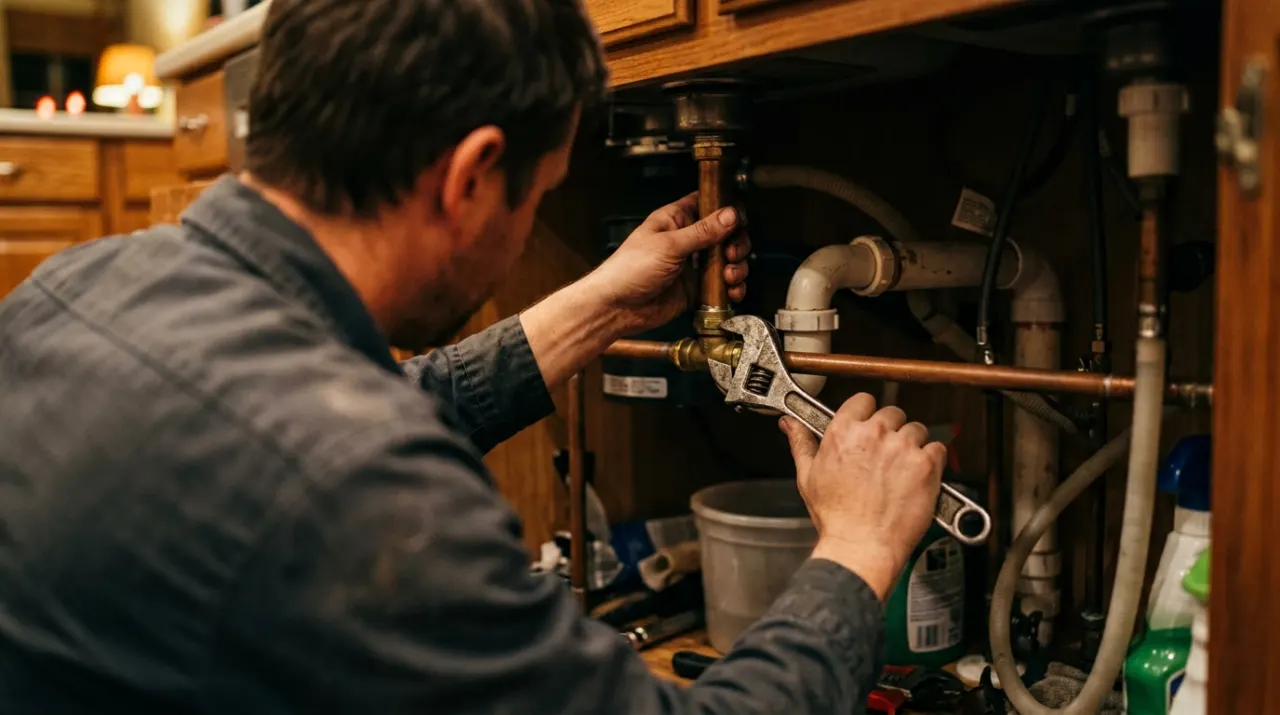
Remove the plate on the bottom of the disposal. Feed the supply cable through the strain-relief connector, and join wire-to-wire: black to black, white to white, and the green or bare ground to the green screw. Cap each with a wire nut, tuck them in, and replace the plate. If your dishwasher drains into the disposal, knock out the dishwasher plug now with a screwdriver and hammer and remove the loose disc from inside — forget this and the dishwasher cannot drain.
Step 4: Hang the disposal and connect the drain
Lift the disposal to the mounting ring, align the three tabs, and turn to lock it on. Attach the discharge tube to the side outlet with its gasket, cutting it to length with a hacksaw so it meets the P-trap. Connect it to the trap and tighten the slip nuts hand-tight plus a nudge. Connect the dishwasher hose to the inlet and secure it with a clamp.
Step 5: Restore power and test
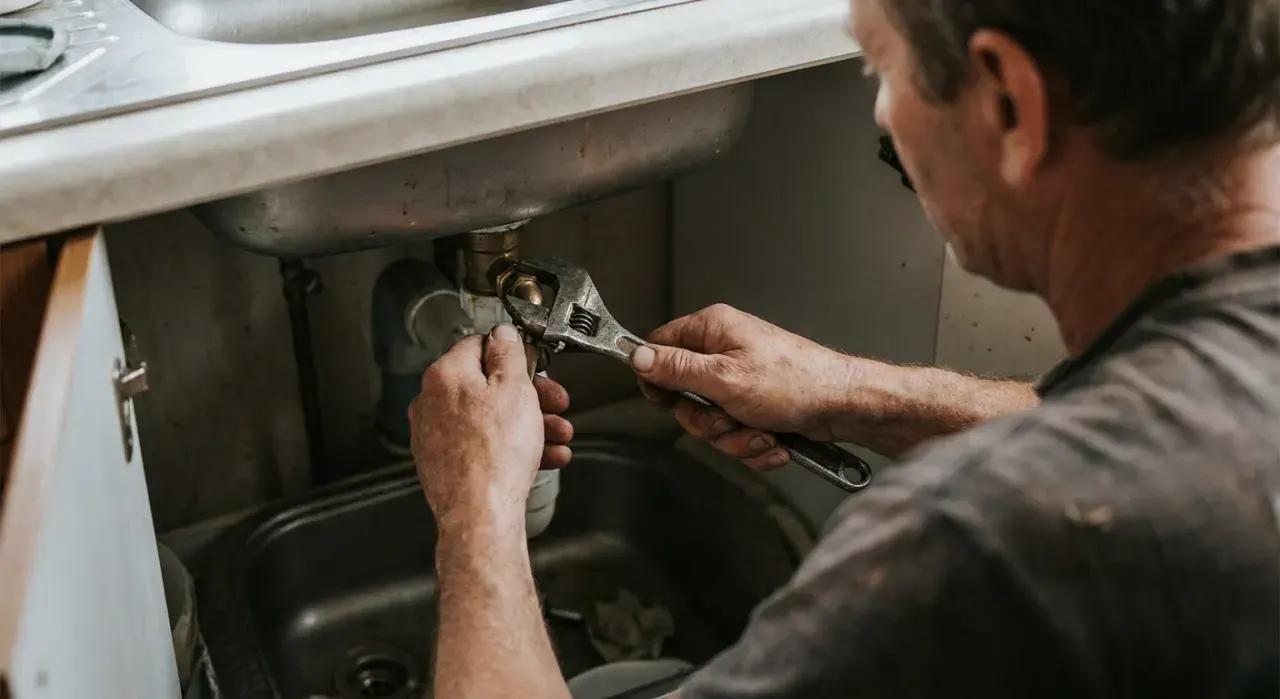
Turn the breaker back on. Run cold water, switch on the disposal, and let it run for 20 seconds while you check every joint — the sink flange, the discharge connection, the P-trap and the dishwasher hose — for leaks. Run the dishwasher on a short cycle to confirm it drains through the disposal. Tighten anything that weeps.
Common mistakes
- Forgetting the dishwasher knockout plug, so the dishwasher backs up.
- Skimping on plumber's putty under the flange, causing a slow leak at the sink.
- Not verifying power is off before wiring.
- Uneven mounting-ring screws, leaving the flange tilted and leaking.
- Leaving the loose knockout disc inside the disposal, where it blocks the drain.
When to call a pro
Call a licensed electrician if there is no existing switched, GFCI-protected circuit under the sink — running a new dedicated circuit is code-regulated and often permitted work. Call a plumber if adding a disposal requires reworking the drain height or trap arm to meet code, or if your local code prohibits disposals on a septic system (some do). A straight swap onto existing power and drain needs no permit.
Related: how to replace a P-trap, how to clear a clogged kitchen sink, and how to install a dishwasher.