 Garden
Affiliate Disclosure
Some links on this page are affiliate links. As an Amazon Associate, we earn from qualifying purchases — at no extra cost to you. We do not buy, test, or physically handle the products we cover; our rankings come from aggregated owner reviews, ratings and expert consensus. Commissions never change our verdicts. How we rank · full disclosure.
Installing a dishwasher is a solid DIY job with three connections — 2 to 3 hours, no permit for a straight replacement into an existing setup. You hook up the water supply, the drain (with a high loop or air gap), and the power, then level the unit and slide it in. Replacing an old dishwasher is fully DIY. A brand-new location with no water line, drain tie-in, or circuit brings in plumbing and electrical work that is often permitted — and the new wiring is an electrician's job.
We never buy, test or physically handle the products we rank; recommendations come from aggregated owner reviews and expert consensus, described in how we rank. More at the DIY plumbing hub.
Tools and materials
- The dishwasher, a dishwasher installation kit (drain hose, 90-degree brass elbow, supply connector), and hose clamps.
- Adjustable wrench, screwdrivers, a level, pliers, PTFE tape, and a voltage tester.
- A bucket and towels; an air gap fitting if your code requires one.
- Basic hand tools — see best plumbing tools.
Step 1: Cut the power and shut off the water
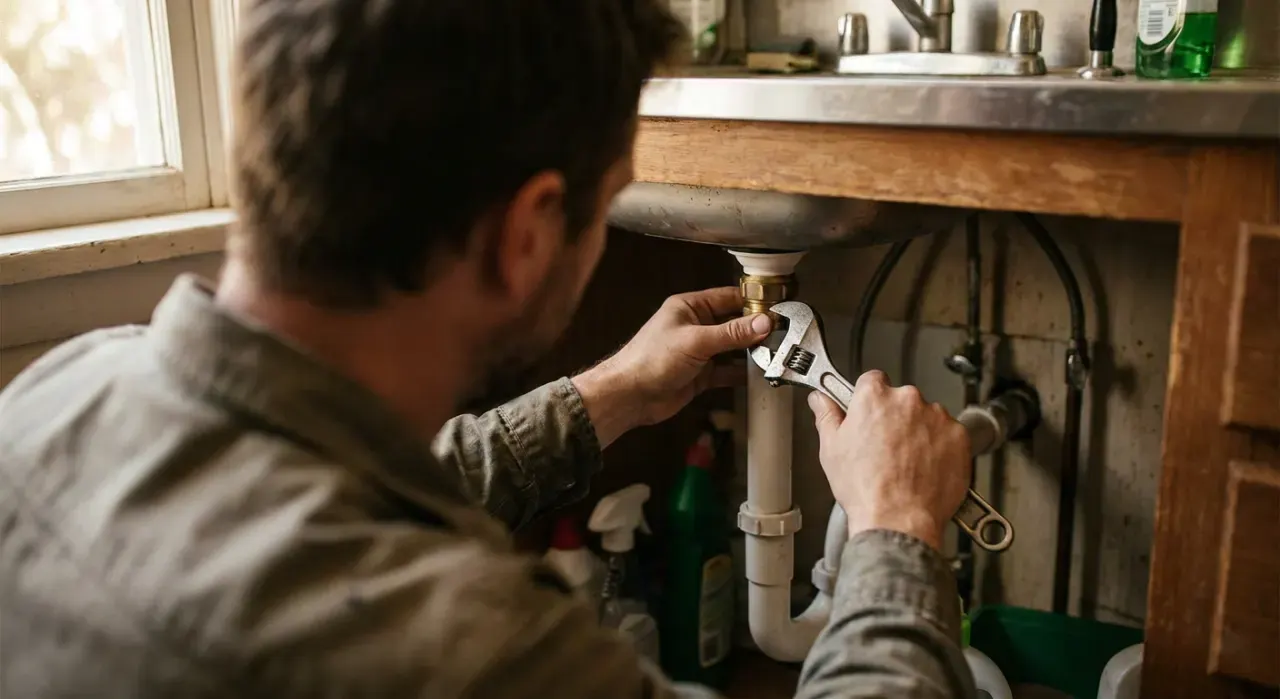
Switch off the breaker for the dishwasher circuit and verify with a tester. Close the hot-water shut-off that feeds the dishwasher (dishwashers use hot water). If replacing an old unit, disconnect its water, drain and wiring, and slide it out. Fit the 90-degree brass elbow onto the new dishwasher's inlet valve with PTFE tape before you slide it in — it is far easier to reach now than under the installed machine.
Step 2: Route the drain hose
Feed the drain hose from the back of the dishwasher through to the sink cabinet. Plan a high drain loop: secure the hose up under the countertop as high as it will go before it drops to the connection, or run it to an air gap on the counter if code requires. This prevents sink water siphoning back into the dishwasher. If draining into a disposal, confirm the disposal's knockout plug is punched out and the loose disc removed.
Step 3: Slide in and level the dishwasher
Slide the dishwasher into the opening, feeding the hoses and wiring ahead of it so nothing kinks or pinches. Set a level on the door frame and adjust the leveling feet until it is level side to side and front to back — a unit that is not level will not seal at the door gasket and will not drain fully. Secure the mounting brackets to the underside of the countertop (or the cabinet sides on some models).
Step 4: Connect water, drain, and power
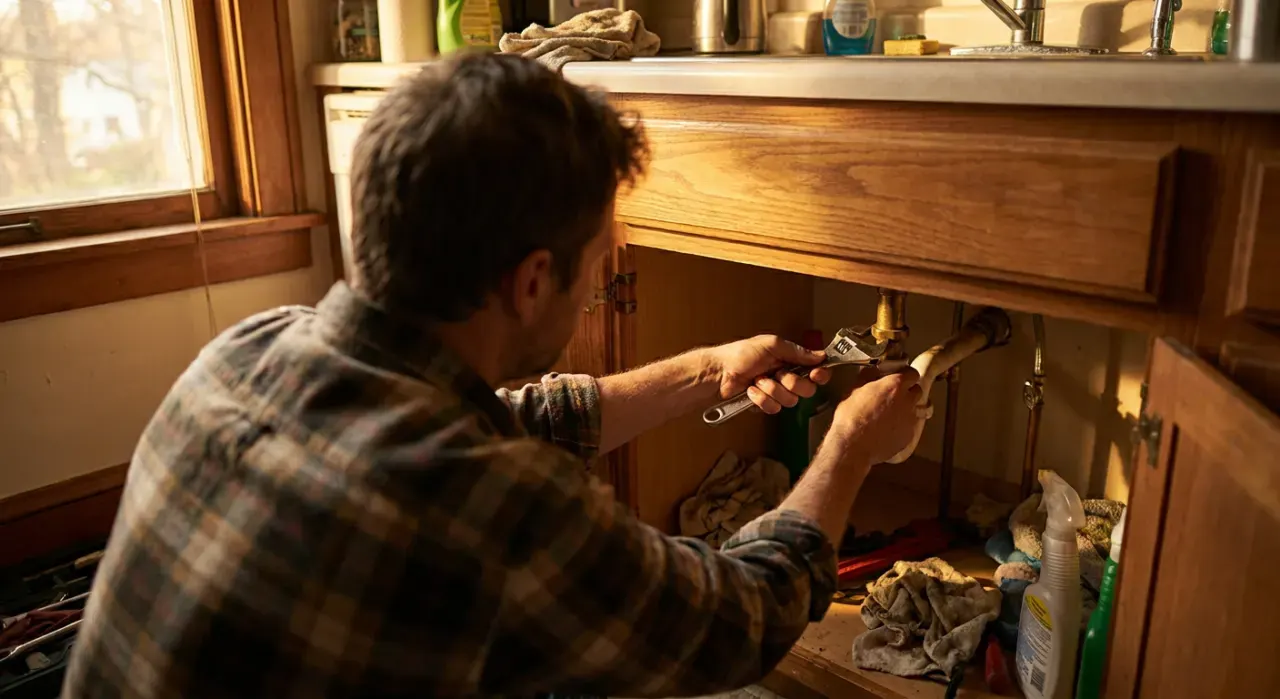
Connect the water supply line to the brass elbow on the inlet valve, hand-tight plus a wrench nudge. Clamp the drain hose to the disposal inlet or the drain tee. For power, either plug the cord into the under-sink outlet or, for a hardwired unit, connect black to black, white to white, and ground to the green screw in the junction box, then close the box. Every connection uses a washer or a clamp — confirm each is present.
Step 5: Restore power and run a test cycle
Turn the water and breaker back on. Run a short cycle and watch: check the water inlet and drain connections for leaks, confirm the dishwasher fills, drains, and does not leak at the door. Look underneath with a flashlight during fill and drain. Tighten any weeping connection and re-level if the door does not seal.
Common mistakes
- No high drain loop or air gap, causing siphoning, odor and standing water.
- Forgetting the disposal knockout plug, so the dishwasher will not drain.
- Not leveling the unit, so the door gasket leaks.
- Kinking the drain or supply hose when sliding the unit in.
When to call a pro
Call a licensed electrician if there is no existing dedicated, GFCI-protected circuit and you need one run — that is permitted work in most places. Call a plumber if a brand-new location needs a hot-water line teed in and a drain connection added, or if your local code requires a permit and inspection for a new appliance rough-in. A straight replacement onto existing water, drain and power connections needs no permit.
Related: how to install a garbage disposal, how to replace a water shut-off valve, and how to clear a clogged kitchen sink.