 Garden
Affiliate Disclosure
Some links on this page are affiliate links. As an Amazon Associate, we earn from qualifying purchases — at no extra cost to you. We do not buy, test, or physically handle the products we cover; our rankings come from aggregated owner reviews, ratings and expert consensus. Commissions never change our verdicts. How we rank · full disclosure.
Replacing a shower head is the single easiest plumbing job in a house — about 10 minutes, $15 to $80 for the head, no shutoff, no permit and no plumber. You unthread the old head from the shower arm, clean the threads, wrap fresh plumber's tape, and hand-tighten the new head on. The only tools are pliers and a rag, and the one thing that goes wrong — a drip at the connection — is solved by wrapping the thread tape correctly. There is essentially no scenario where this needs a pro, unless the shower arm itself is broken inside the wall.
We never buy, test or physically handle the products we rank; recommendations come from aggregated owner reviews and expert consensus, described in how we rank. More at the DIY plumbing hub.
Tools and materials
- The new shower head (1/2-inch NPT fits nearly every US shower arm).
- PTFE thread tape — the one consumable that matters.
- Adjustable pliers or two wrenches, and a rag to protect the finish and improve grip.
- White vinegar or penetrating oil if the old head is scaled on. General plumbing tools cover the rest.
Step 1: Remove the old shower head
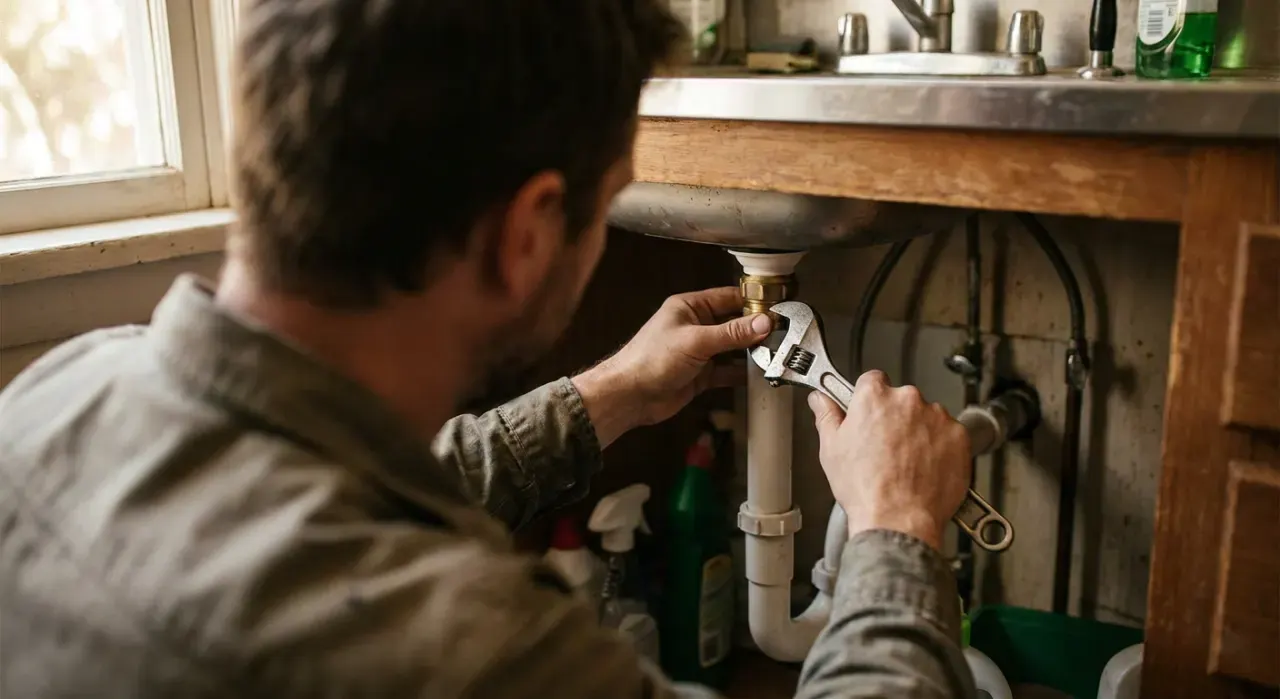
Make sure the shower is off. Wrap a rag around the connection nut to protect the finish. Grip the shower arm (the pipe from the wall) with one hand or a wrench to hold it steady, and turn the shower head counterclockwise with pliers. Bracing the arm is important — it stops you from twisting the concealed fitting inside the wall. If the head is stuck with mineral scale, soak the joint in vinegar or penetrating oil for 20 to 30 minutes and try again.
Step 2: Clean the threads
Peel off all the old thread tape and any hardened scale from the male threads on the end of the shower arm. The threads must be clean and dry for fresh tape to seal properly. A quick scrub with an old toothbrush and vinegar removes stubborn buildup.
Step 3: Wrap fresh thread tape
Hold the arm with the threads facing you and wrap three to four tight turns of PTFE tape clockwise — the same direction the head will thread on — so tightening the head pulls the tape snug rather than unraveling it. Press the tape into the thread grooves so it conforms. This is the entire secret to a drip-free connection; skip it and the joint will weep.
Step 4: Thread on the new head
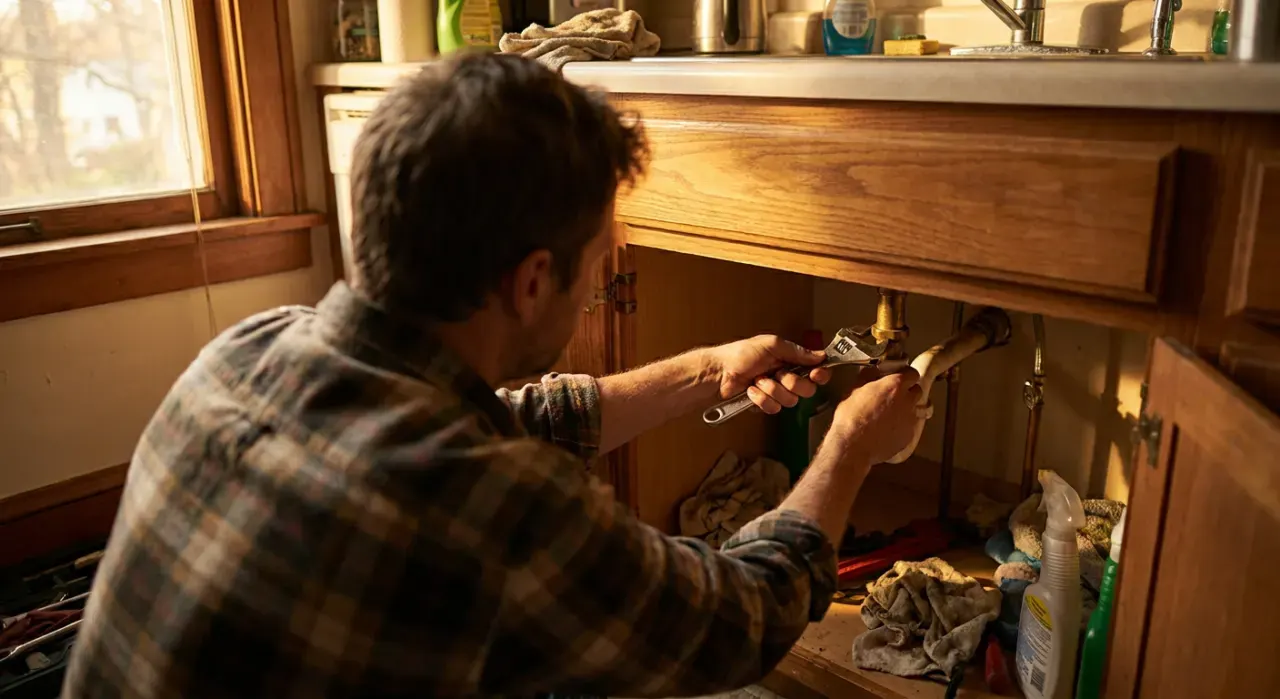
Screw the new shower head onto the arm by hand, clockwise, until it is snug and you cannot easily turn it further. Then give it no more than a gentle quarter turn with rag-wrapped pliers if needed. Do not overtighten — most heads seal fully hand-tight, and cranking a plastic fitting cracks it. Aim the head to the position you want.
Step 5: Test
Turn the shower on and run it for a minute. Watch the connection at the arm for any drip or spray, and check the spray pattern from the head. If a bead of water forms at the joint, shut off the shower, back the head off, and add another turn or two of tape. That is nearly always all it takes.
Common mistakes
- Skipping the thread tape or wrapping it counterclockwise so it unravels — the cause of almost every leak.
- Not bracing the shower arm, and twisting the hidden connection inside the wall loose.
- Overtightening and cracking a plastic head or fitting.
- Leaving old tape and scale on the threads, which prevents a clean seal.
When to call a plumber
There is almost never a reason to call a pro for a shower head. The only escalation is if the shower arm itself is corroded, leaking where it enters the wall, or snaps off inside the wall fitting — then you are into replacing the arm and possibly opening the wall to reach the drop-ear elbow, which some homeowners handle and others hand off. No permit is ever involved in changing a shower head. If your issue is weak flow rather than the head, check what psi home water pressure should be before blaming the fixture.
Related: how to install a bidet attachment, how to caulk a bathtub, and how to fix a leaky faucet.