 Garden
Affiliate Disclosure
Some links on this page are affiliate links. As an Amazon Associate, we earn from qualifying purchases — at no extra cost to you. We do not buy, test, or physically handle the products we cover; our rankings come from aggregated owner reviews, ratings and expert consensus. Commissions never change our verdicts. How we rank · full disclosure.
Installing a non-electric bidet attachment is an easy DIY job — about 15 minutes, $30 to $80 for the unit, a screwdriver and an adjustable wrench, no permit. The attachment sits between your existing toilet seat and bowl and taps into the toilet's cold-water supply with an included T-valve, so there is no new plumbing. The only time you need a pro is for an electric, heated model that requires a GFCI outlet you do not already have — and that is an electrician for the outlet, not a plumber for the water.
We never buy, test or physically handle the products we rank; recommendations come from aggregated owner reviews and expert consensus, described in how we rank. More at the DIY plumbing hub.
Tools and materials
- The bidet attachment kit (includes the T-valve, hoses and washers).
- An adjustable wrench and a Phillips screwdriver.
- A towel, a small bucket, and PTFE tape (optional, for extra security on threaded joints).
- Basic hand tools from a plumbing tool kit.
Step 1: Shut off the water and drain the tank
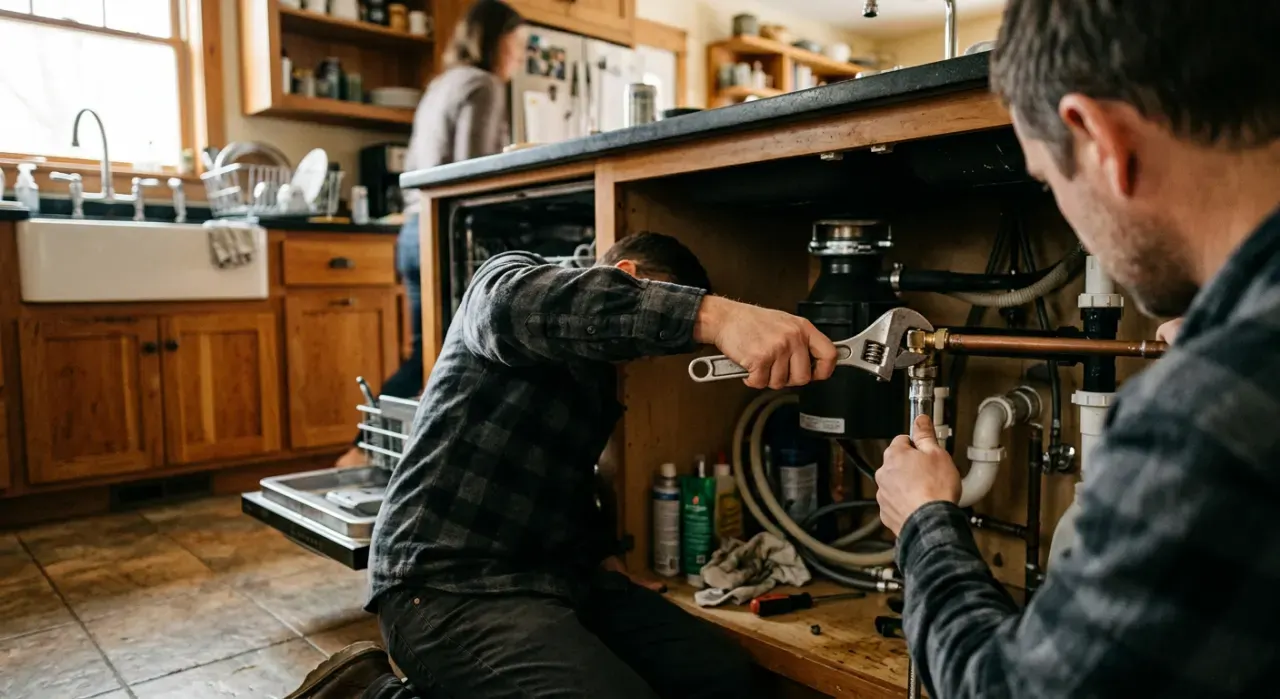
Close the shutoff valve behind the toilet (turn clockwise), then flush and hold the handle to empty the tank as much as possible. Keep a towel and small bucket handy — a cupful of water remains in the supply line and tank. This is the one place water is involved, so do not skip the shutoff.
Step 2: Remove the toilet seat and set the attachment
Unscrew the two bolts holding your toilet seat to the bowl and lift the seat off. Place the bidet attachment plate on the bowl, aligning its holes with the seat bolt holes, then set the toilet seat back on top of it and re-run the bolts through both. Snug the bolts — firm but not so tight you crack the seat hinges. Slide the attachment forward or back so its nozzle sits correctly under the seat before final tightening.
Step 3: Install the T-valve on the tank supply
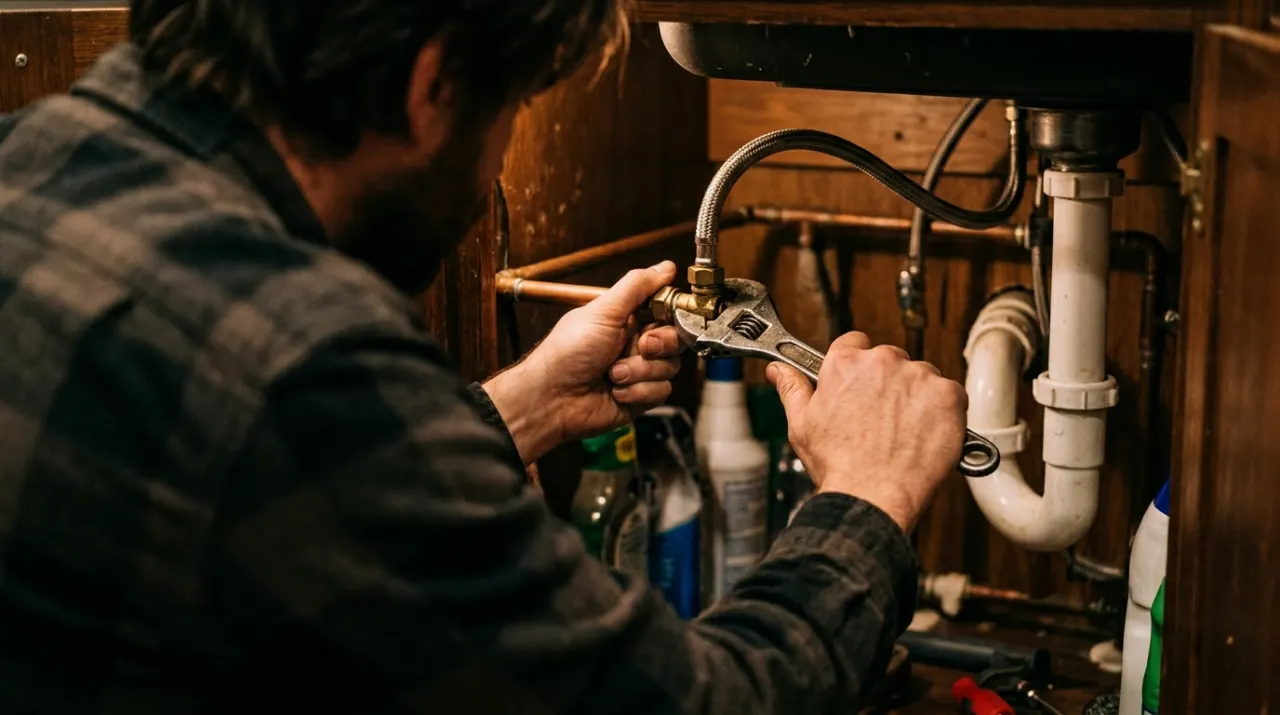
Disconnect the flexible supply line where it meets the underside of the toilet tank (a little water will drip — that is what the bucket is for). Thread the included T-valve onto the tank's fill-valve inlet, making sure the rubber washer is seated. Reconnect the toilet's supply line to the bottom of the T. Every joint uses a rubber washer — hand-tighten, then a gentle quarter turn with the wrench.
Step 4: Connect the bidet hose
Run the bidet's water hose from the side outlet of the T-valve to the inlet on the attachment. Confirm the washers are in place at both ends and tighten by hand plus a nudge. Route the hose so it is not kinked or pinched under the tank.
Step 5: Turn the water on and test
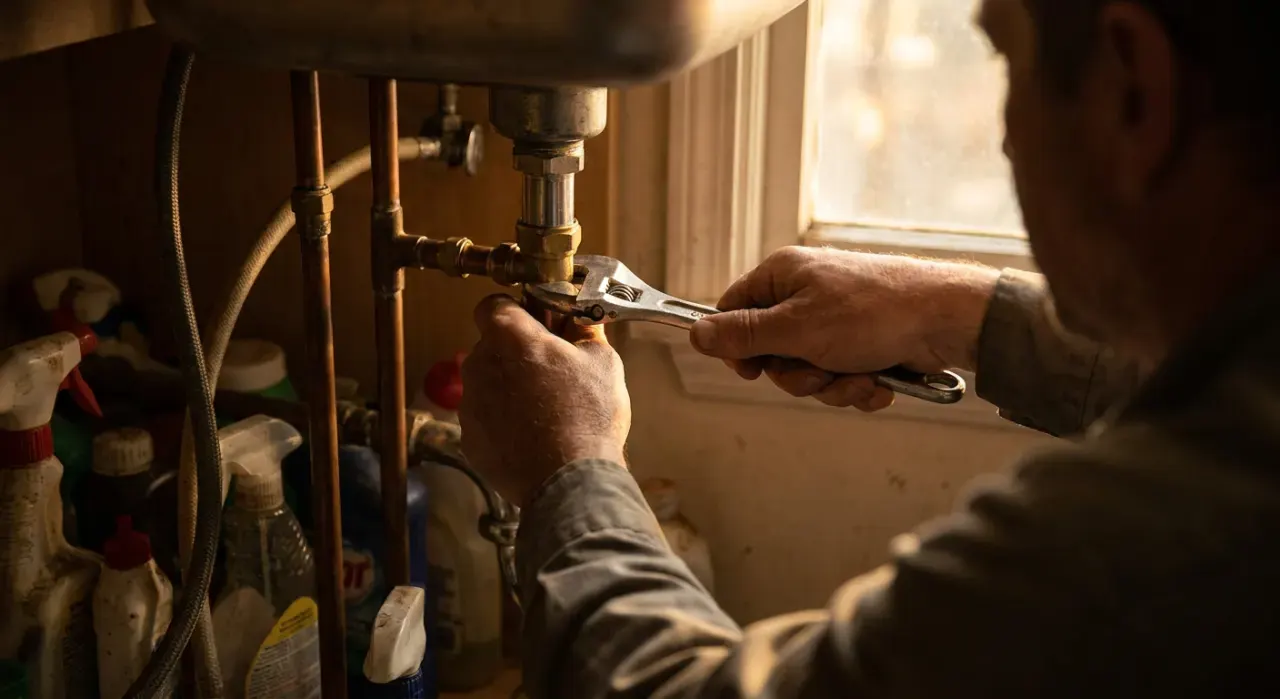
Open the shutoff valve slowly and let the tank refill. Feel every connection — the T-valve, both supply ends, and the hose ends — with a dry finger and watch for weeping. Then run the bidet at low pressure first and work up. Check once more after the tank has refilled fully. Any drip means a loose connection or a missing washer, not a faulty unit.
Common mistakes
- Forgetting or pinching a rubber washer at one of the threaded joints — the top cause of leaks.
- Overtightening plastic fittings and cracking the T-valve.
- Not draining the tank first, so the line dumps water when you disconnect it.
- Kinking the bidet hose under the tank, which restricts flow.
When to call a pro
The water side is DIY for everyone. Call an electrician only if you are installing an electric heated bidet seat and there is no GFCI outlet within reach of the toilet — bathroom code requires GFCI protection, and adding that circuit is licensed electrical work. There is no plumbing permit for a bidet attachment. If your household water pressure is very low and the spray is weak, see what psi home water pressure should be.
Related: how to replace a toilet supply line, how to replace a shower head, and how to replace a water shut-off valve.